Nissan’s NP 200 is a very strong seller and has been around since 2008. Here is a step-by-step guide to help you replace a head light bulb.
Replacing a headlight bulb on the NP 200
Nissan’s NP200 is based on the Dacia Logan, and has been marketed here since 2008 under the Nissan name when it replaced the amazingly successful Nissan 1400 half-ton pick-up. The NP200 is prized for its very roomy load bay, and in fact, it is rated to carry a load of up to 800 kg, which makes it far more useful than a mere “half-ton” (500 kg) bakkie. Since late 2017 the NP200 has had the sub-one-ton pick-up market all to itself, after General Motors left the country, withdrawing the Chevrolet Utility.
Replacing a headlight bulb on the Nissan NP200 is an easy task. But this should only be done if your bakkie is out of warranty, and be aware that the NP200 has a very long warranty of 6 years/150 000 km. If you are at all unsure about this, contact your Nissan dealer. If you need to replace the right-hand-side bulb you will not need any tools. Replacing the left-hand-side headlight bulb is a bit more complex as the battery is in the way, and here you will need some tools to access the bulb.
For the purposes of this article, we replaced the right-hand-side bulb. The work was carried out on a much-used model that had seen some dirt-road use!
Get an Instant Offer on your old car here
You will need:
- Correct rated replacement bulbs
- Soft cloth
- Flat head screwdriver
Let’s get it done
1. If you need to replace the left-hand-side bulb you will need some spanners and other tools to remove the battery and a few other items. The right-hand-side headlamp is easily accessed and replacement requires no tools.
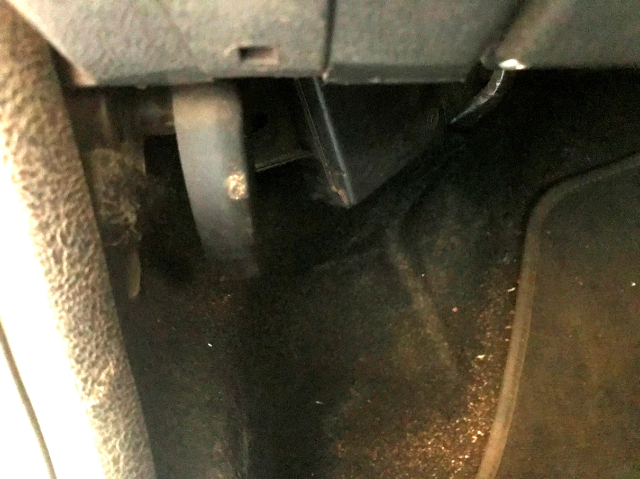
2. You will need to open the bonnet to access the headlamp from the engine bay. The bonnet catch is on the left-hand side of the cabin below the cubby hole, near the door frame.
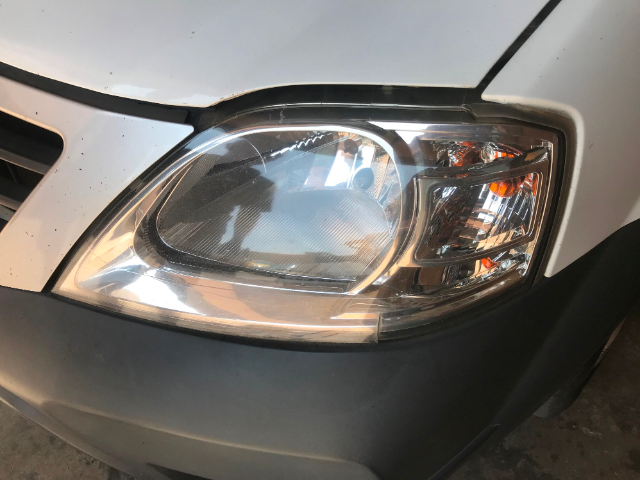
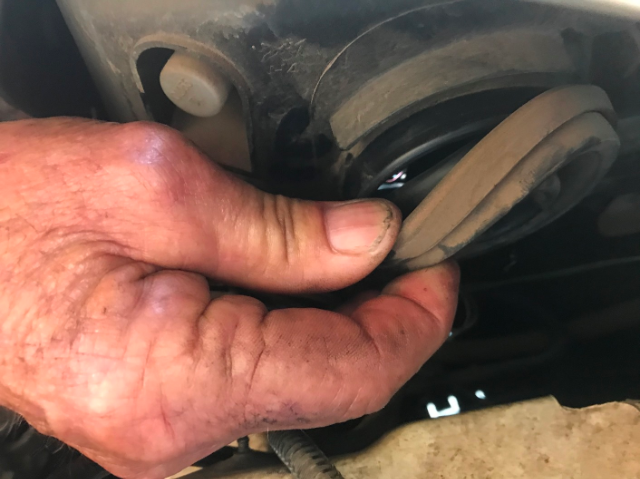
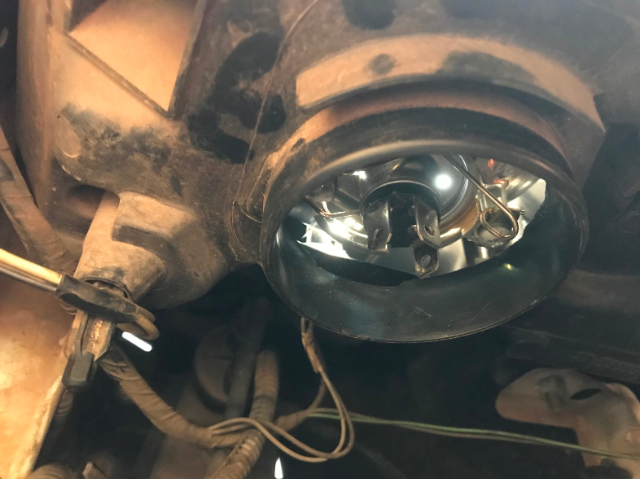
3. There is good access to the right-hand-side globe. It is located behind a rubber dust cover with the light cabling entering the cover in the centre.
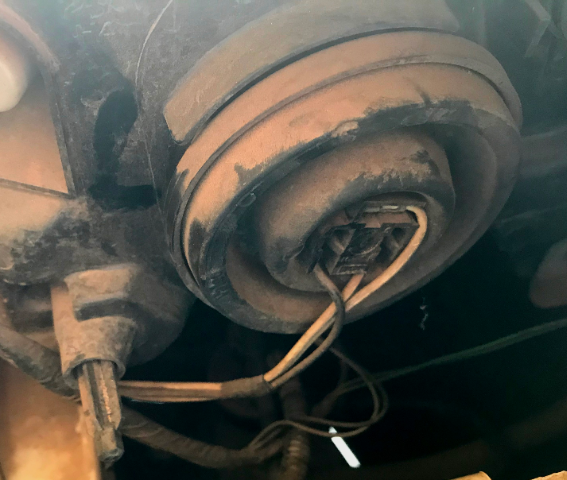
4. You will need to unplug the light cable and its socket before removing the dust cover.

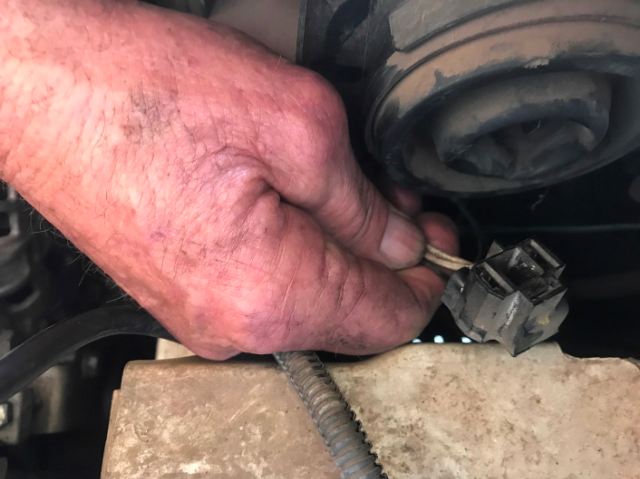
5. The light cable is unplugged simply by pulling on the socket. Don’t pull on the cables, as you may damage the connections!

6. After unplugging the cable and its socket, tuck it away carefully to one side.
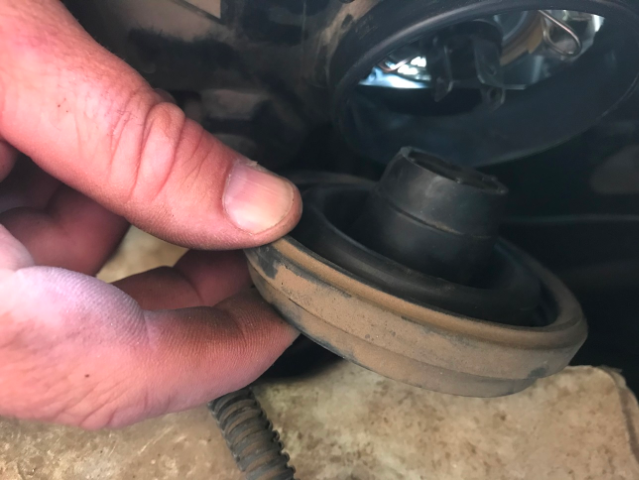
7. The rubber dust cover can now be removed simply by peeling it away from the rim of the light access hole.
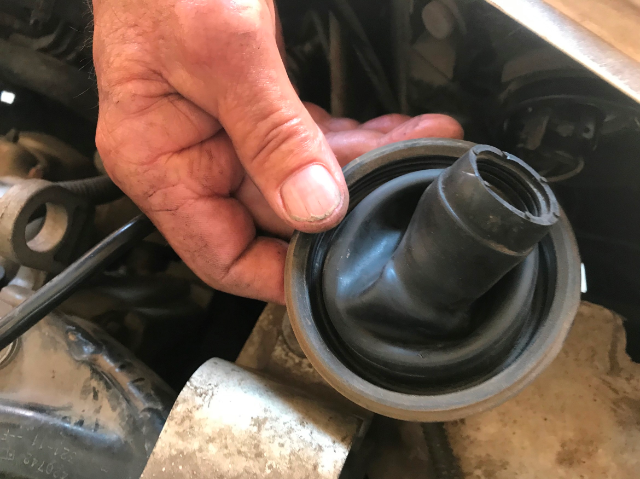
8. The rubber cover has a tube that fits flush with the light bulb housing.
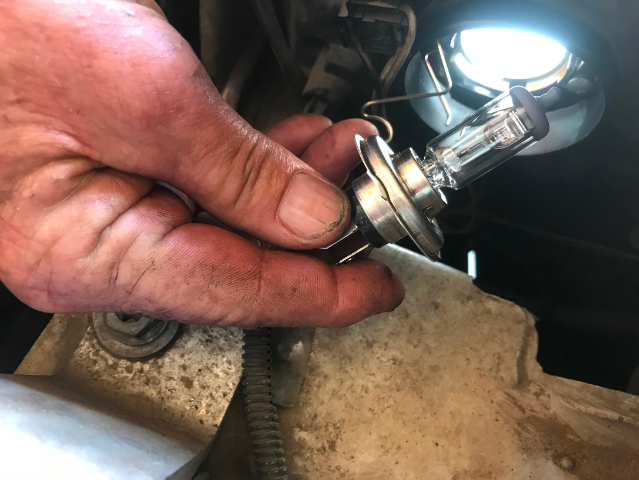
9. The globe is retained in place by a spring-steel clip that needs to be unhooked first before you remove the globe.
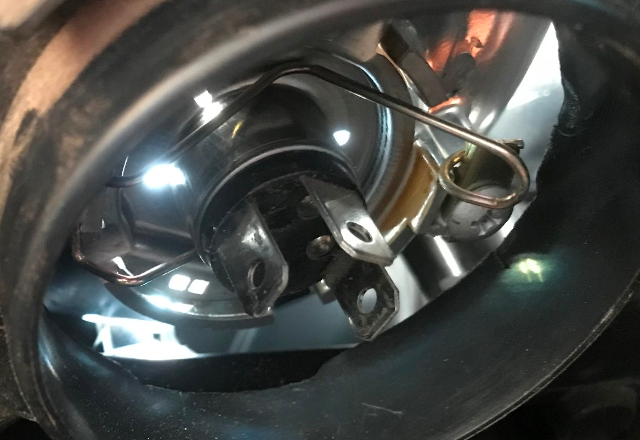
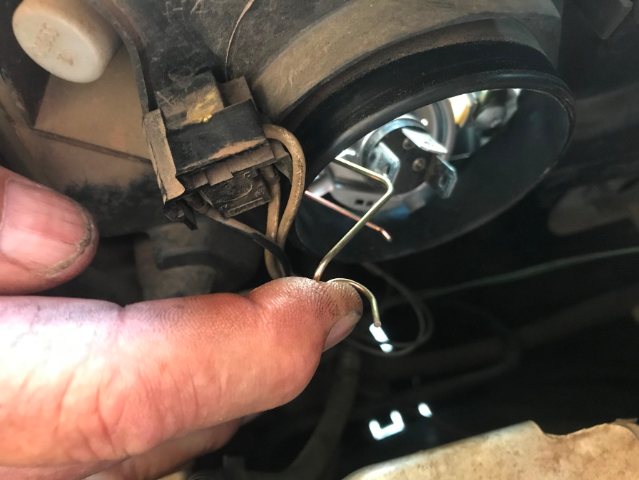
10. This is unhooked on the right-hand side and then can be moved aside to enable the globe to be withdrawn.
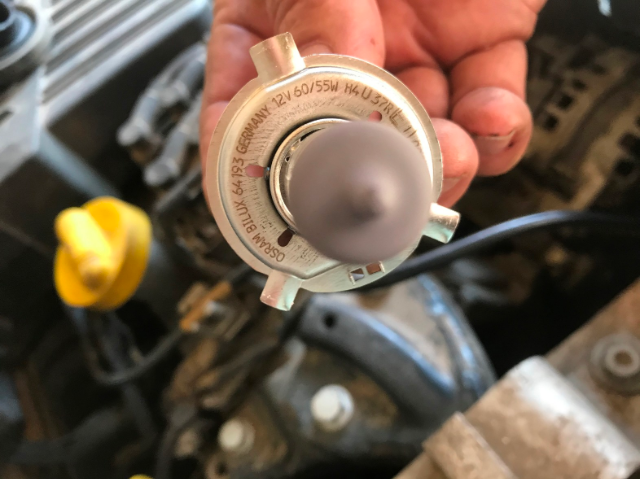
11. The globe is pulled straight out, with no twisting involved. But note that it is located by three tabs, and the new globe should be inserted with those tabs in the same position.
12. Insert the new globe and line up those three locating tabs in the same position. This ensures the terminals on the new globe will be in the same position to accept the cable socket.
13. Make sure the globe is snug on its housing and then re-fix the spring retaining clip in position.
14. Replace the dust cover, carefully compressing the rubber tube against the light housing and making sure it is sealed properly on the light-access opening.
15. You will still be able to see the globe terminals with the rubber back in position. Line up the correct slots with the terminals on the globe, before plugging the light cable back in.

16. Plug the cable in and you are done! The final step is to check that the new globe works by switching on the lights.
Keyword: How to replace a lightbulb on a Nissan NP 200