Mitsubishi’s Triton from the 2011-2017 generation is a fine used buy. It’s also very easy to replace the headlight bulbs yourself, as you’ll discover in this step-by-step, illustrated guide.
Mitsubishi’s Triton is one of those pick-ups that commands tremendous respect amongst insiders but has never really set the sales charts alight here in South Africa. Mitsubishi is known for its engineering excellence and reliability and offers a package that is surprising to many in terms of its interior space. We reviewed the Mitsubishi Triton 2.4Di-D 4X4 Auto here.
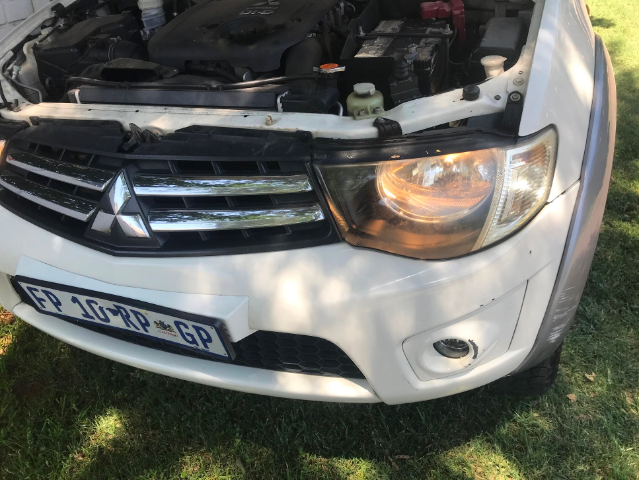
We recently undertook a headlight globe change on a well-preserved 2012 model-year Triton Double Cab, the one fitted with a 3,2-litre four-cylinder turbo-diesel engine. This was the first Triton Double-Cab to feature the rather controversial elliptical rear door shut-line, which freed-up significant amounts of rear passenger leg room.
Accessing the headlight globe
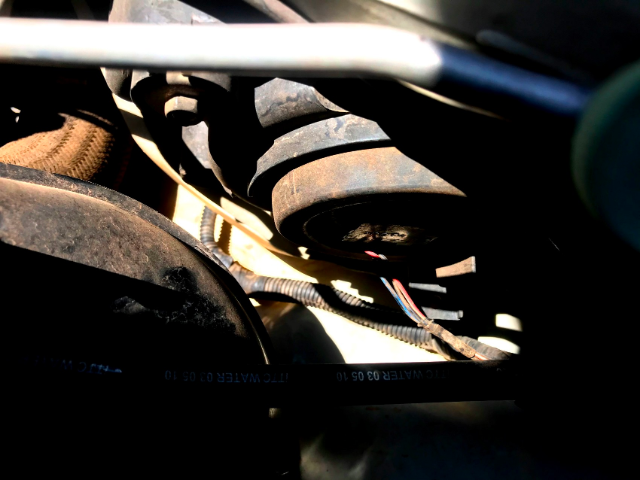
Both the left-side and right-side globes are quite easily accessed under the bonnet. No extra panels need to be removed to gain access. Nor does the job require the removal of the air filter or battery, as is the case in many other modern vehicles.
Changing the light bulb, step-by-step
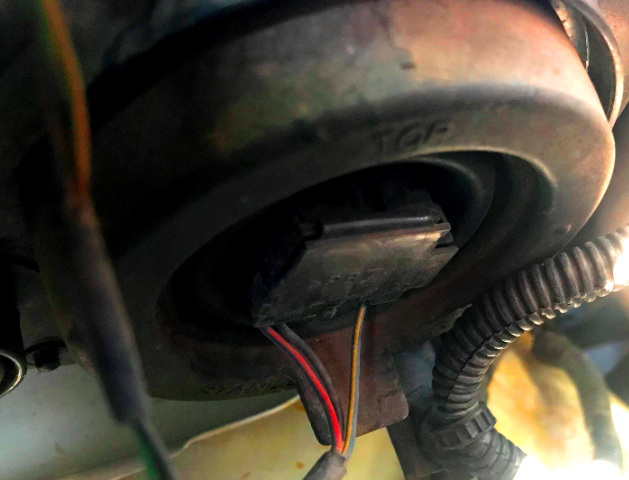
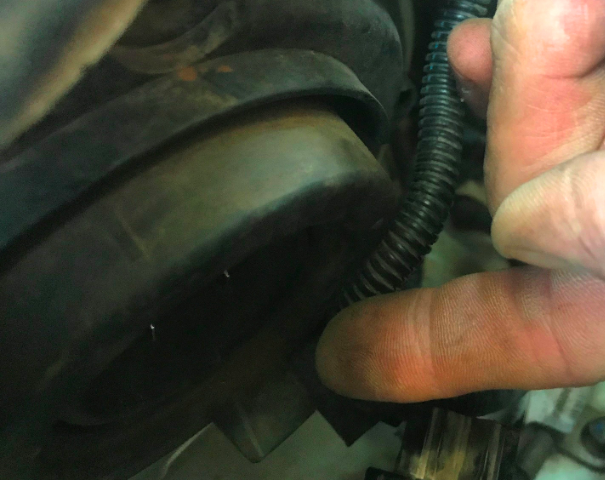
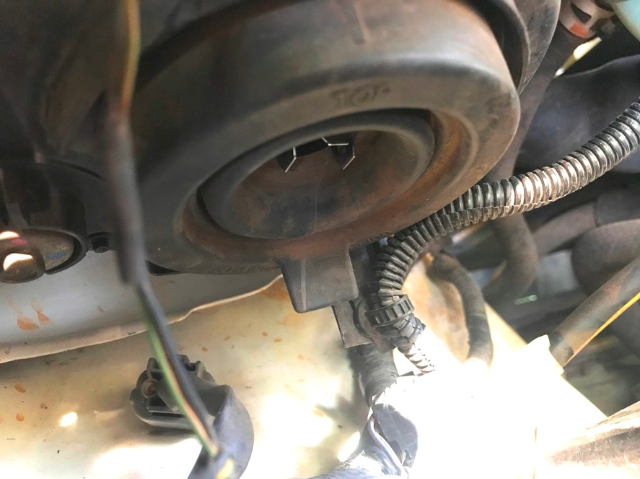
1. The headlight bulb location is easily identified by light cabling and a plug entering the centre of the headlight access rubber cover. Both left and right side globes offer easy access in this used 2012 model Mitsubishi Triton.
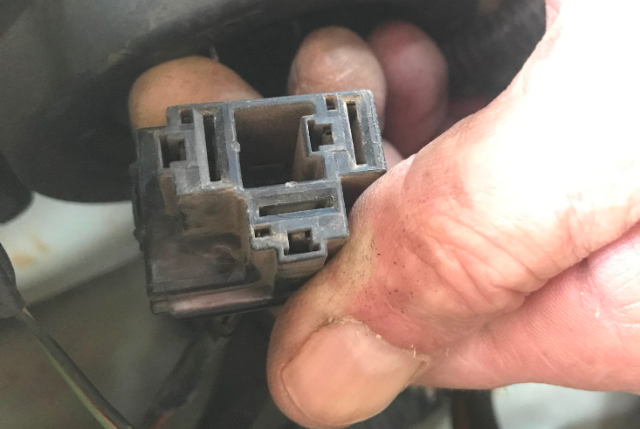
2. The red, blue and yellow cabling is attached to a plug and this fits through the dust cover to the globe terminals.
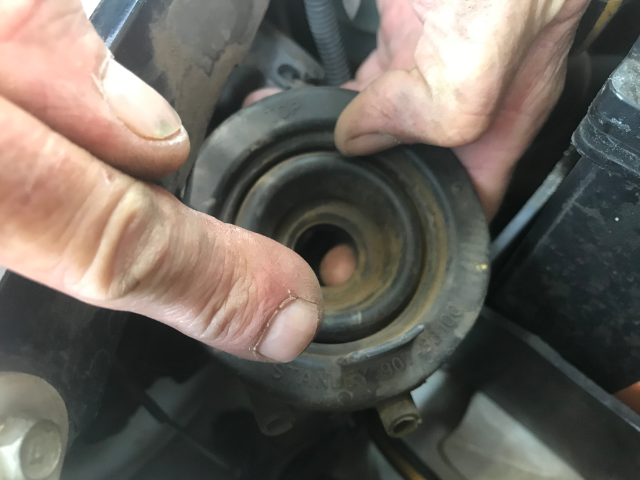
3. Take hold of the cable plug and pull it loose. The plug comes straight out, but if it has been in place for a long time, you might have to wiggle it very gently to get it to come loose from the terminals on the light bulb.
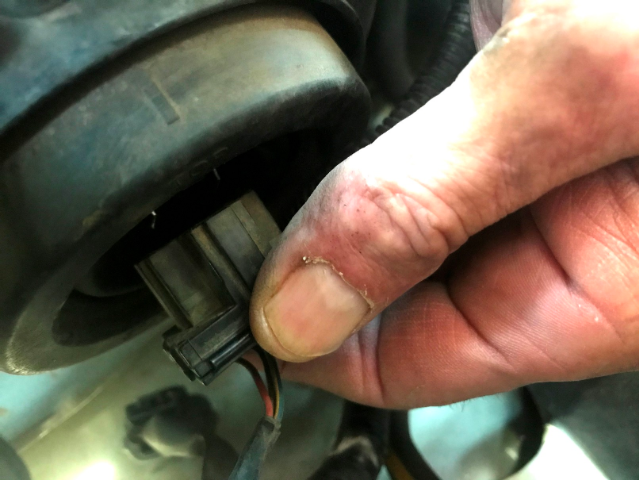
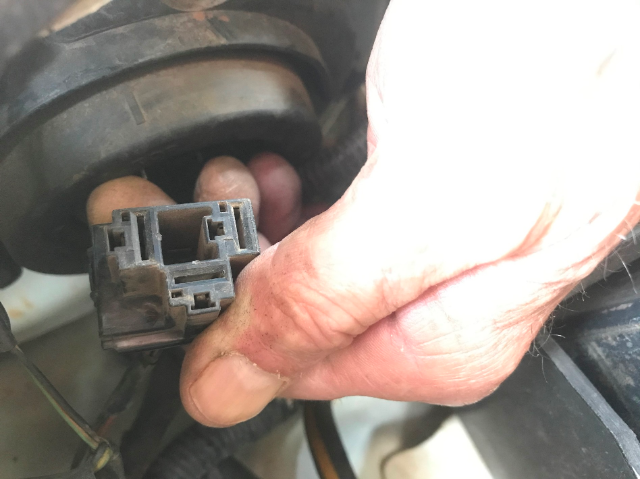
4. When you pull the plug out examine the position of the three terminal slots as the plug will have to go back the same way. It can only fit in one position, so there is no chance of connecting it incorrectly. But if you see how it was removed, it makes re-fitting on the new globe so much easier.
5. After tucking the cable away to one side, the rubber access cap should be removed. This is peeled away from the globe access opening, using the little tab on the lower edge of the rubber cover. Place the cover safely out of the way.
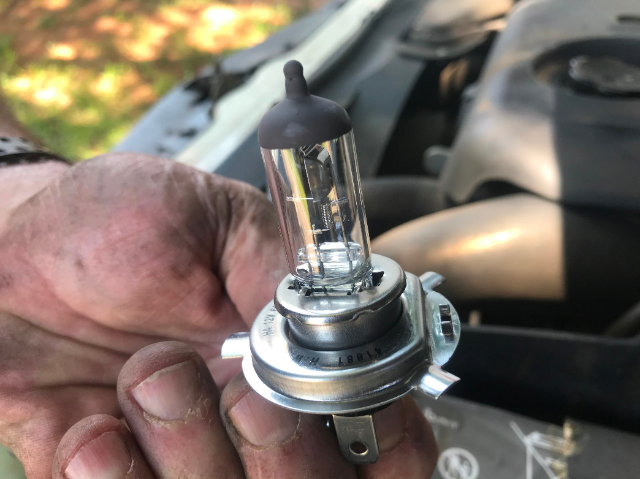
6. You can now see the globe with its three connection terminals easily visible.
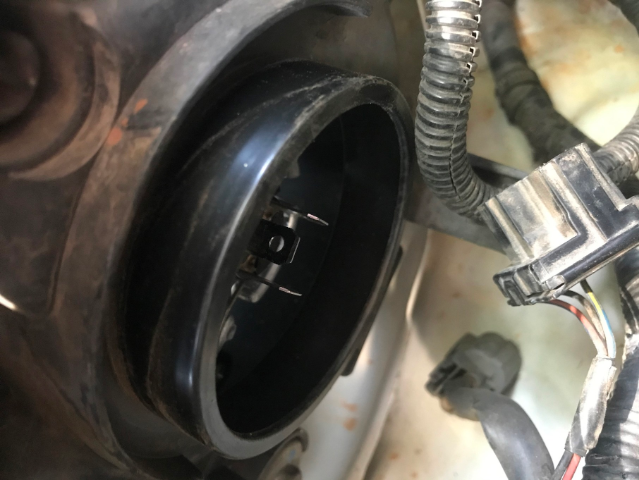
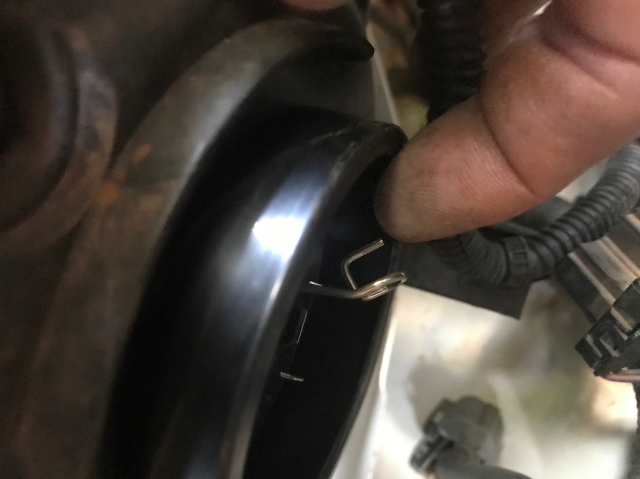
7. The globe is retained in place by a shiny longitudinal spring clip that extends from the left-hand to the right-hand side of the globe housing.
8. You need to un-hook this steel clip on the right-hand side of the globe assembly and carefully push the clip to one side. The clip will still be attached to the housing on the left-hand side, so you won’t misplace it.
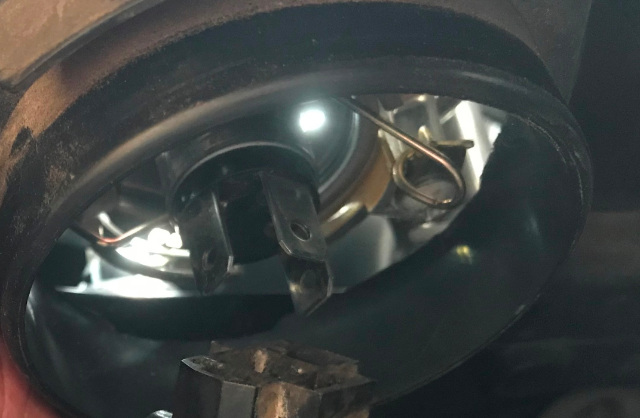
9. With the spring clip out the way, the globe can be removed. To remove the old globe, pull it straight out. No twisting action is required.
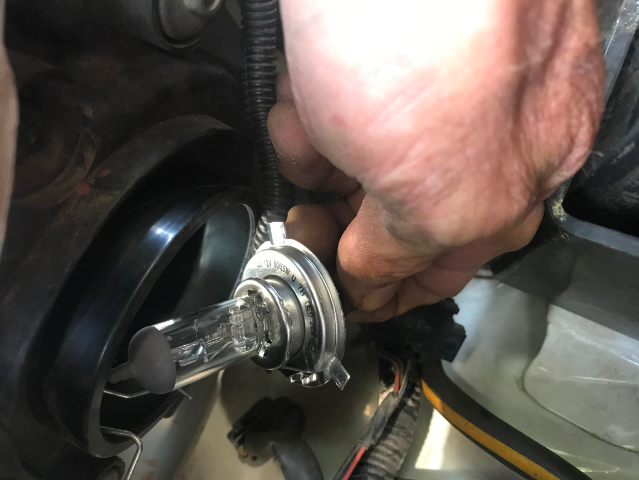
10. The new globe can now be inserted into the housing. Note that there are three tabs on the outside of the globe base that need to be lined up correctly so that they can be inserted into the headlight housing. Push the globe fully into place inside the housing.
11. Now re-hook the retaining clip, making sure it is correctly hooked on the right side of the globe. Test the globe to see if it is secure.
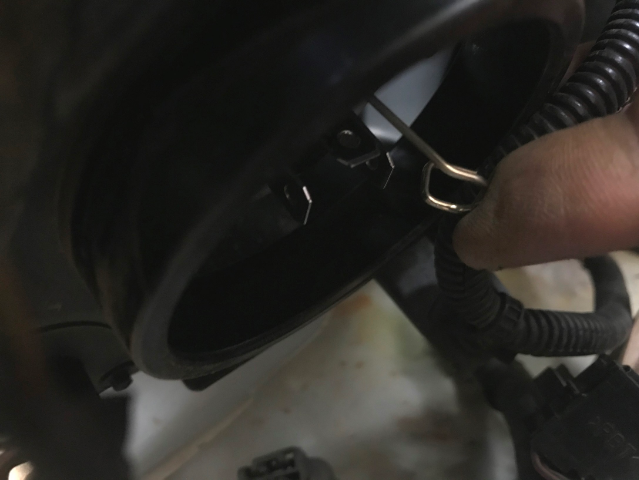
12. Replace the rubber dust cover.
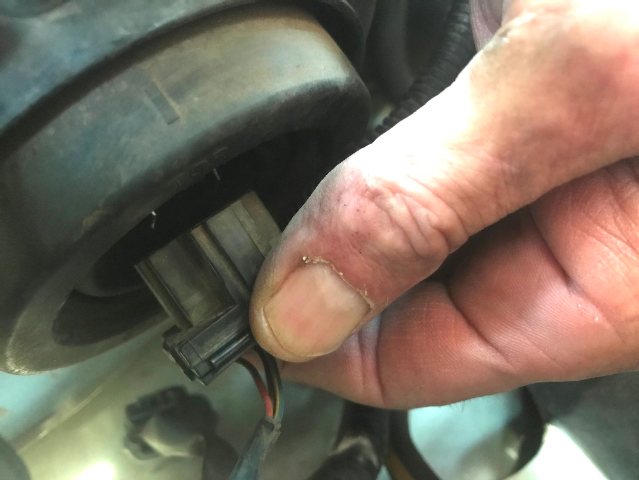
13. With the dust cover replaced, you will still be able to see the three globe terminals in the centre of the dust cover. Now, line up the cable plug correctly.
14. Push the cable plug onto the terminals, and your new globe is now installed. You are done!
15. As a final step, switch the lights on and check that they are working correctly.
Keyword: How to replace a lightbulb on a Mitsubishi Triton