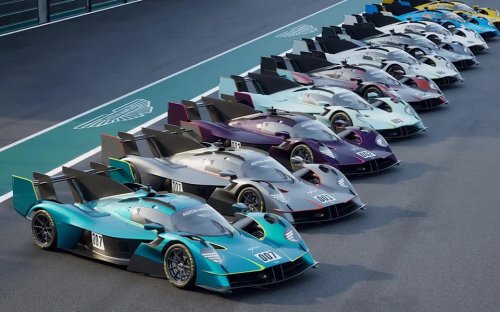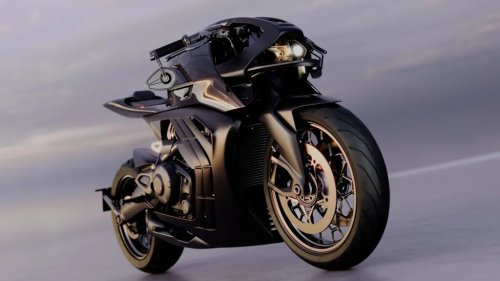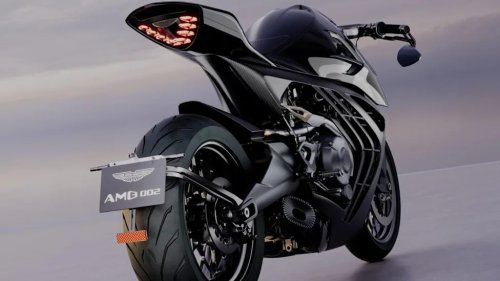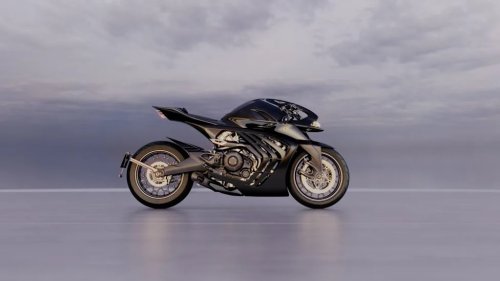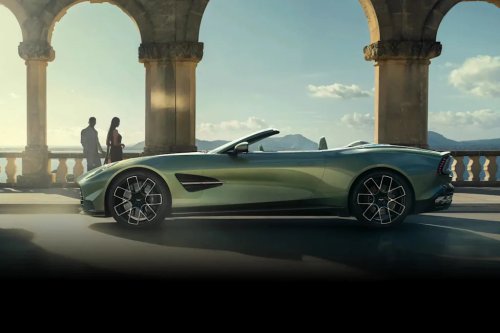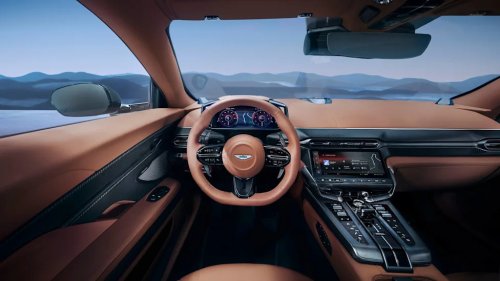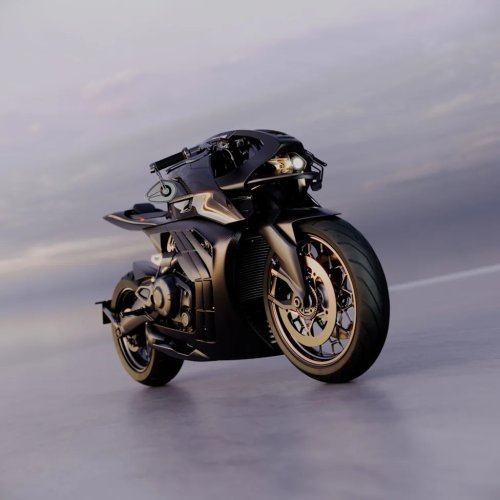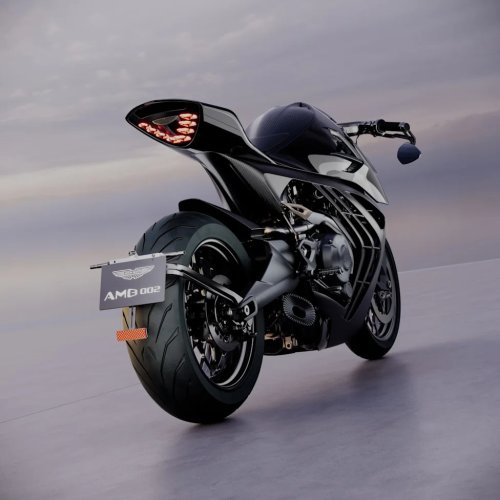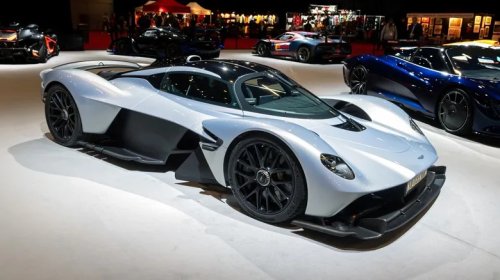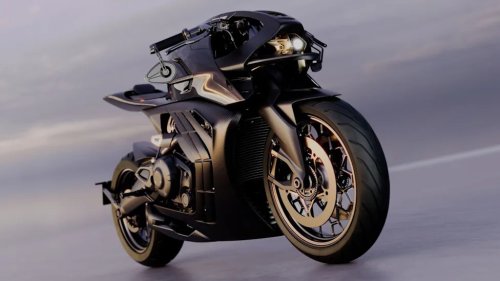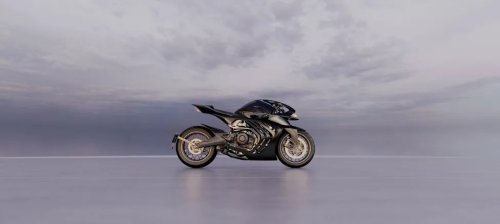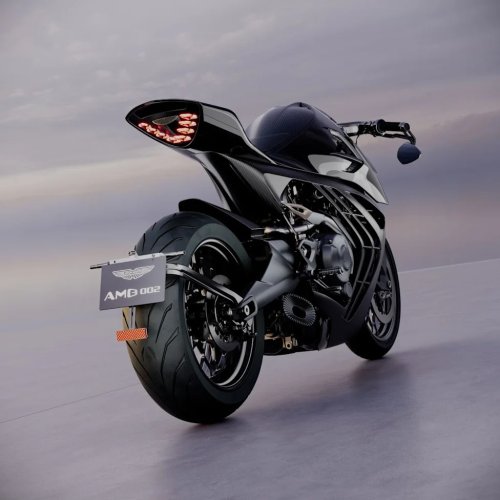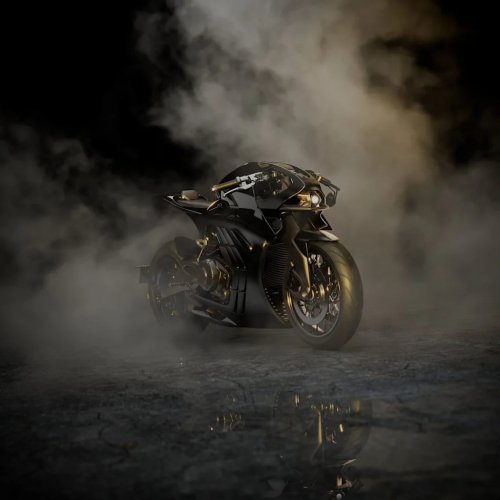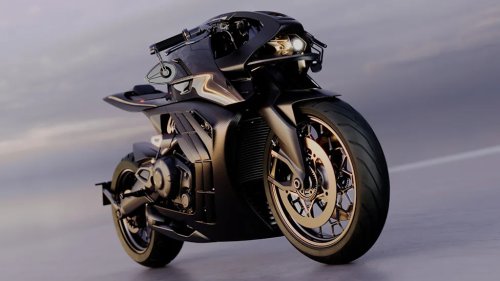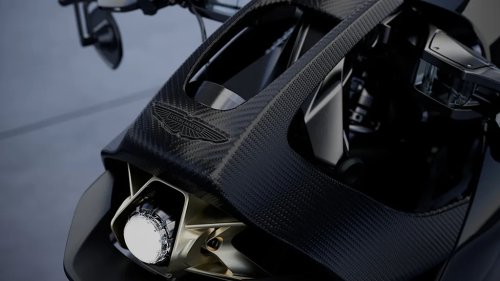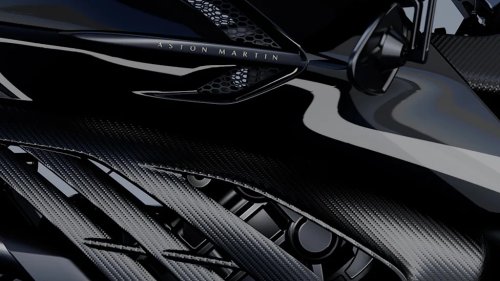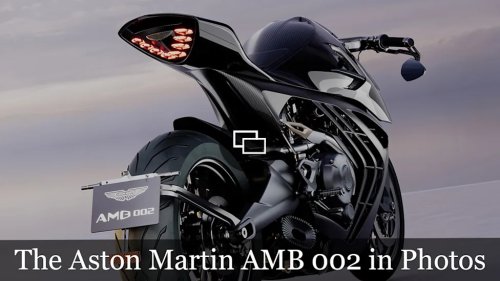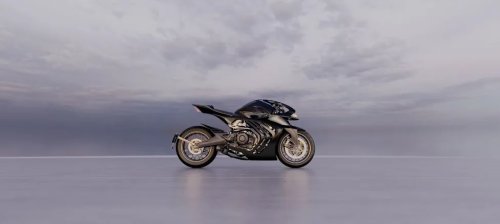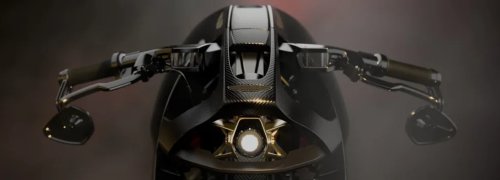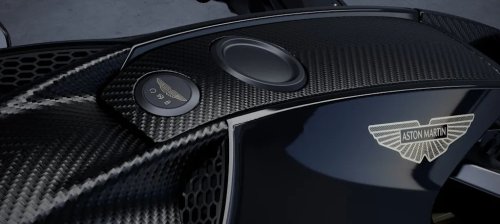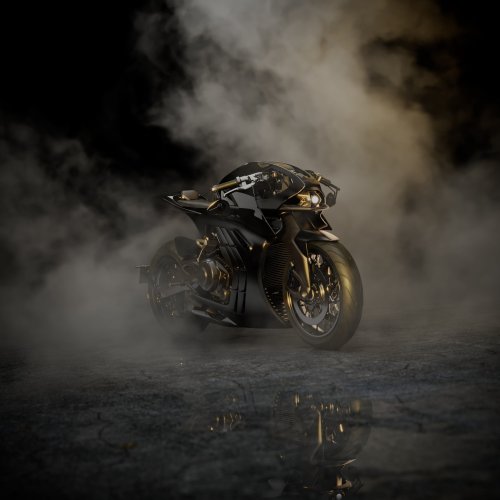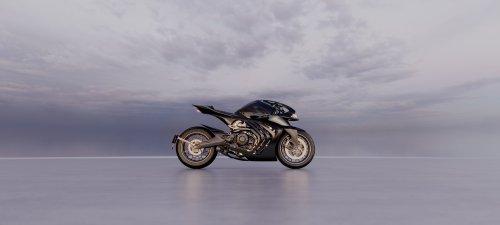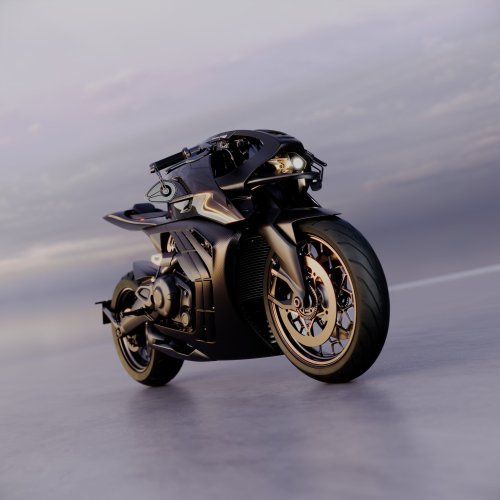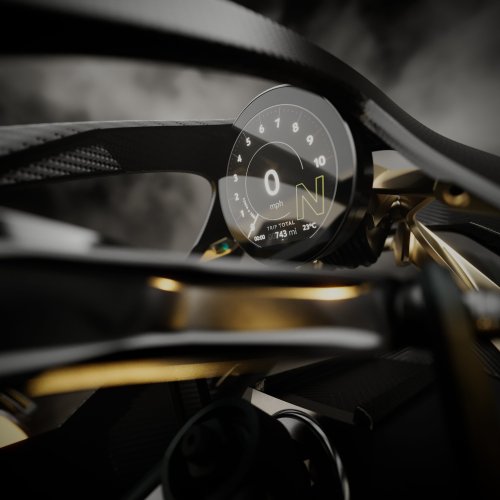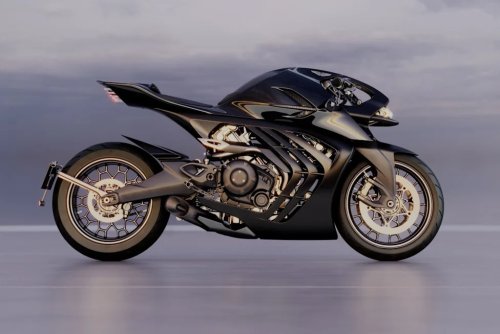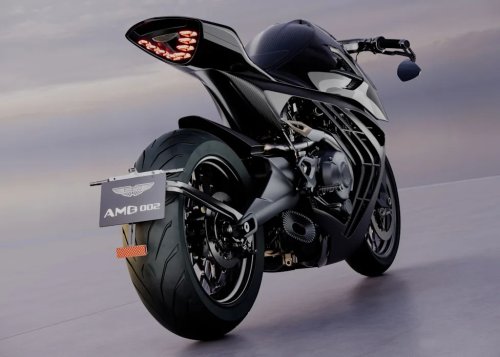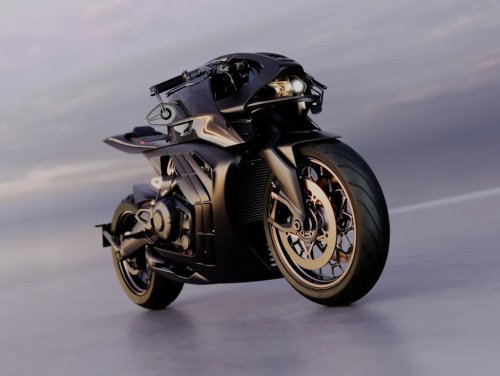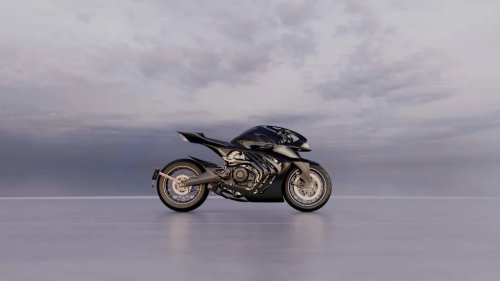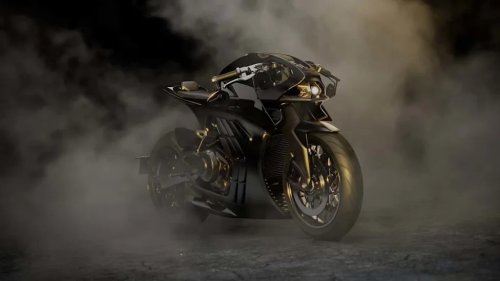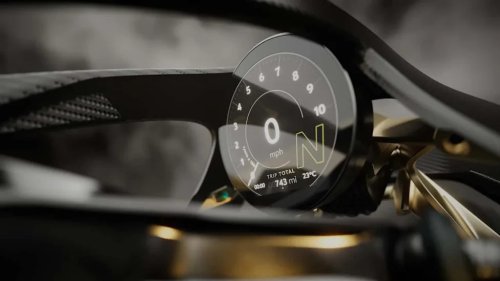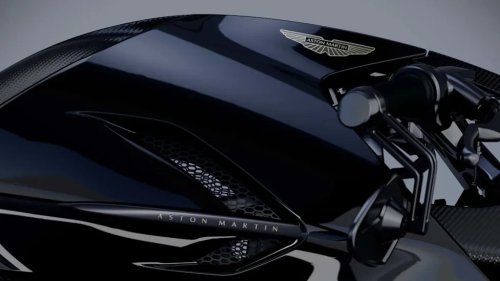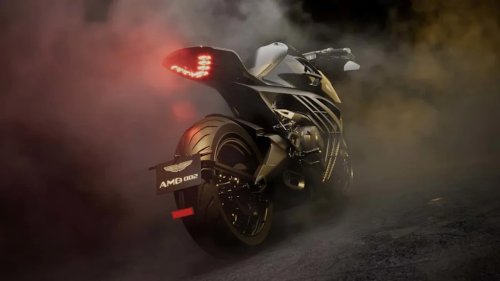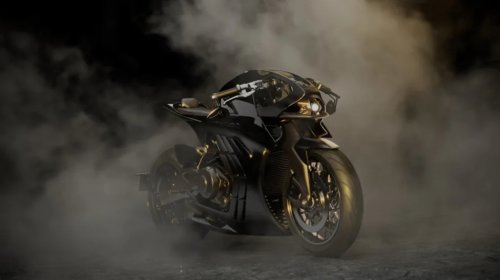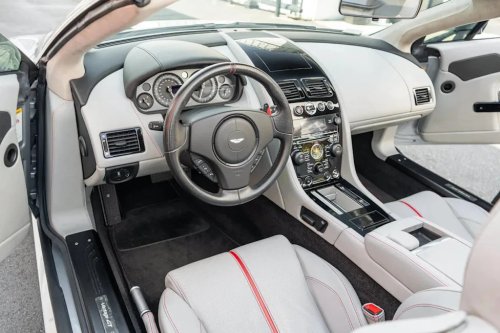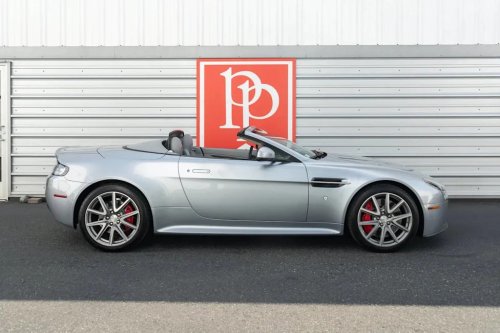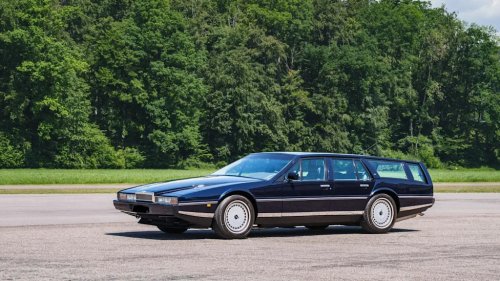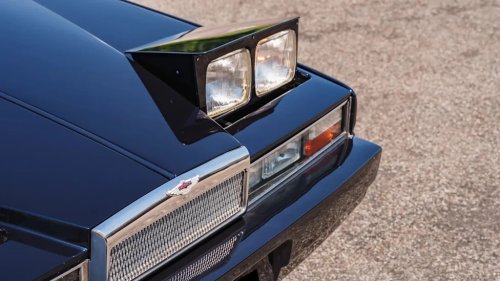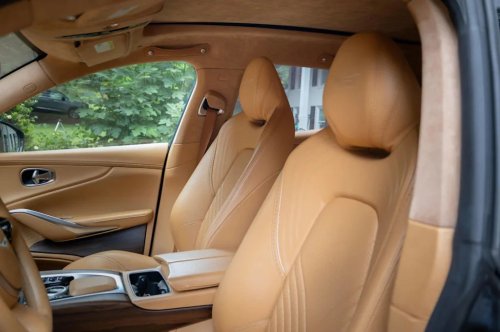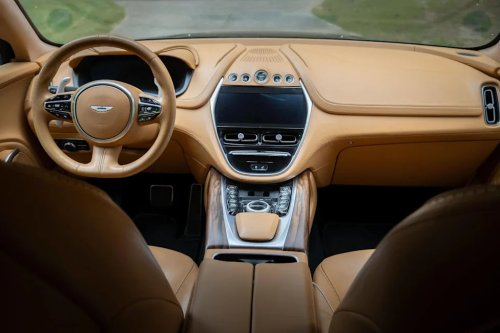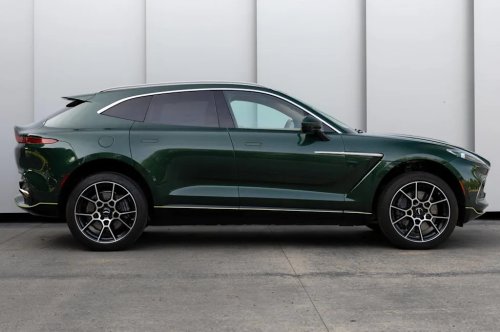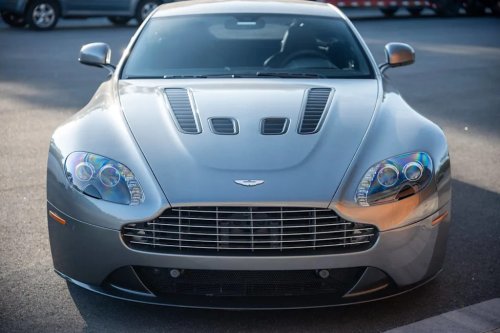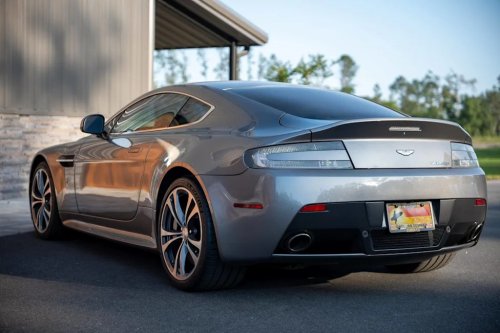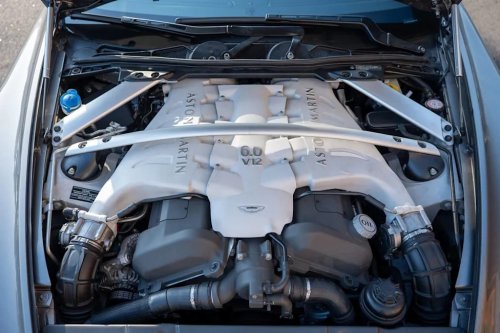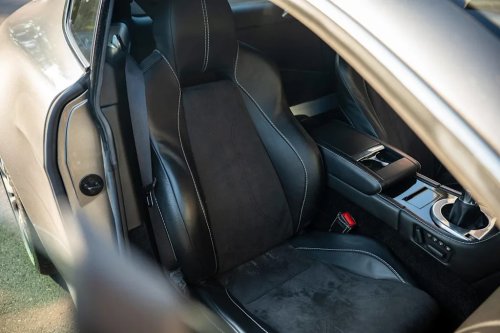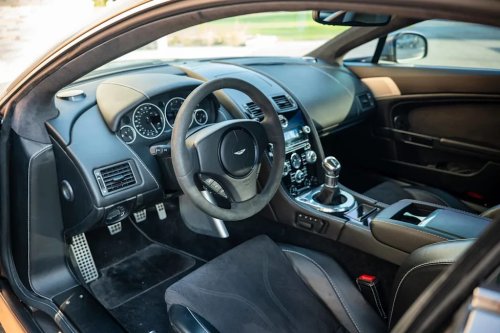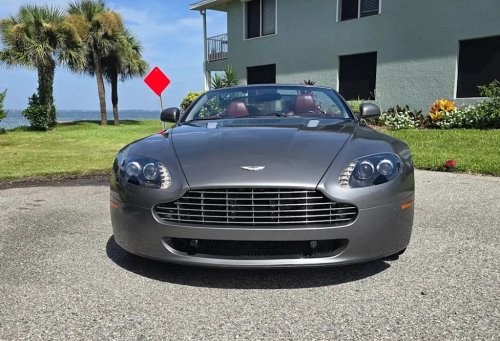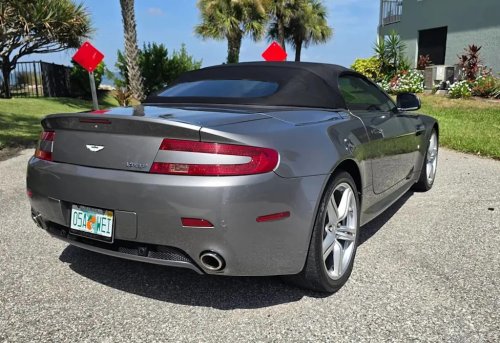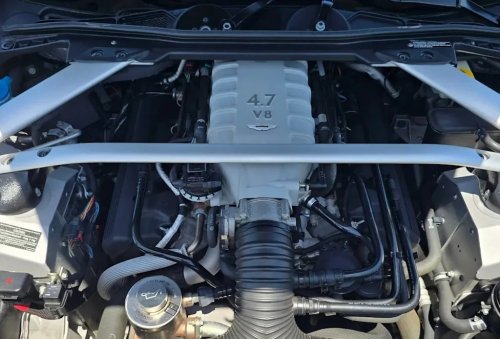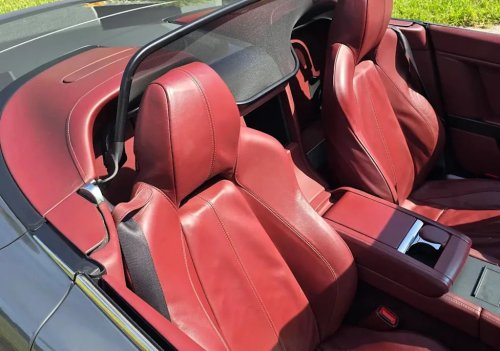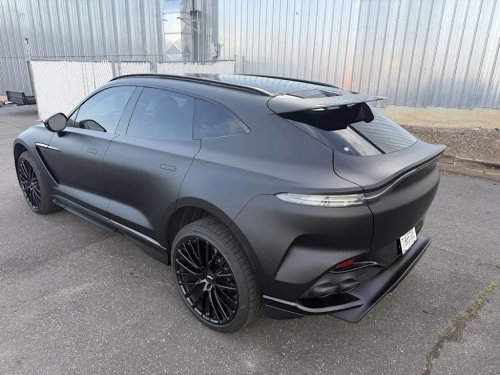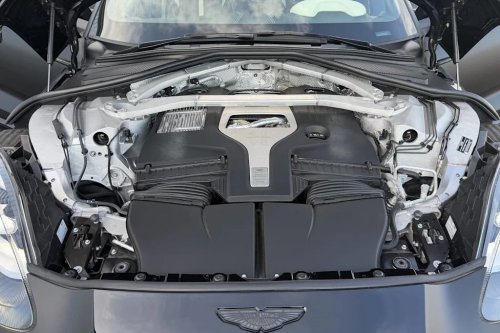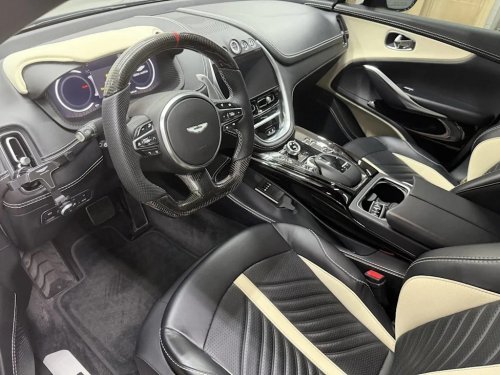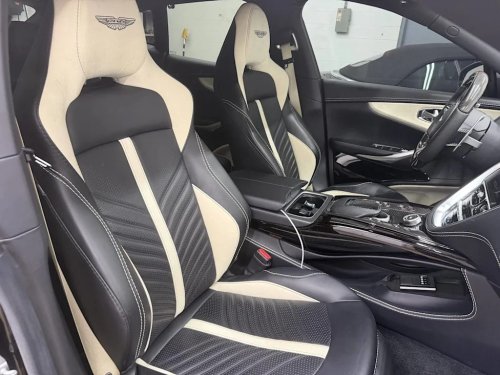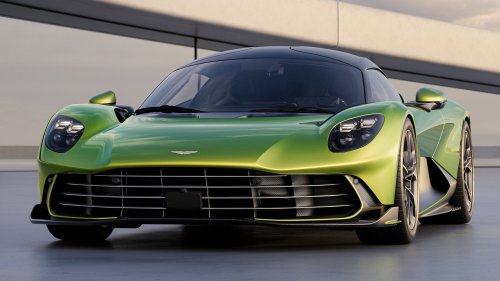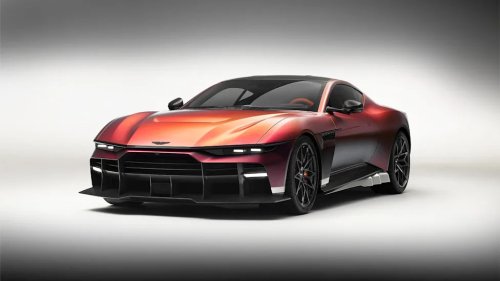
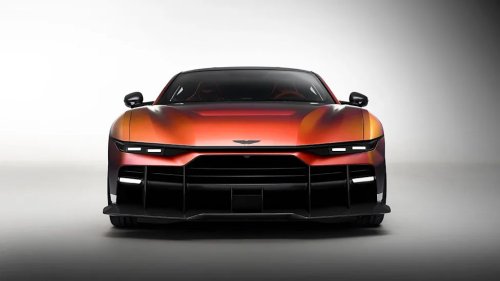
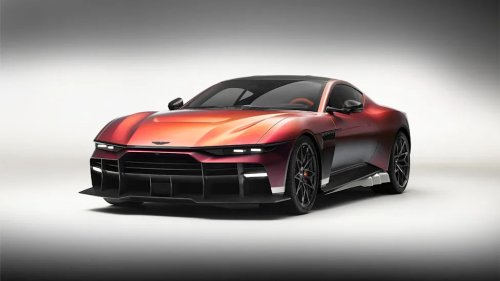
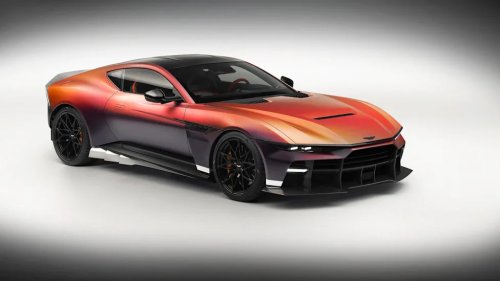
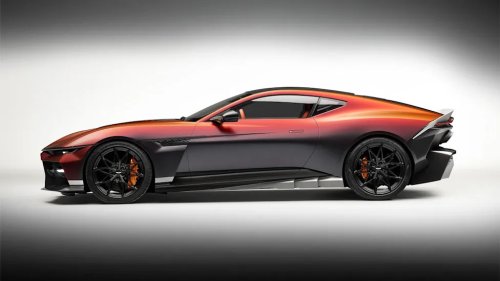
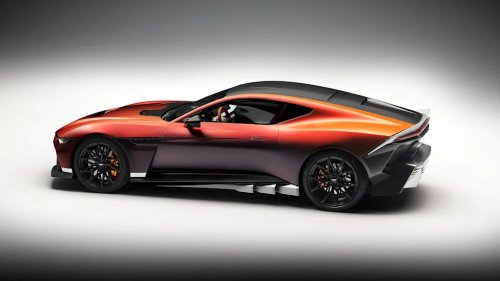
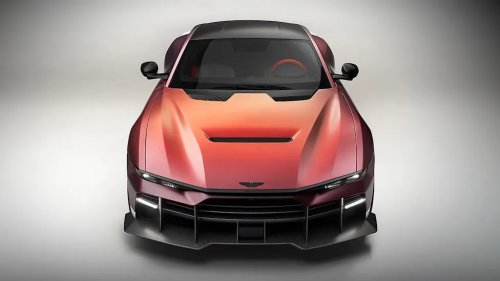
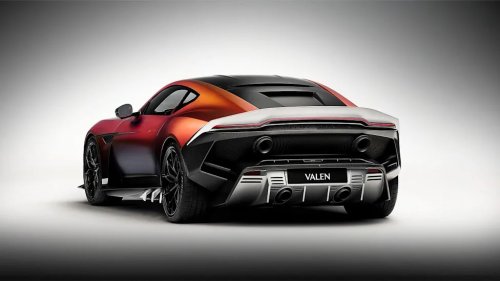
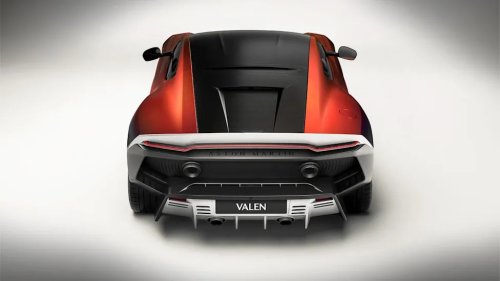
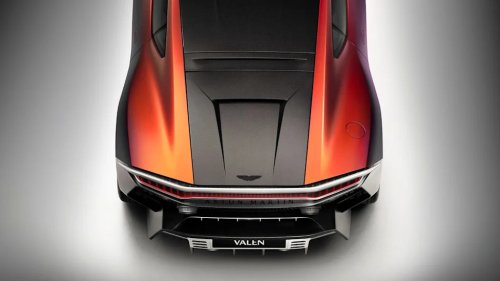
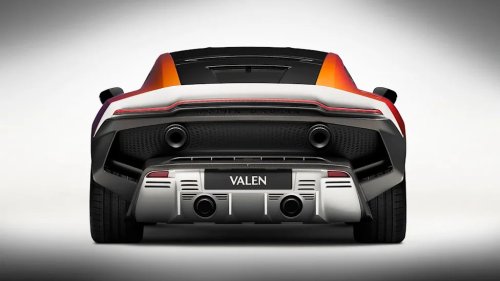
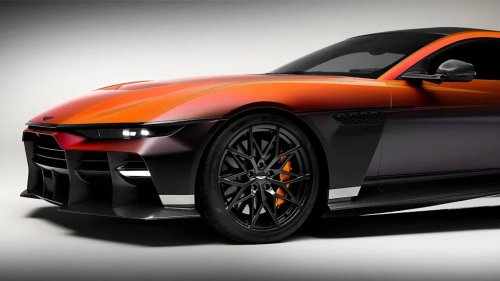
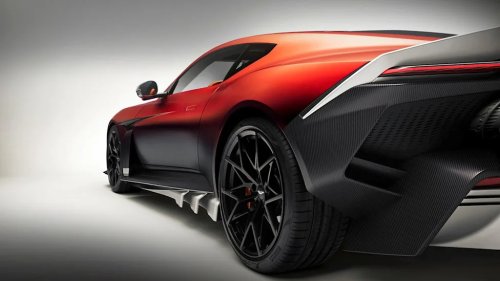
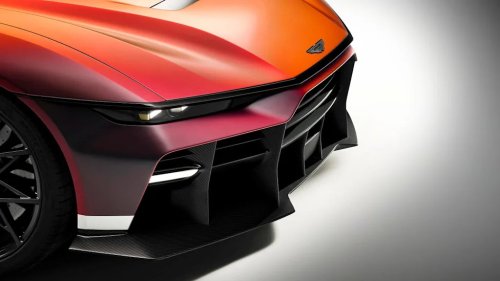
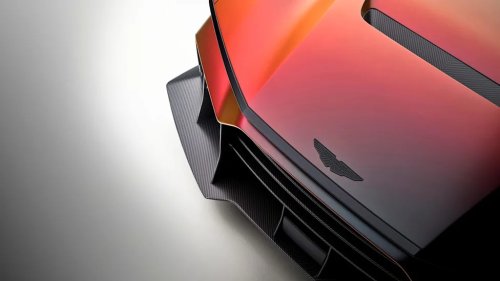
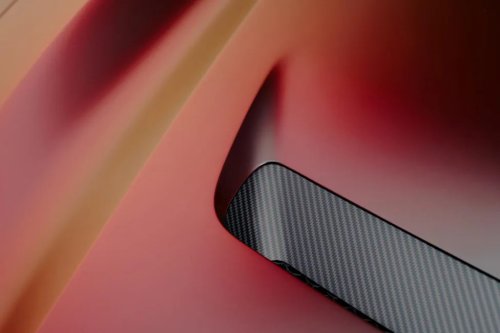
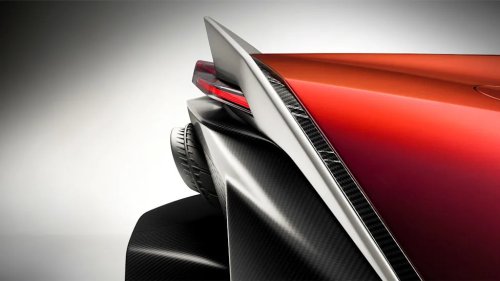
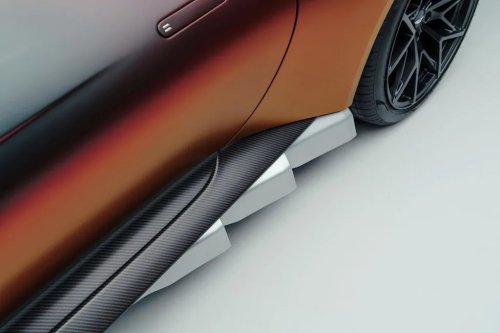
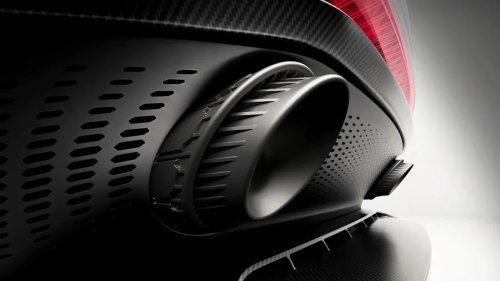
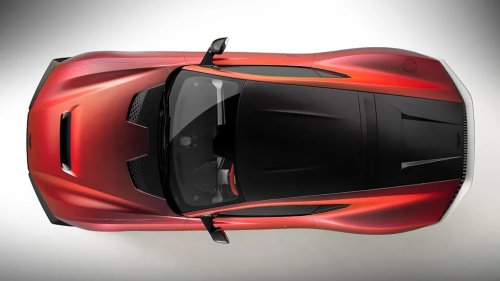
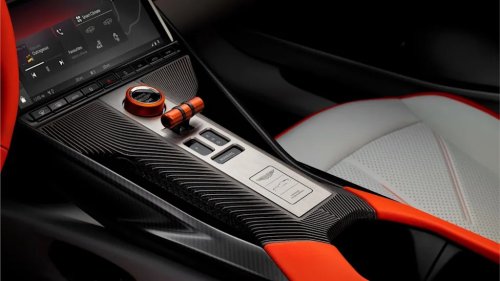
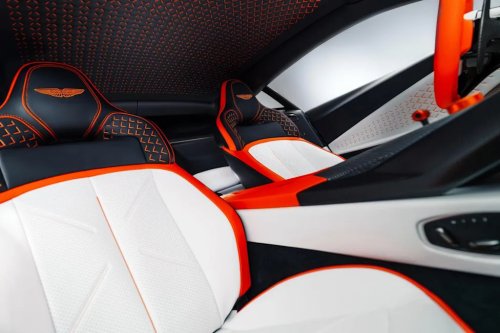
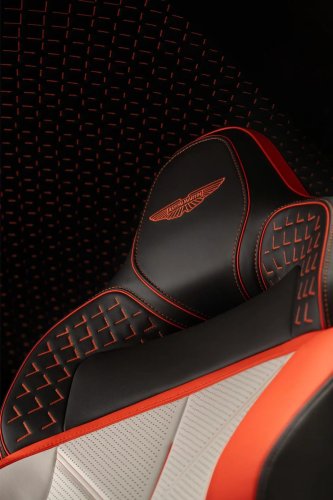

















Aston Martin Valen PhotosAston Martin1)Photo credit: Aston Martin2)Photo credit: Aston Martin3)Photo credit: Aston Martin4)Photo credit: Aston MartinAdvertisementAdvertisement5)Photo credit: Aston Martin6)Photo credit: Aston Martin7)Photo credit: Aston Martin8)Photo credit: Aston MartinAdvertisementAdvertisement9)Photo credit: Aston Martin10)Photo credit: Aston Martin11)Photo credit: Aston Martin12)Photo credit: Aston MartinAdvertisementAdvertisement13)Photo credit: Aston Martin14)Photo credit: Aston Martin15)Photo credit: Aston Martin16)Photo credit: Aston MartinAdvertisementAdvertisement17)Photo credit: Aston Martin18)Photo credit: Aston Martin19)Photo credit: Aston Martin20)Photo credit: Aston MartinAdvertisementAdvertisement21)Photo credit: Aston Martin22)Photo credit: Aston Martin23)Photo credit: Aston Martin24)Photo credit: Aston MartinAdvertisementAdvertisement25)Photo credit: Aston Martin26)Photo credit: Aston Martin