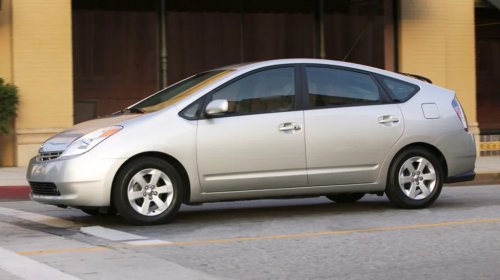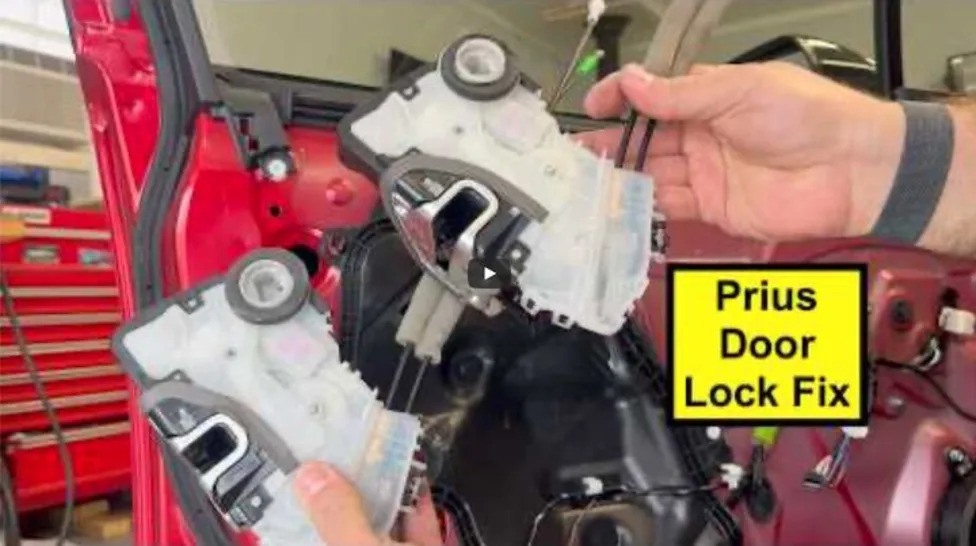



















how to fix a stuck door lock on a 2023 2025 toyota priusIf the door lock on your 2023, 2024, or 2025 Toyota Prius or Prius Prime does not respond to being locked or unlocked by the remote then the door lock actuator is likely damaged. We go step by step through the replacement instructions here to get your door lock working properly again.TTAC Creator Bozidar "Bozi" Tatarević is a Bosnian-American racing mechanic, writer, and technical consultant born in Sarajevo in 1986. After immigrating to the U.S. in 1995, he learned English in elementary school and eventually turned his passion for cars - fostered by his father Slav - into a full-time career. Laid off from a tech job in 2008, Bozi began wrenching professionally, eventually launching a shop and car export business with his family. His technical message board posts led to a writing career with outlets like TTAC, Motorsport.com, Road & Track and Racecar Engineering.In 2018, he made his pro mechanic debut at Watkins Glen and now works as a tire carrier and mechanic for Vasser Sullivan Racing in IMSA, with 10 wins and a 2023 GTD Pro title. Bozi also consults via his agency Podium Prime, with clients ranging from race teams to media production companies.AdvertisementAdvertisementEd. Note: this podcast initially ran several months ago, so it's been moved so that those who missed it the first time get a chance to see it.The TTAC Creators Series tells stories and amplifies creators from all corners of the car world, including culture, dealerships, collections, modified builds and more.Below is an AI-generated summary of the video transcript, which has been edited by a staffer.[Images: YouTube thumbnail]Become a TTAC insider. Get the latest news, features, TTAC takes, and everything else that gets to the truth about cars first by subscribing to our newsletter.SummaryThe transcript is a step-by-step DIY repair guide for replacing a failed door-lock actuator on a Toyota Prius. The presenter explains that when the remote no longer locks or unlocks the door, a damaged actuator - an electrically operated mechanism inside the door - is a likely culprit.AdvertisementAdvertisementDiagnosis and Door-Panel RemovalThe repair begins by removing the interior door panel. The presenter uses a plastic trim tool to access three bolts:One inside the sliding cover in the armrest pocketOne behind a plastic cover near the interior door handleOne underneath the window-switch assemblyAfter disconnecting the window-switch electrical connectors, the panel can be carefully popped loose, starting near the lower corner by the speaker grille. The presenter stresses supporting the panel as it comes free, so it doesn't fall.The door-lock and door-handle cables are then disconnected from the panel, allowing access to the components inside the door.AdvertisementAdvertisementRemoving the ActuatorThe replacement procedure requires a T30 Torx bit and a 10mm socket. The T30 is used to loosen the bolts securing the door-lock actuator, while the 10mm socket removes two bolts holding an internal vertical brace.The wiring attached to the black plastic cover is unclipped, along with several plastic clips and quarter-turn fasteners. The cover is loosened or, preferably, completely removed to provide better access.The actuator can then be carefully worked out of the door. Particular attention is required because the assembly is connected to metal linkages for the exterior door lock and handle.AdvertisementAdvertisementBefore installing the replacement, the presenter recommends comparing the old and new actuators to ensure they match and that the linkages are the correct length.Installing the New ActuatorInstallation requires carefully aligning the replacement actuator with the two metal linkages inside the door. The presenter recommends first aligning the linkage connected to the exterior door-lock mechanism and then connecting the linkage running to the door handle.The electrical connector is then aligned and the actuator's exterior bolts are installed and tightened.A key part of the procedure is testing the repair before reassembling the door. The actuator is temporarily connected electrically so the remote can be used to verify that it locks and unlocks properly. The linkages should also be manually checked for proper movement.AdvertisementAdvertisementThe presenter additionally recommends using the Prius's physical key from outside the vehicle to ensure the lock turns correctly.ReassemblyOnce the actuator is confirmed to work, the black plastic cover is reinstalled, with the linkages routed through the correct openings. The plastic clips and quarter-turn fasteners are replaced, and all wiring is clipped back into its original position.The internal metal brace is then reinstalled, making sure it is oriented correctly.Before reinstalling the door panel, the presenter recommends checking the actuator cables again to ensure none have become pinched or displaced.AdvertisementAdvertisementThe door panel is essentially reinstalled in reverse order: reconnect the door-lock and handle cables, reconnect the window-switch wiring, press the panel clips into place and reinstall the three bolts and plastic trim pieces.Final CheckThe most important final step is to test the door lock and handle with the remote before completely closing the door. This provides an opportunity to catch an installation mistake before the door becomes stuck closed.Bottom line: The repair is relatively straightforward but requires careful handling of trim pieces, wiring and especially the actuator's mechanical linkages. The transcript's biggest emphasis is on testing the replacement before fully reassembling the door, which can prevent having to remove the door panel again - or dealing with a door that won't open.