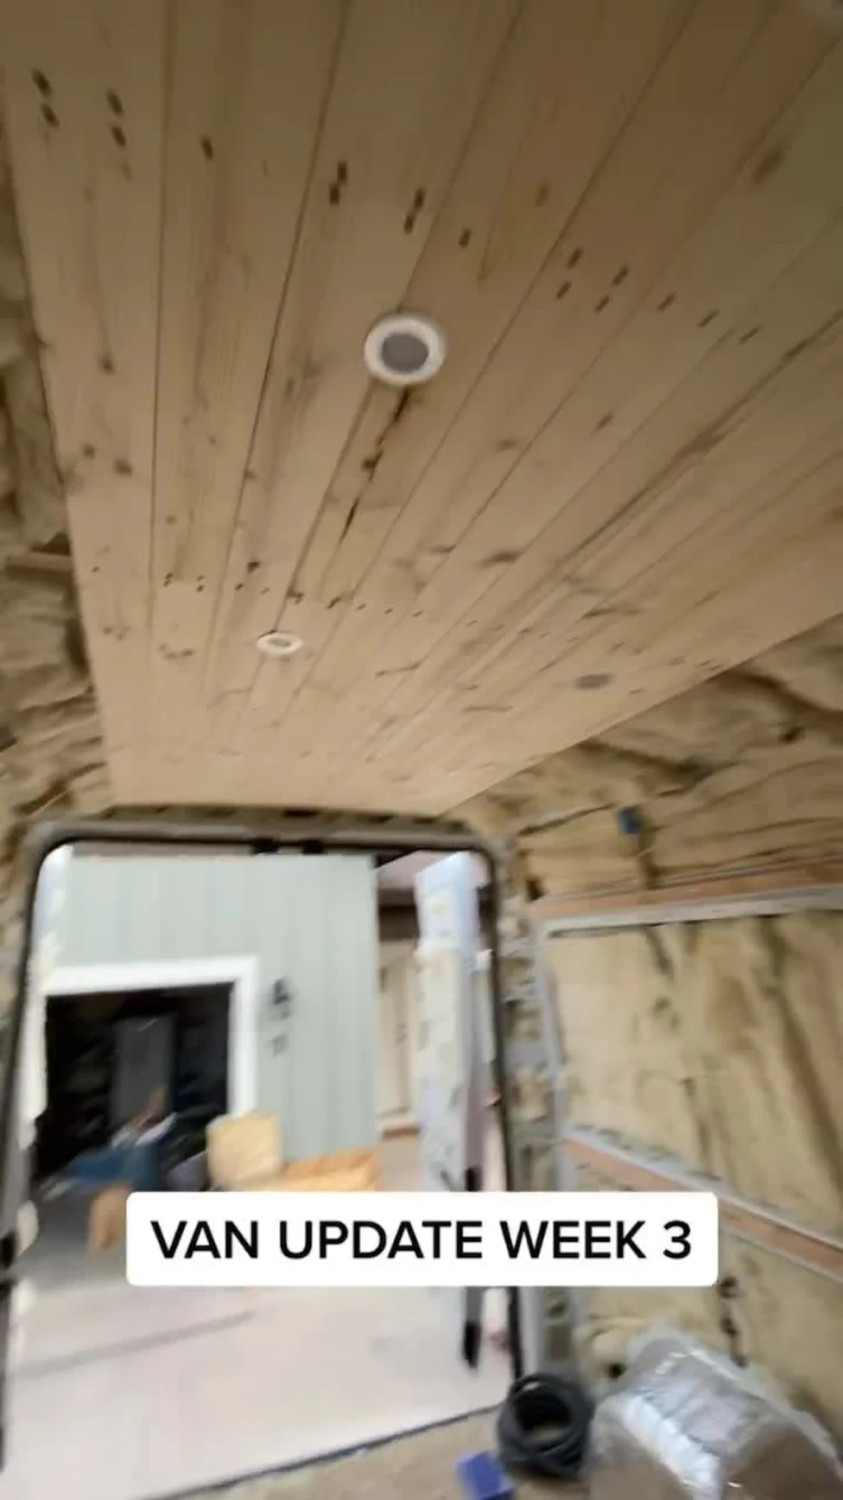
Inside My Custom Campervan Week 3 Progress ReportBuilding a custom campervan is a masterclass in motion. You are constantly balancing the physical work with the creative vision. Some days feel like a crawl, but week three is all about major milestones. The skeleton of this rig is finally transforming into a livable, functional space.It is an intense phase of the build. One wrong wire or misaligned board can set the whole timeline back.Hand-Crafted Comfort from the Top DownI started the week focusing entirely on the upper half of the frame. Getting the layout right required a lot of precise planning before any wood could be mounted.AdvertisementAdvertisementThe installation process was straightforward but demanding.The Tongue-and-Groove Ceiling: I lined the roof with warm wood panels to cover up the metal shell.The Custom Lighting Grid: I wired eight individual flush puck lights directly into the ceiling panels.The Climate System: I cut a clean opening and mounted a heavy-duty MaxxFan to handle the ventilation.The result? Incredible.The wood ceiling completely changes the energy of the interior. The bright puck lights provide crisp, clean illumination throughout the entire cabin, giving me a solid environment to review footage at night.Off-Grid Power Ready for the RoadThe real victory of week three is sitting right outside on the driveway. I spent the afternoon engineering the structural foundation for my off-grid power setup. The roof brackets are officially locked into place.AdvertisementAdvertisementI laid out the custom roof rack to measure the exact footprint of the power grid. I am mounting four heavy-duty solar panels directly to the frame, ensuring a continuous charge for all my camera bodies, drone batteries, and laptop stations.It is a massive relief to see these elements lock together. The rig is finally evolving past a raw construction site and looking like a true adventure vehicle.