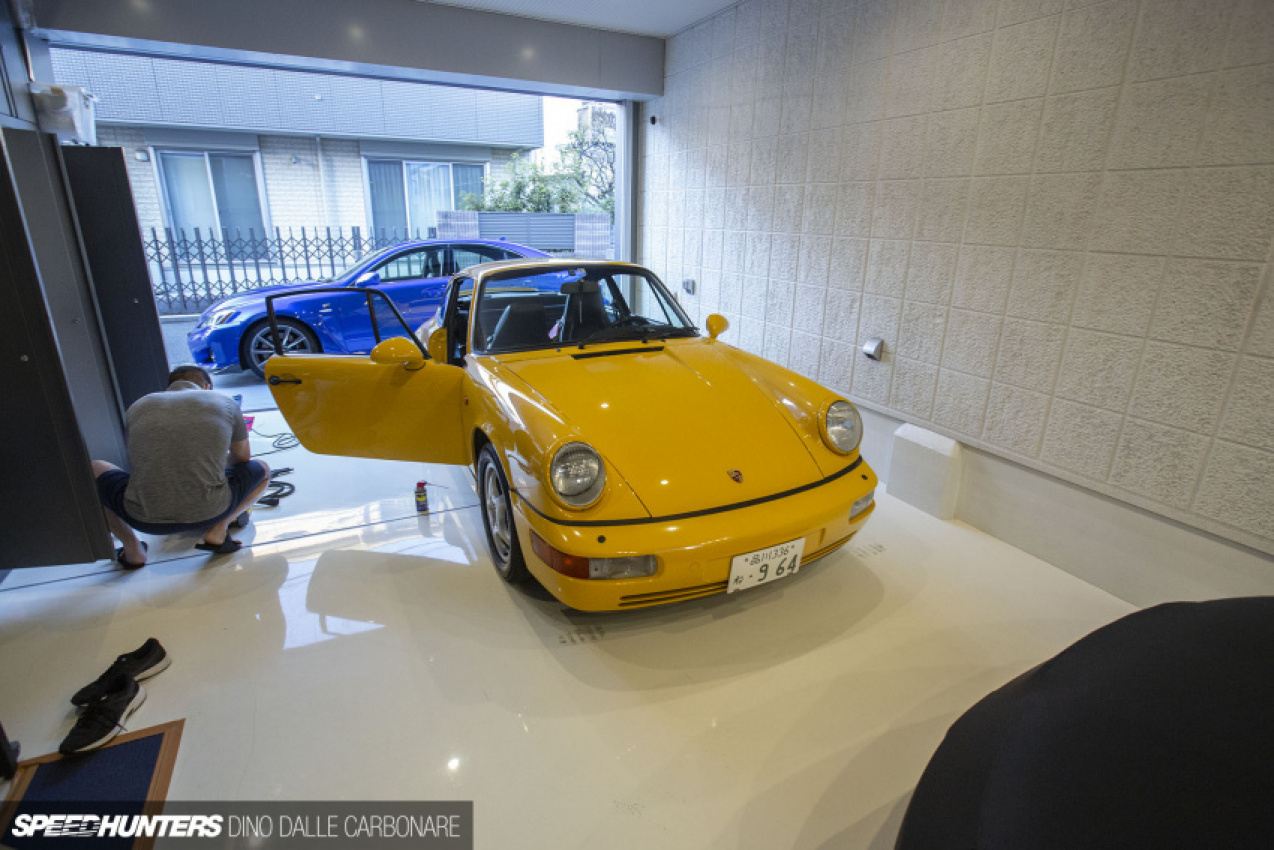
This little yellow car with a rear-mounted air-cooled engine is an emotional rollercoaster. That’s why Project 964 updates come sporadically; they’re a reflection of my relationship with the thing.
I like this car. A lot sometimes. But most of the time I straight out hate it. I end up going through short bursts of positive experiences with the car, for it to only then turn back and slap me in my face with an array of new problems. It’s at this point that I park it up, unplug the battery and forget about it for a few months. Despite that however, there continues to be repairs and improvements.
Let’s recap a little on what I’ve been up with the 964 over the last six months or so. In the last update, Aki helped me get it looking tip-top, thanks in part to some choice products from Gtechniq.
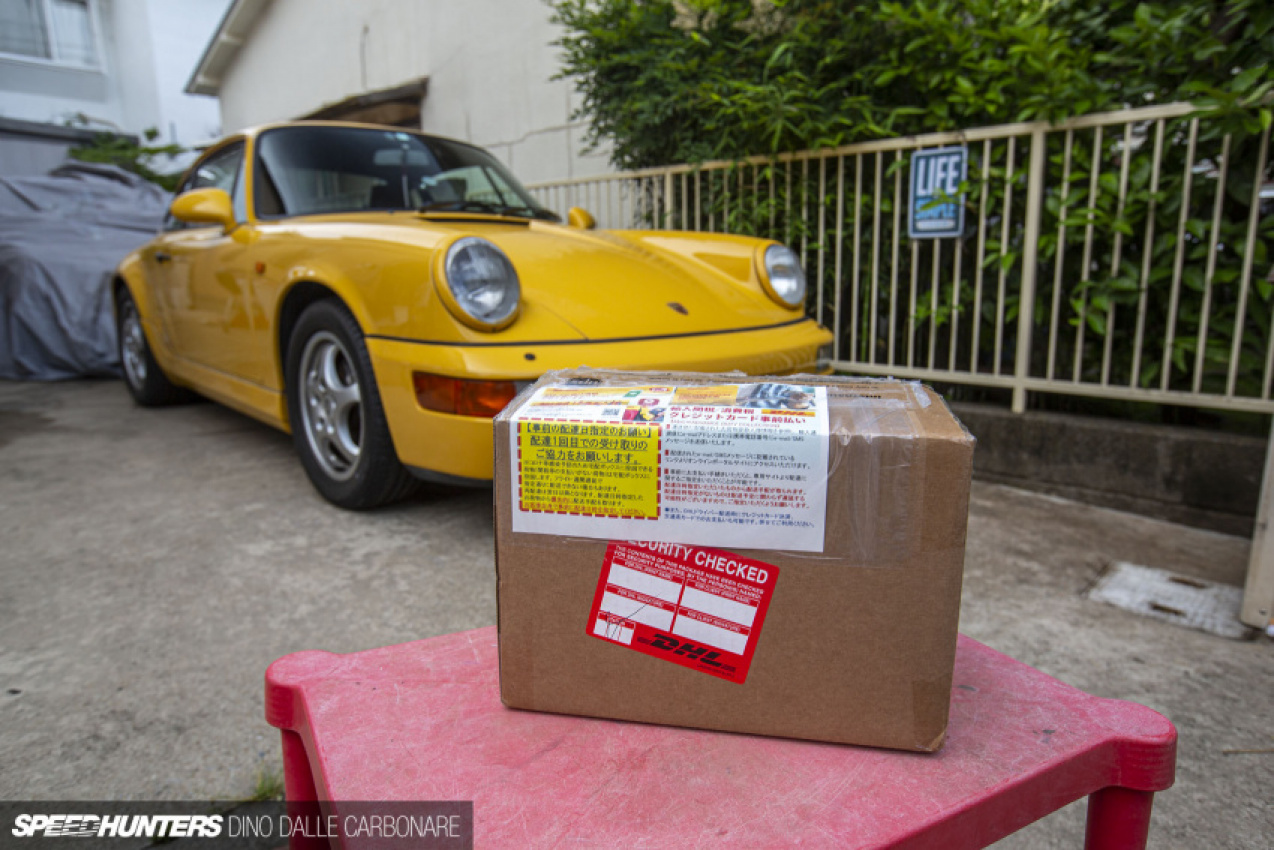
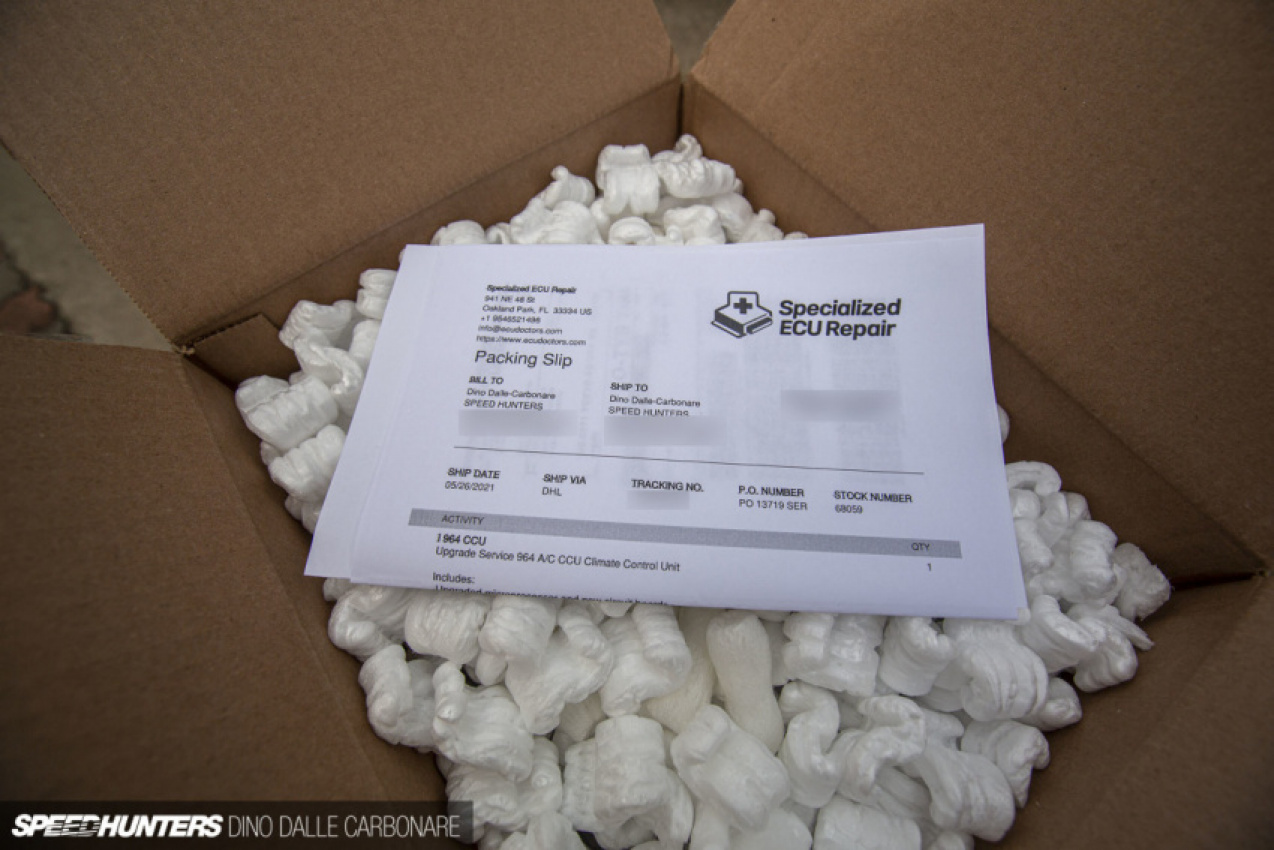
Shortly after, the wave of positivity kept flowing with the arrival of a package from Florida. If you recall, last year I had sent the Porsche’s HVAC unit off to Specialized ECU Repair in the US.
I had stumbled upon these guys during a 964-themed, late-night internet deep-dive, and was impressed by the unique services they offer to masochistic owners of older German and Italian cars.
I contacted them and talked to a helpful guy called Jorge, telling him of the ongoing saga with my 964, including fact that I had no A/C, no heating and not even a single sign of life from the HVAC fans.
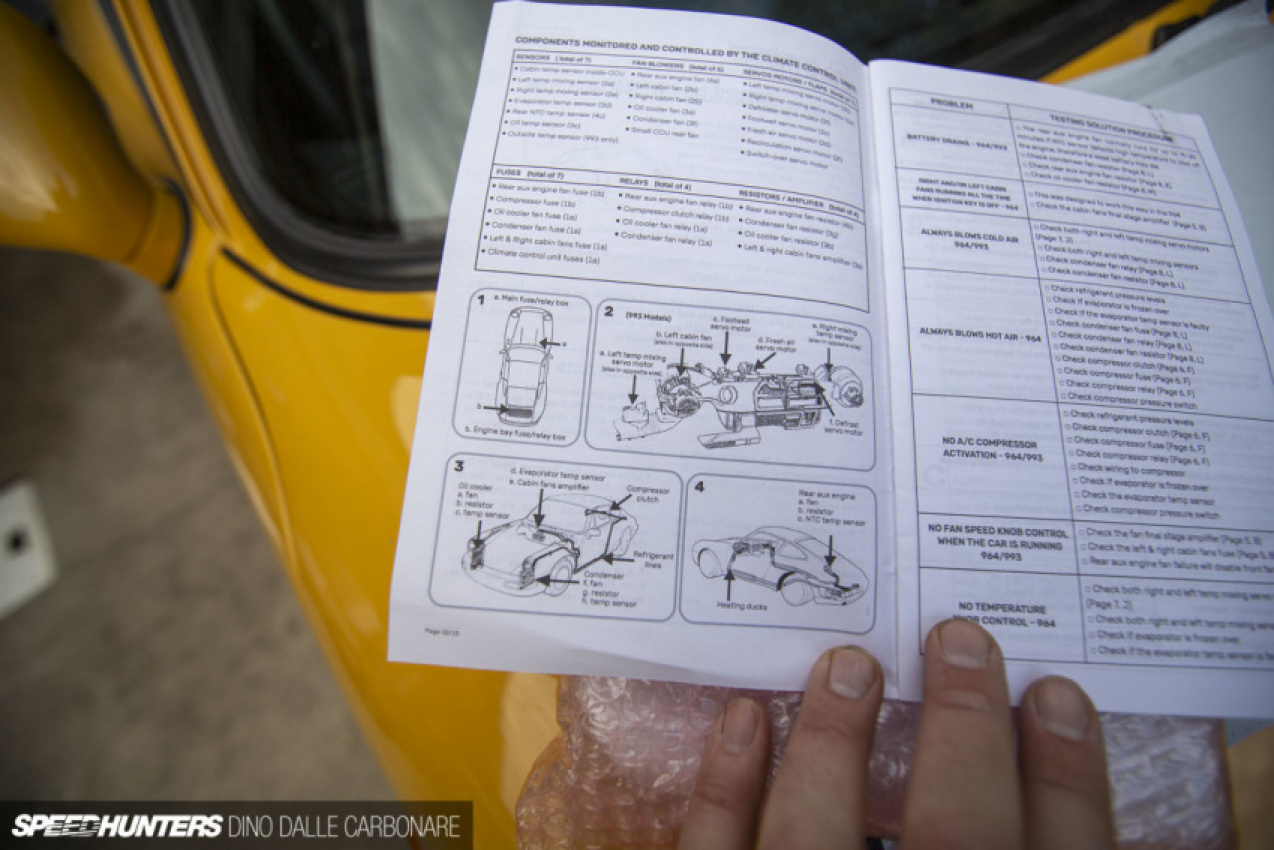
Jorge told me all about the less-than-reliable control units that 964s and 993s came with, and that while it might not be a complete fix for the particular issues that I was having, sending the unit over would at least eliminate it as a source of problems. Hopefully it would bring back some functionality though.
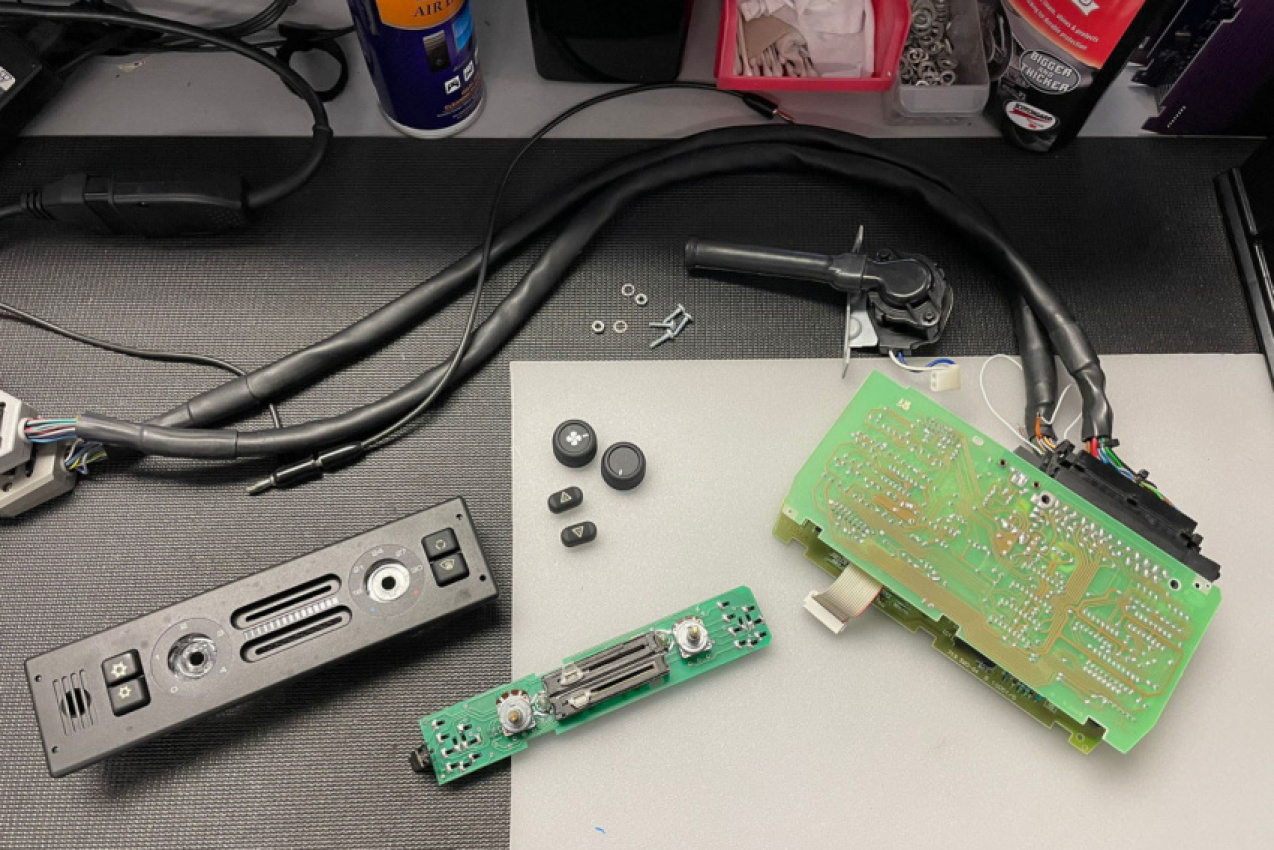
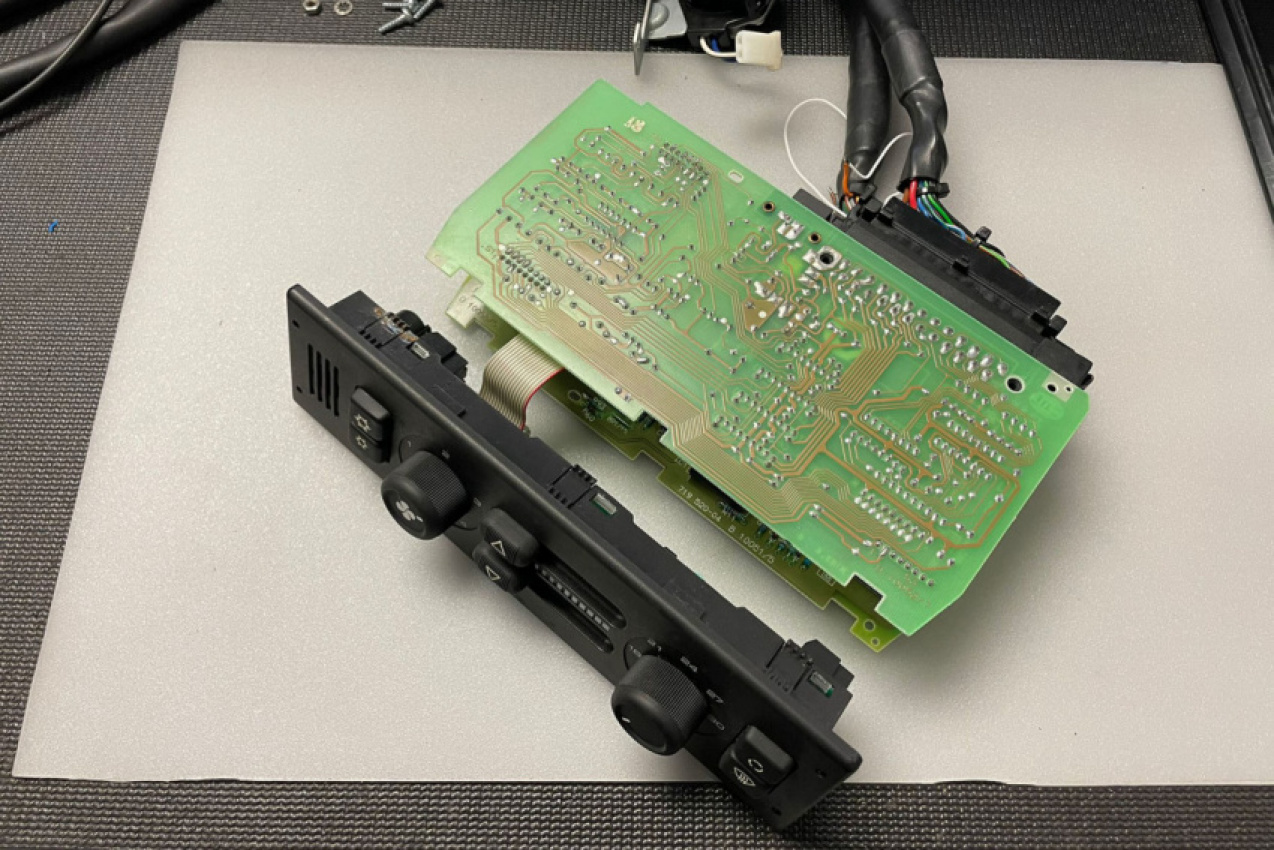
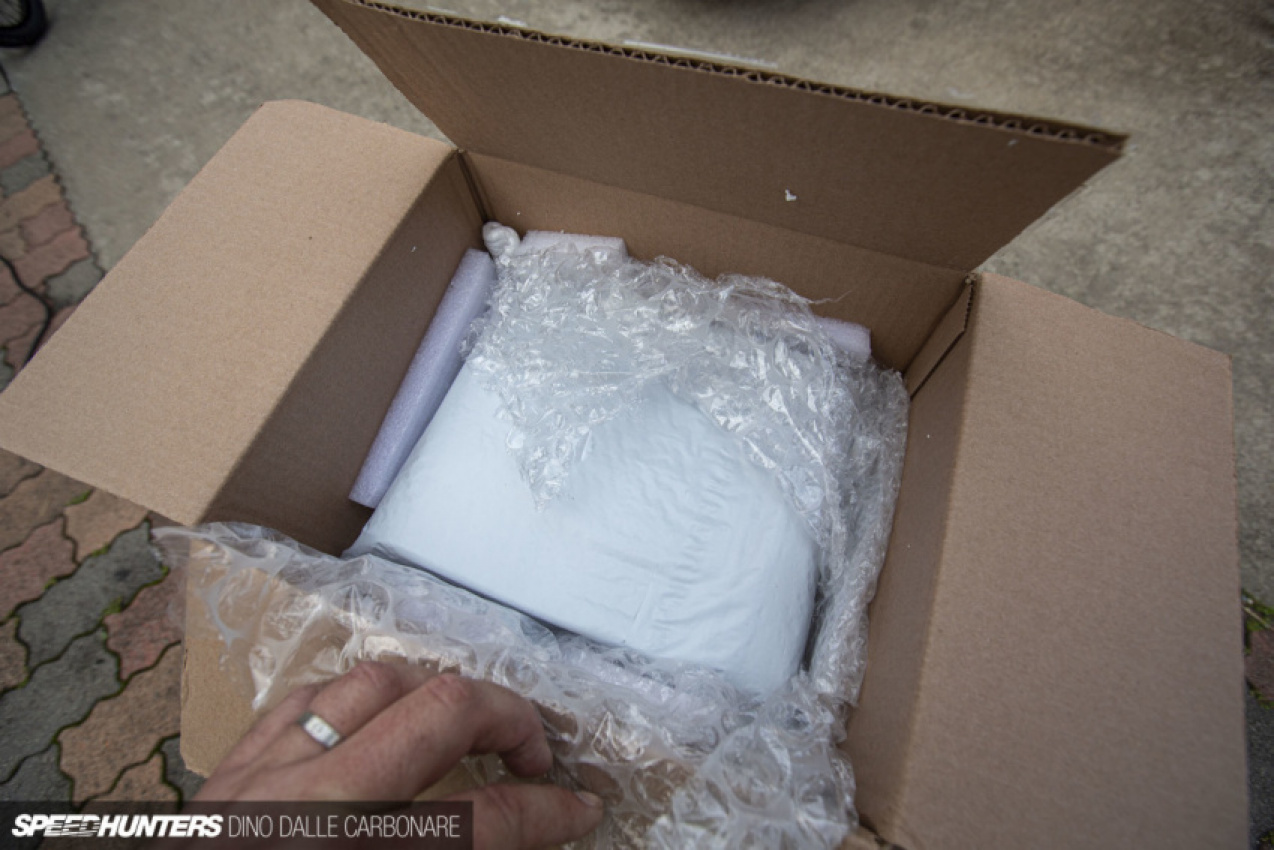
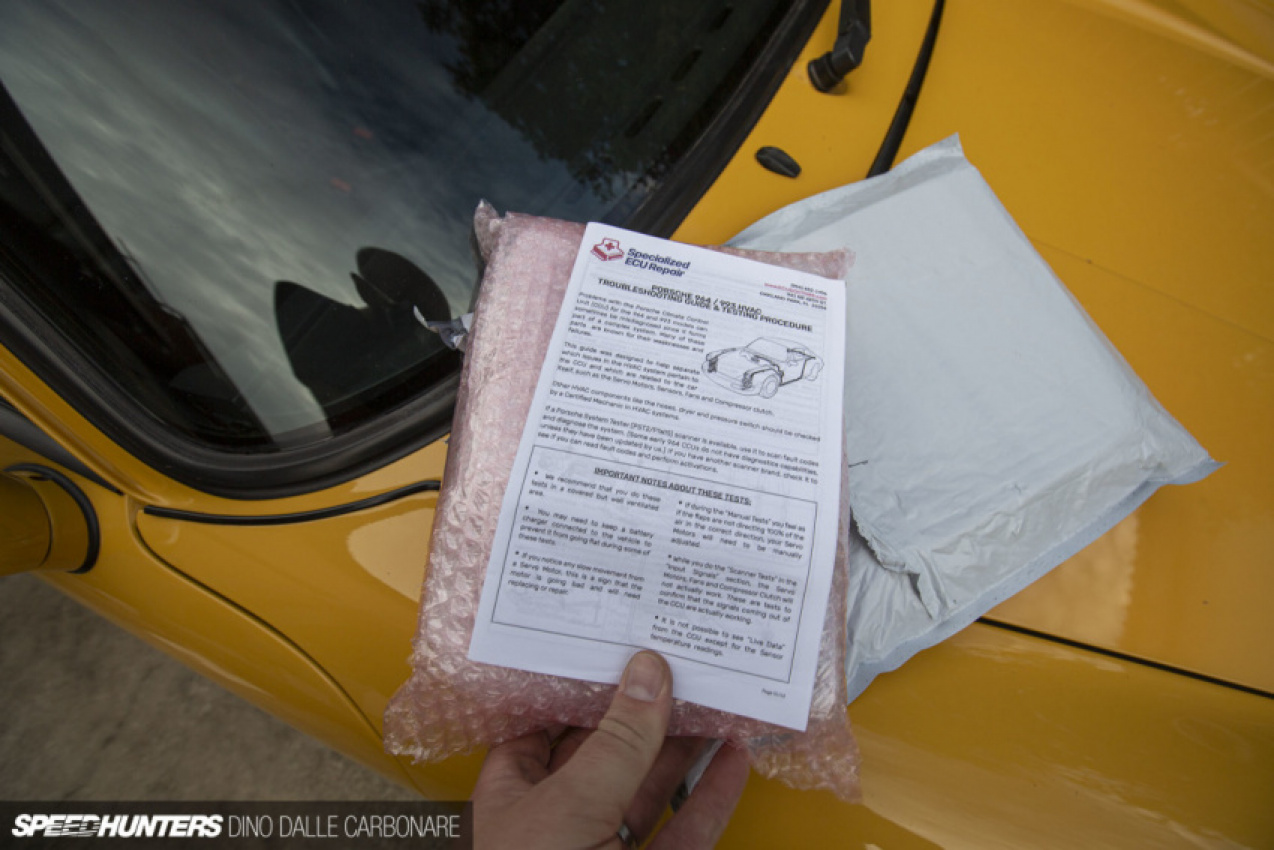
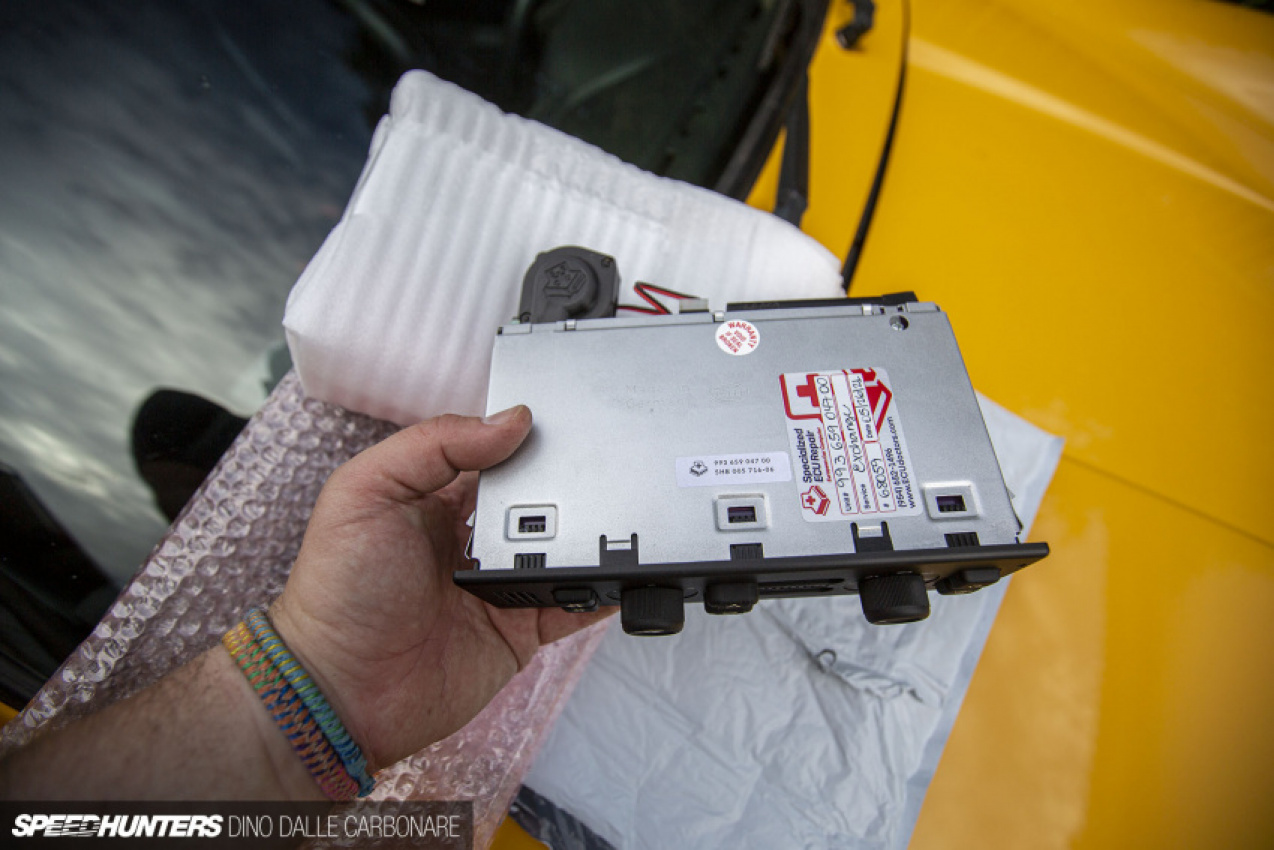
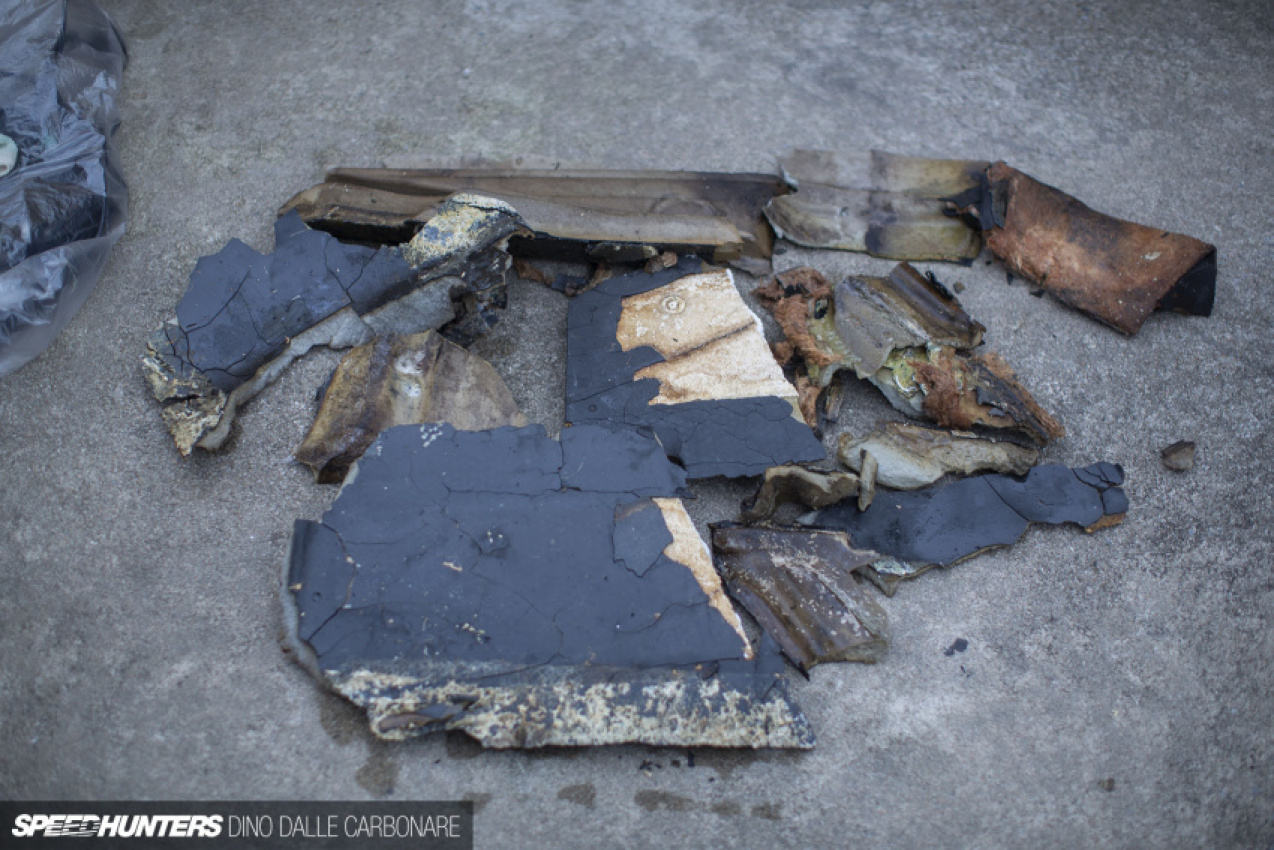
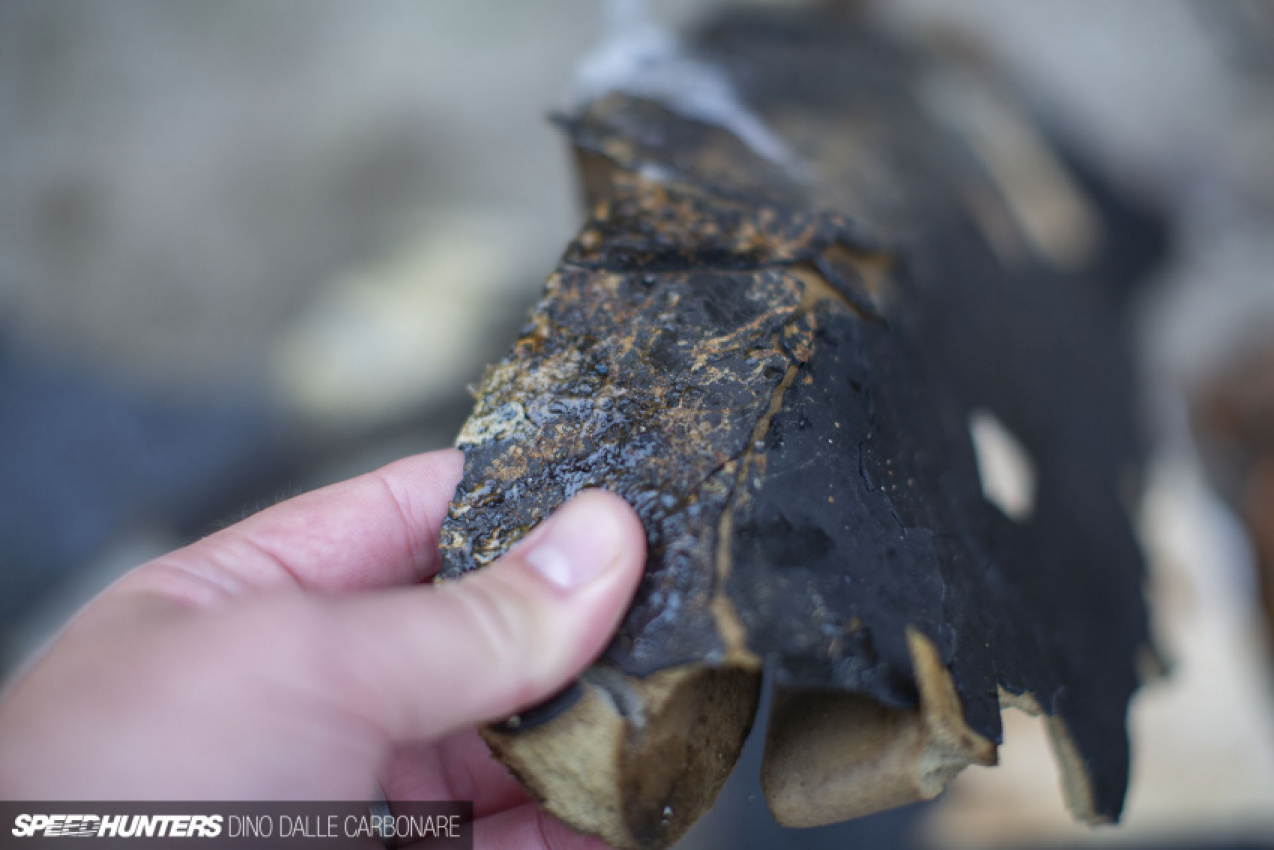
The repair entailed completely rebuilding the unit’s circuitry with modern boards and functionality. While Jorge was doing the work he was kind enough to grab a few pictures of the process, starting with the state I sent him my unit in. You can see that the face even had some mold beginning to appear. Lovely.
First things first, Specialized ECU Repair ran a diagnosis check. This showed up an issue with the temperature fan at the back of the unit which would continue to run after the ignition was switched off, draining the car’s battery.
After stripping it down and giving the bits that were staying a deep clean, Jorge proceeded to swap in their brand new circuitry, SMD internal components and switchgear.
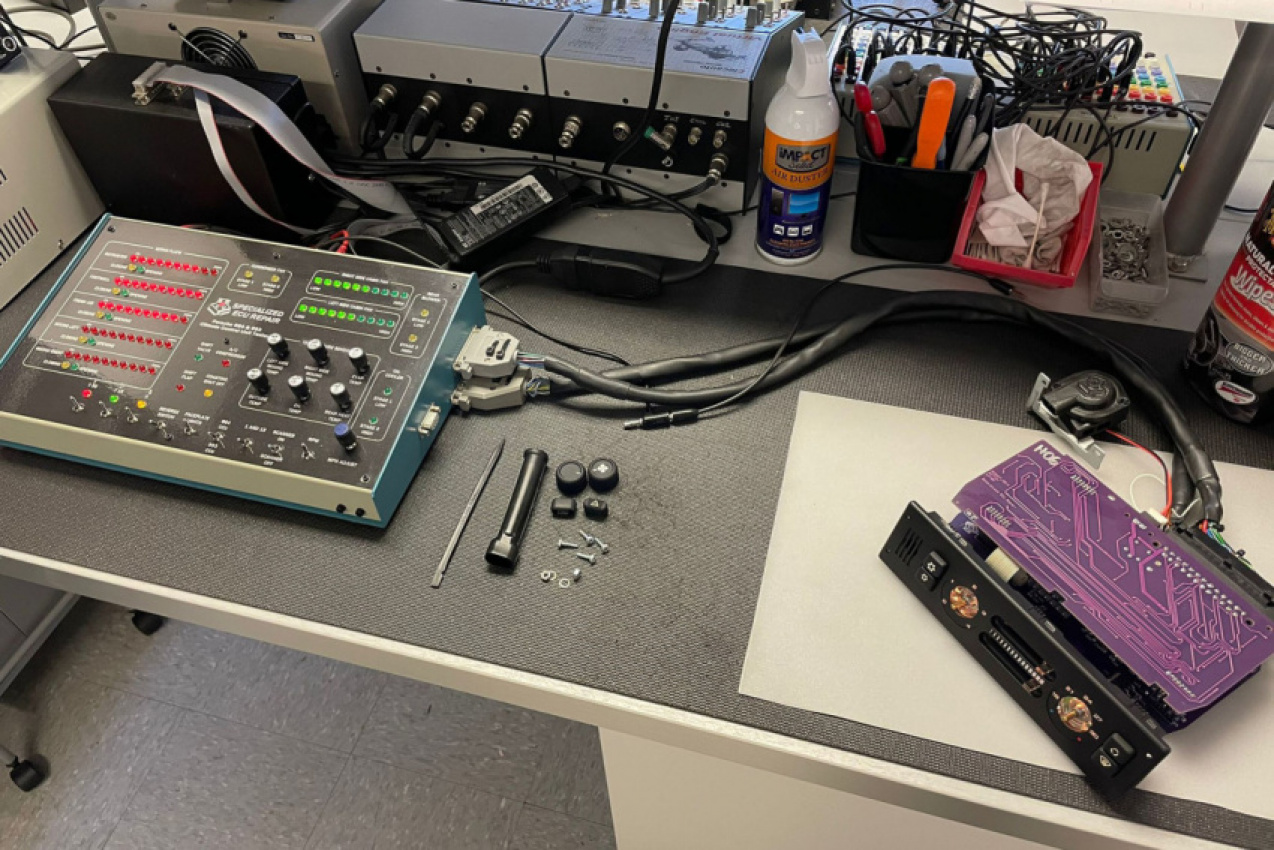
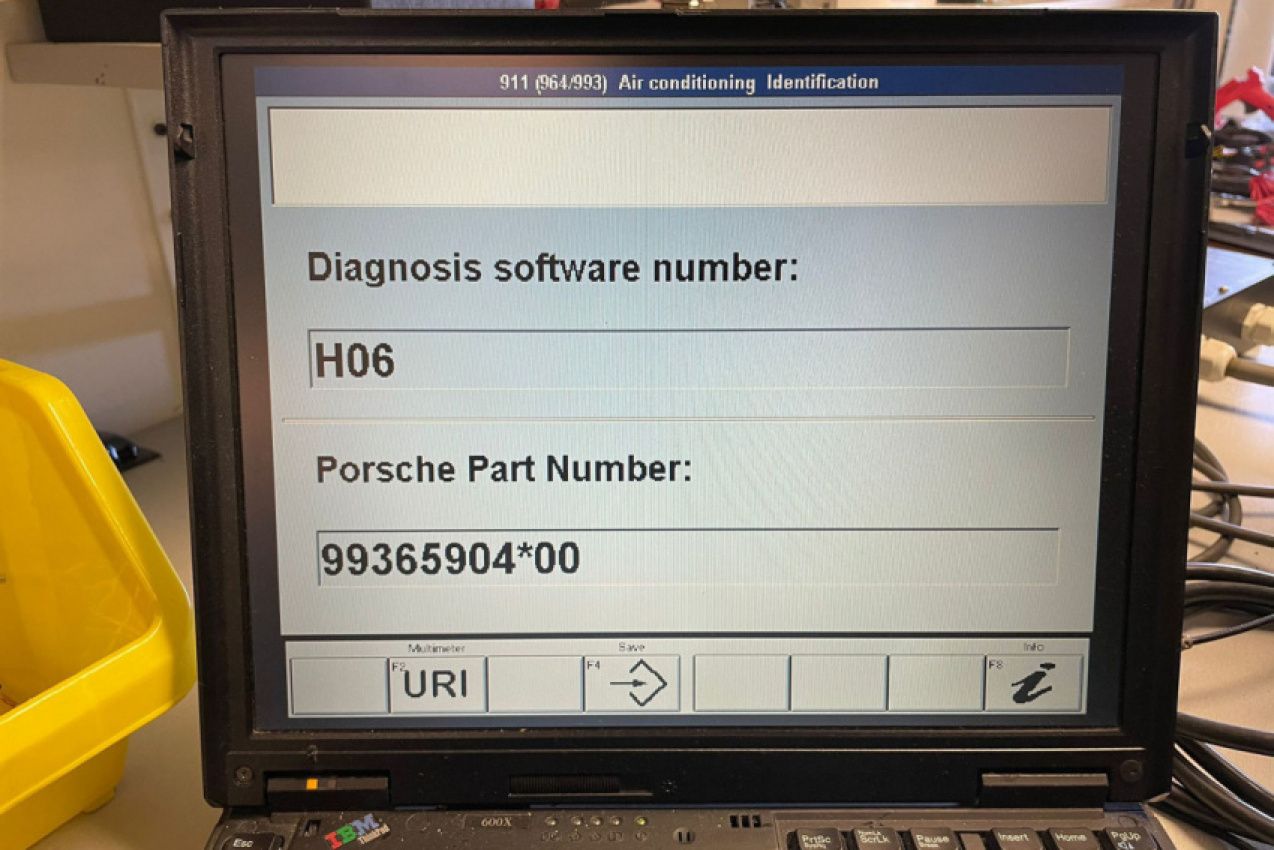
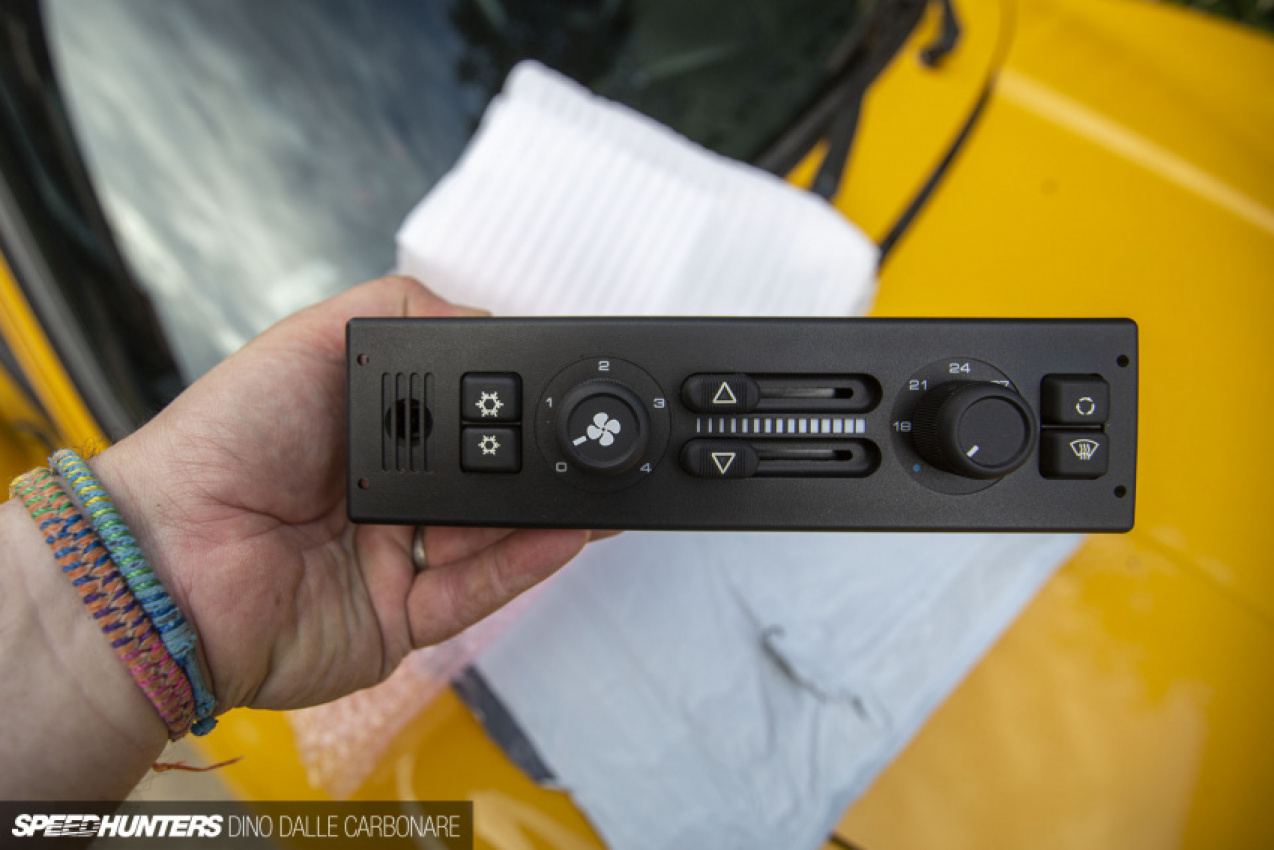
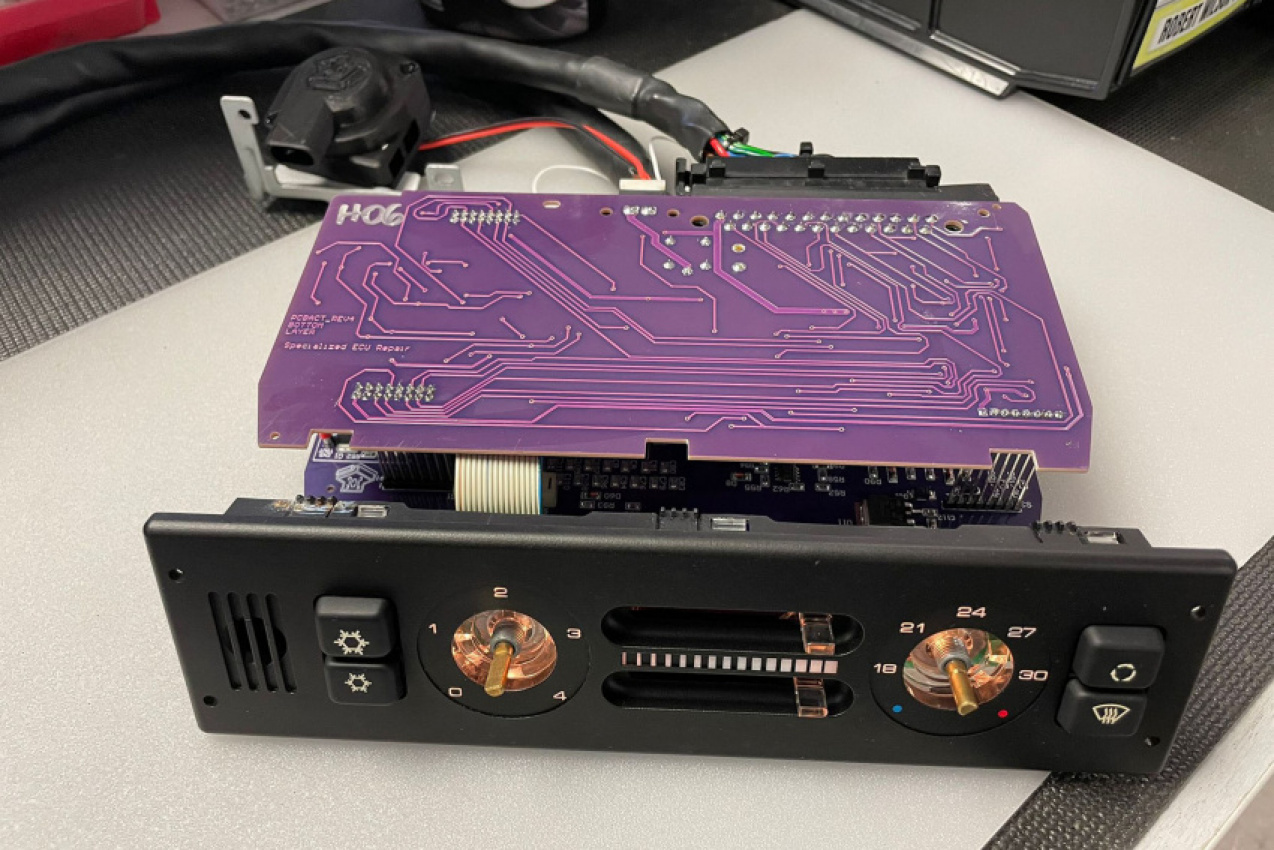
Specialized ECU Repair then flashed a new, more reliable management software and ran it through a series of checks on their test bench to make sure it was working 100%.
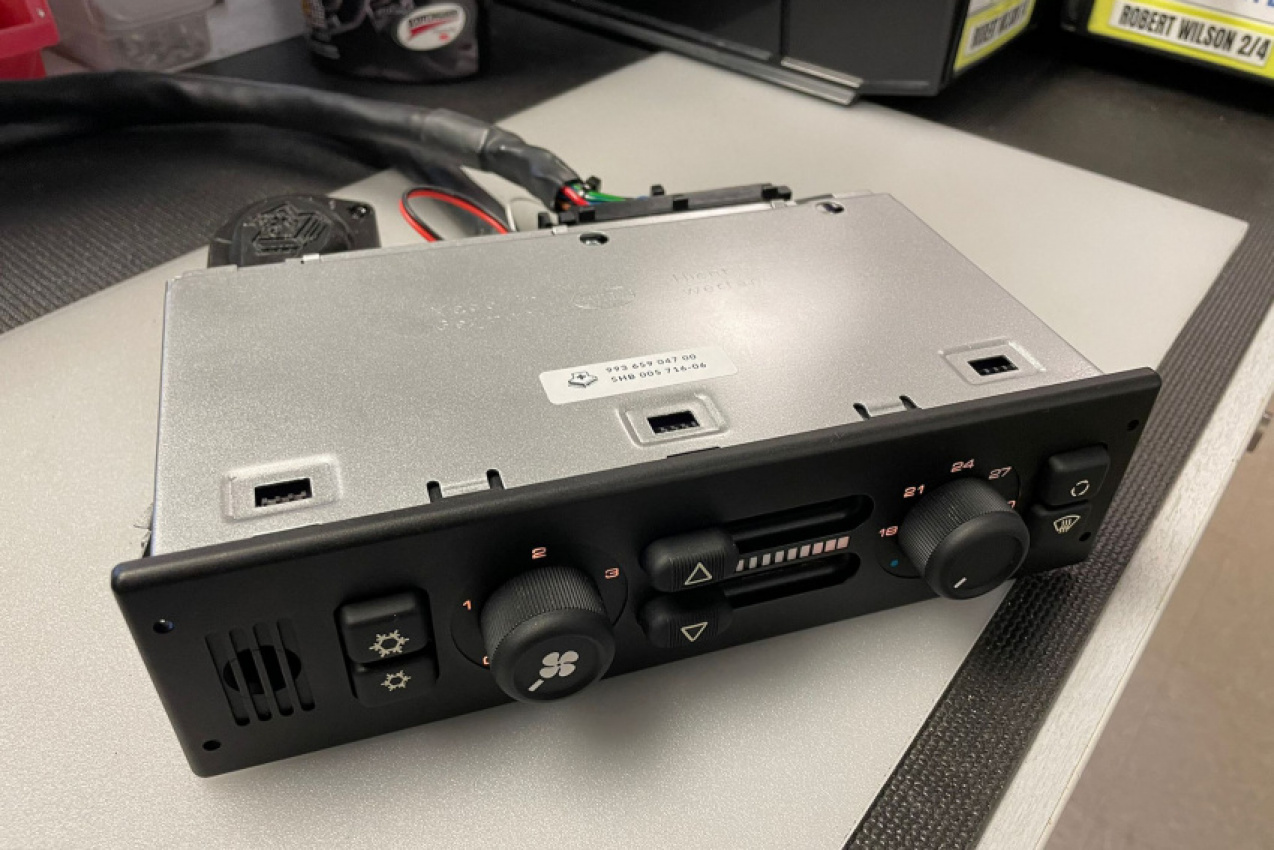
Finally, a brand new metal cover was added, along with their own temperature fan in a 3D-printed housing.
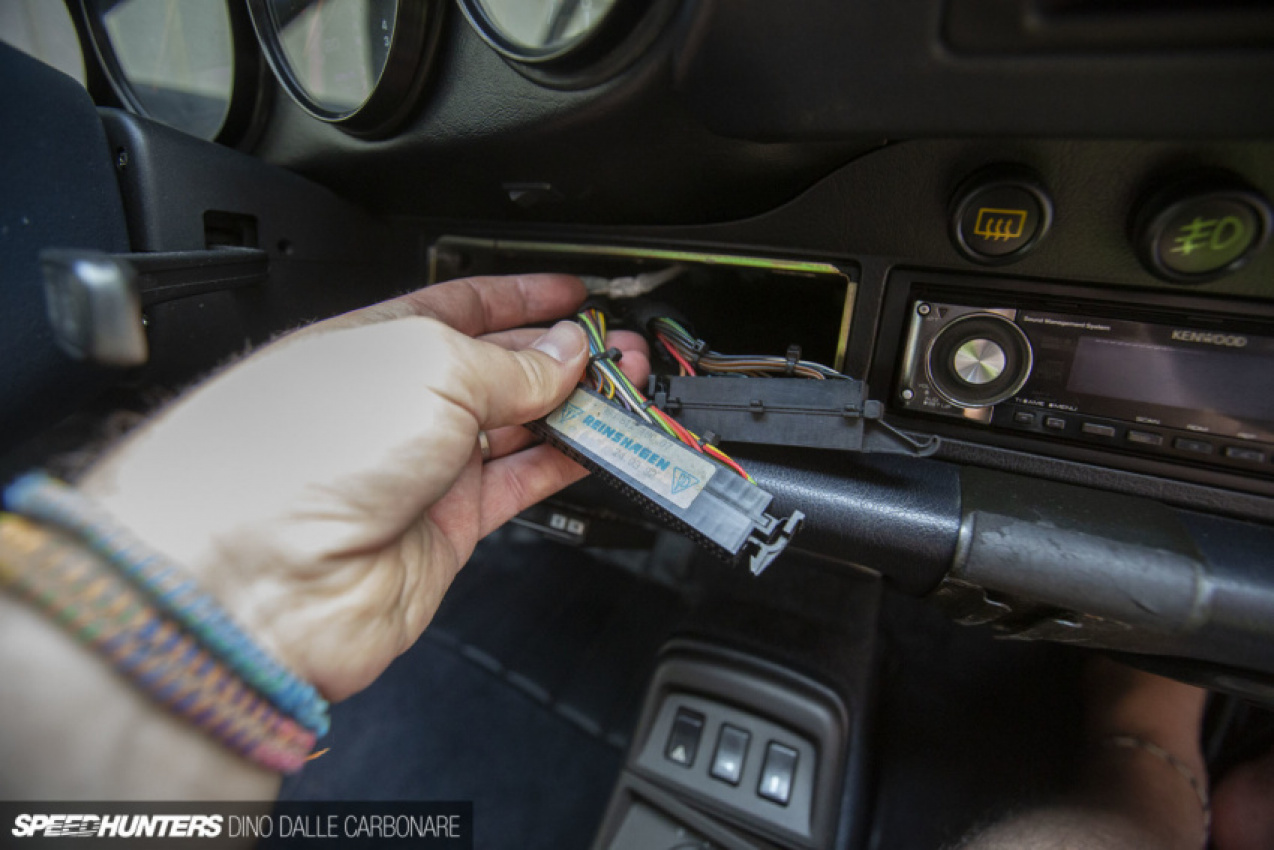
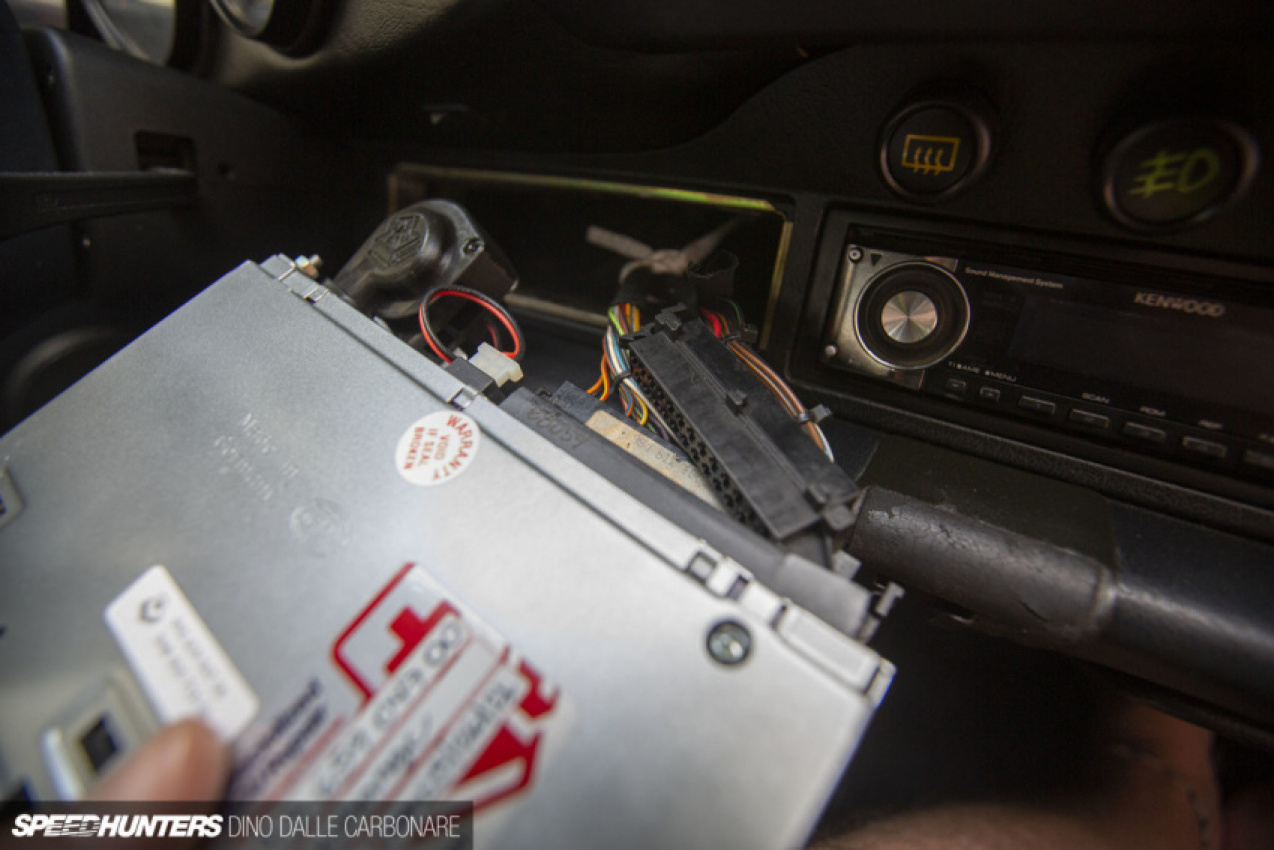
Fast forward a few weeks and it was back with me in Japan. I simply pulled out the two connectors that easily clip into the back of the HVAC unit from the gaping hole in the dashboard and plugged it back in.
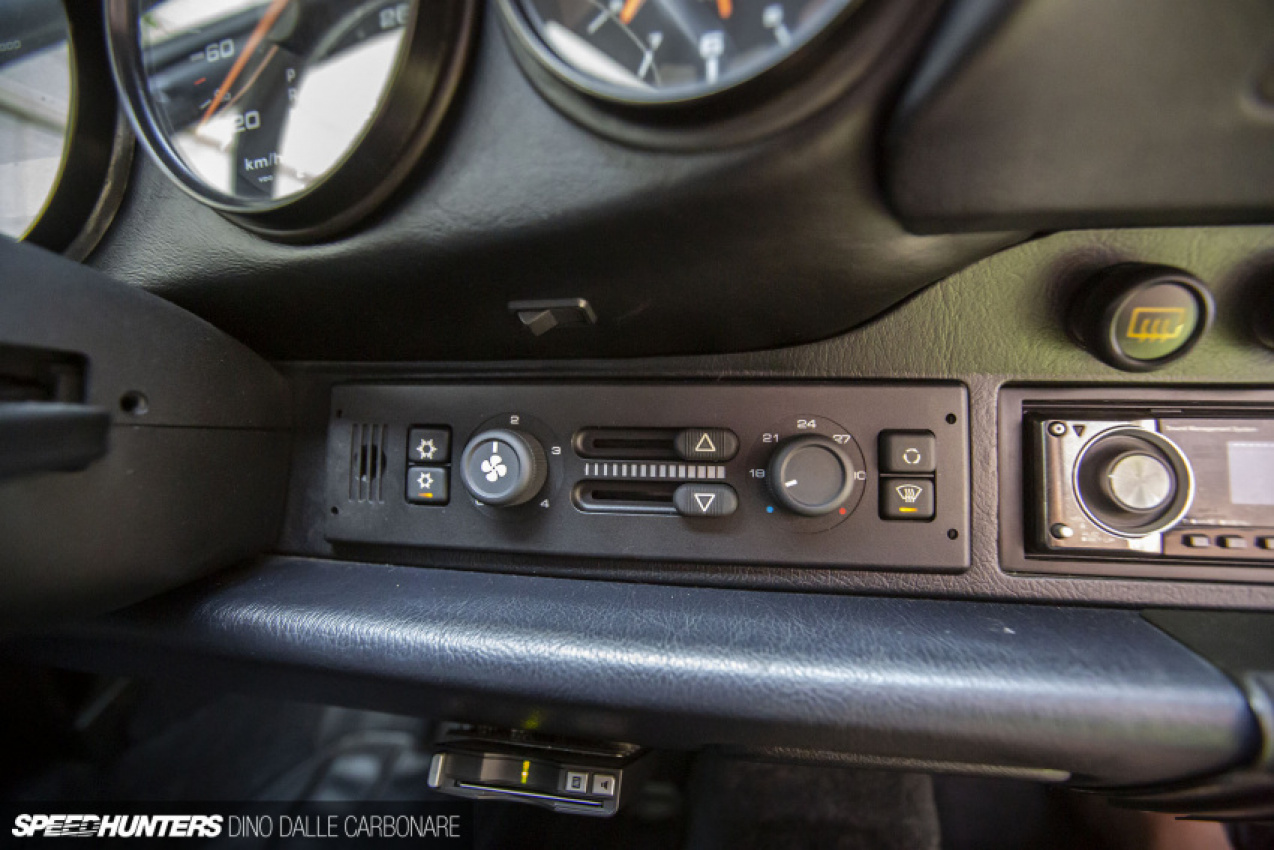
For the first time since I purchased my Porsche, the switches were illuminated. However, while the functionality of the control unit itself is undisputed, we did learn that the issue with the non-working A/C compressor lay elsewhere. So although there is no cold air being produced, I finally have the fan functioning and, more importantly, a working heater. The colder months that have just passed were much more comfortable with heat in the cabin, and I never had to manually wipe away condensation from inside the windscreen.
As for the A/C issue, I’m currently looking at other options to remedy it. I don’t fancy doing much with the gigantic belt-driven compressor hanging off the engine, so am investigating electric conversions.
Pulling The JDMness Off The Dash
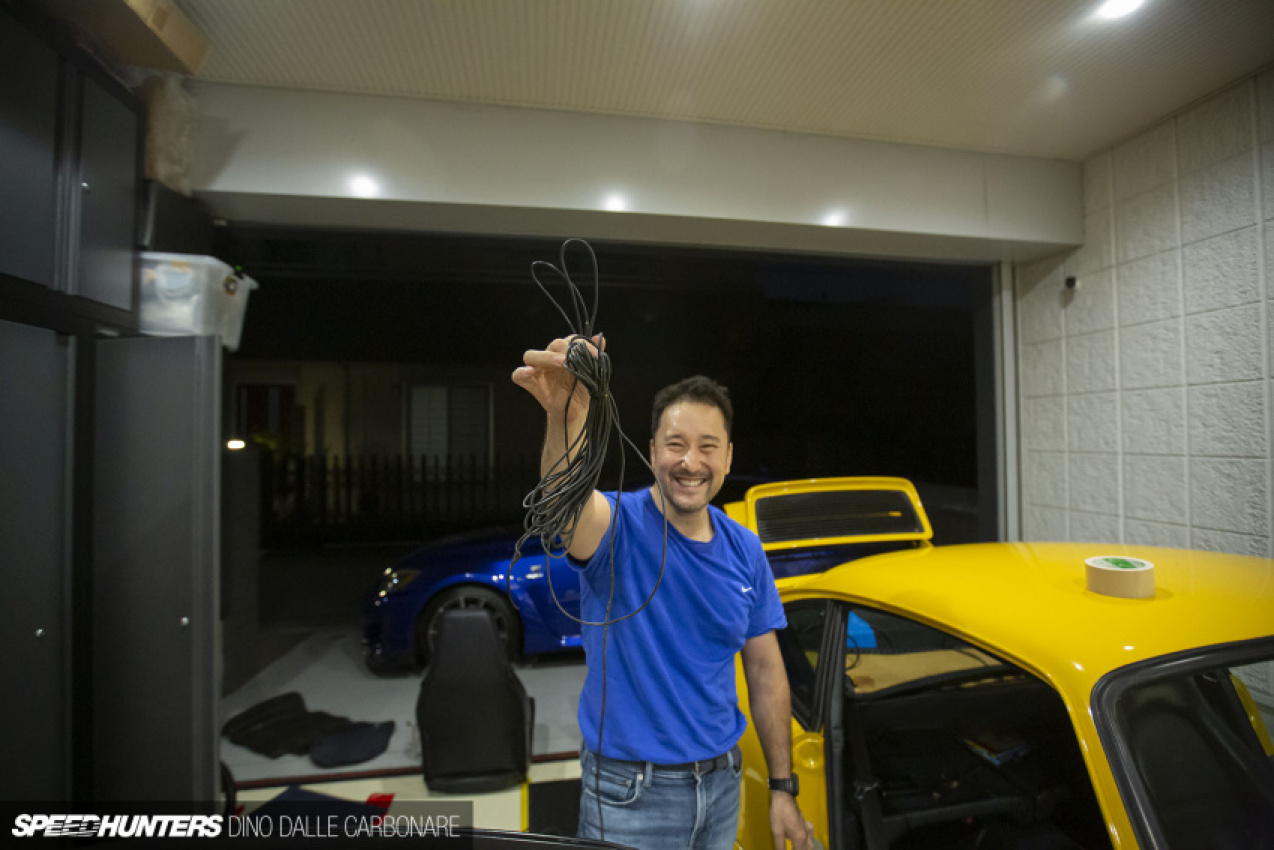
Fast forward a few more months and I was back in Aki’s garage.

Firstly, to deal with the spaghetti-like wiring flowing down from the passenger’s side of the dash after the navi unit deletion. And secondly, to put a little idea we had to the test.
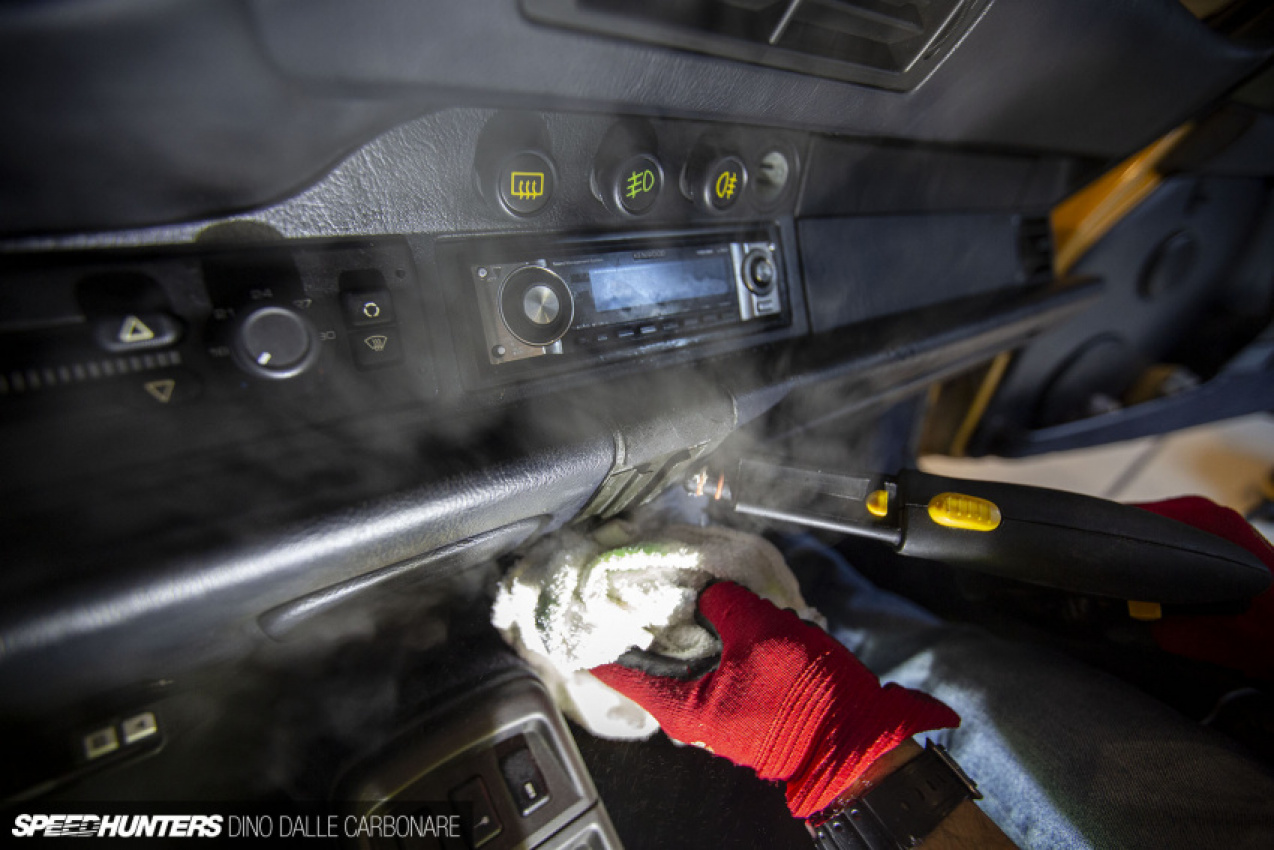
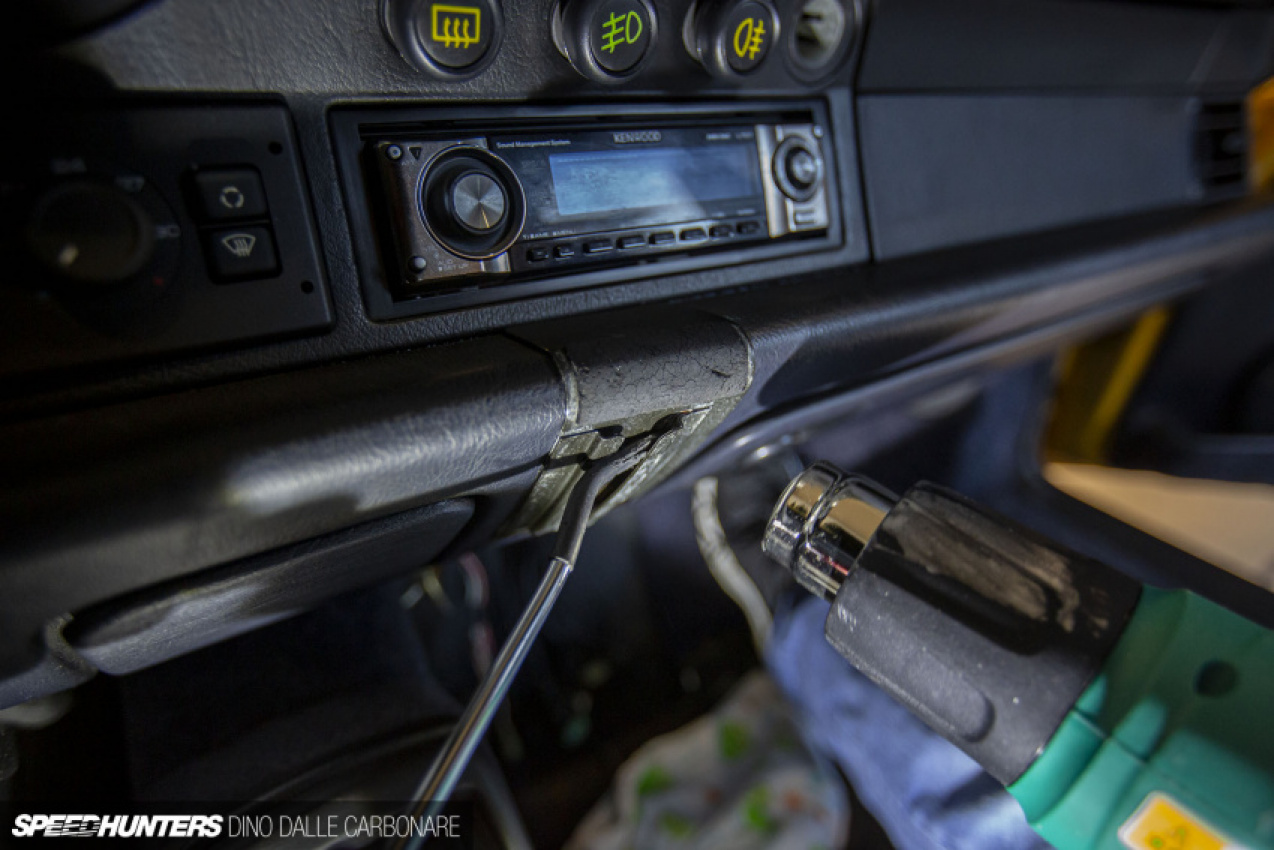
The horrible steel metal LCD screen bracket that had been left behind after I pulled the navigation and TV tuner units out of the car had really started to bug me. I had tried gentle ways to remove it, but if you’ve ever had to deal with these things you’ll know that the JDM adhesive tape used is very strong. Not to worry though, as Aki had a few aggressive approaches we could try, starting with steam.
While the high pressure steam did soften the adhesive, the bracket still wouldn’t budge. So Aki stepped it up a notch and got the heat gun out.
With it set to the lowest setting and keeping a reasonable distance so as not to damage the dash itself, it quickly started to loosen things up.
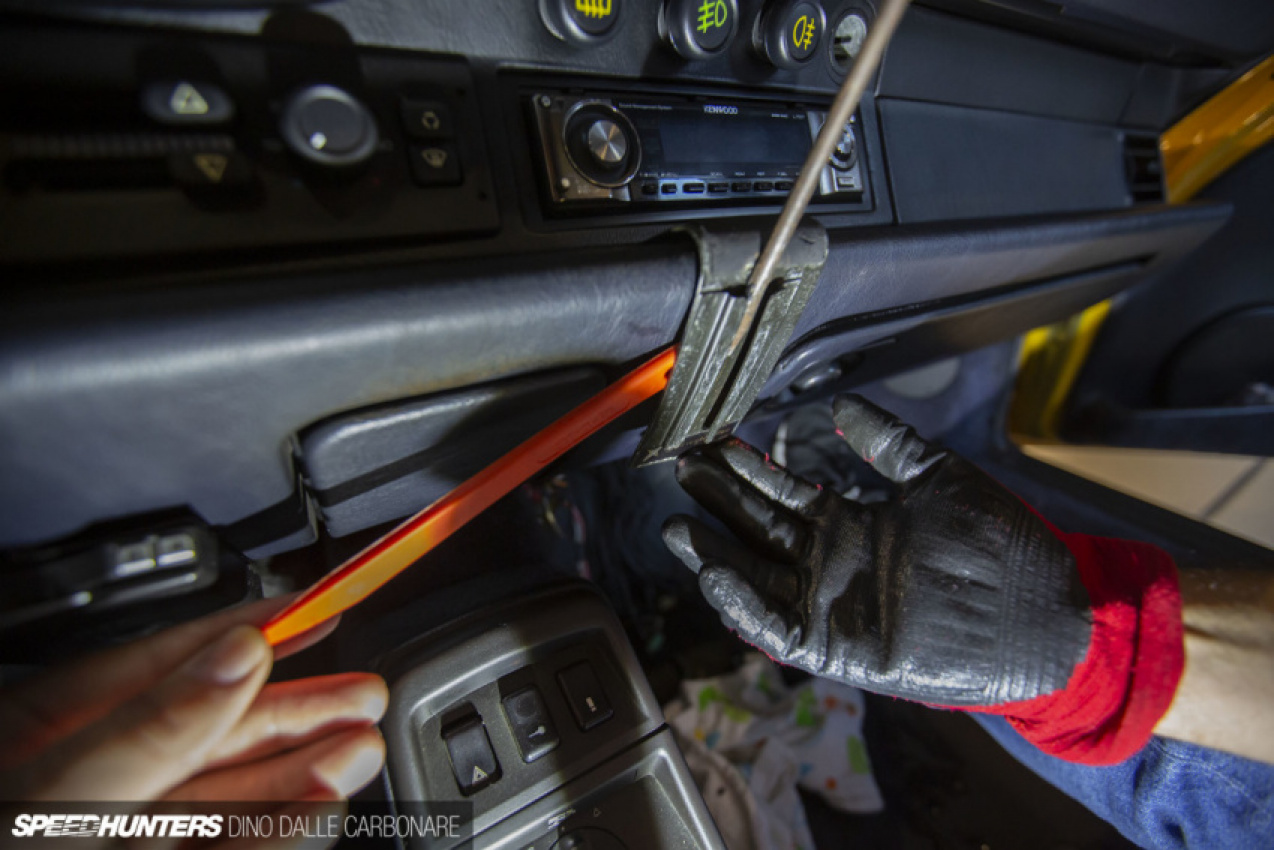
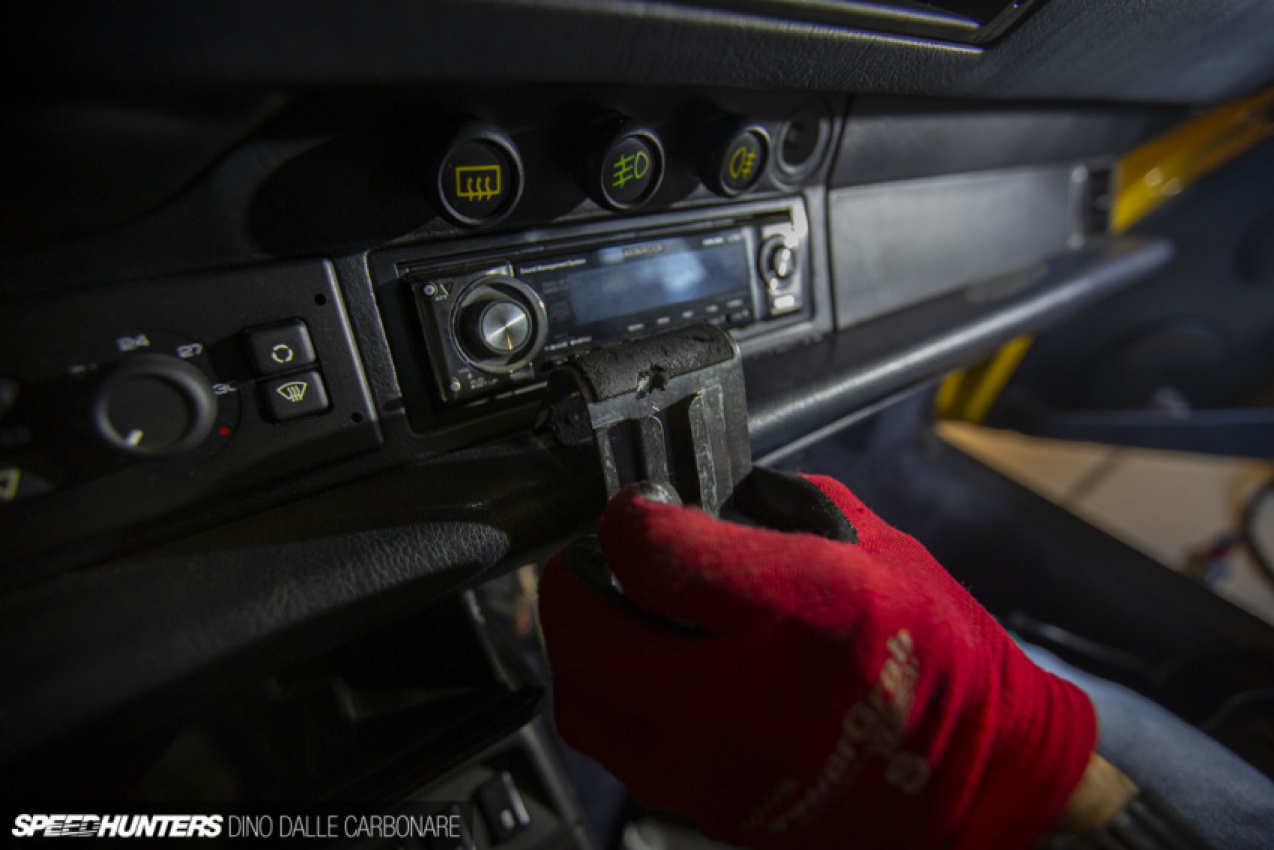
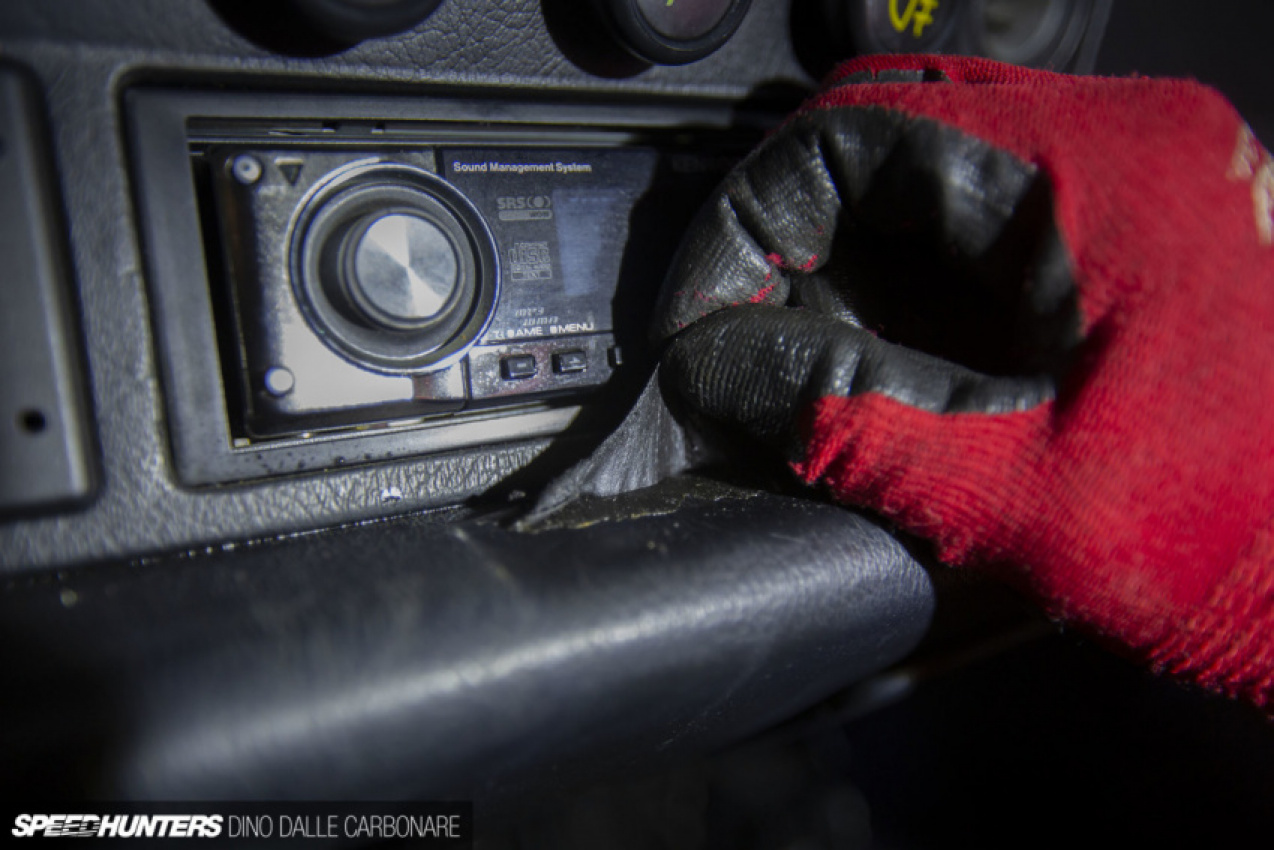
With a gentle pull from the front and some leveraging with a plastic trim remover tool, it peeled away, leaving just a little bit of residue along the top section which was also quickly taken care of.
I can’t even begin to describe the satisfaction of seeing this horrible piece of crap in my hand, and then at the bottom of a trash can!
It was at this point that Aki’s OCD kicked in. He noticed that the steam had softened up some nasty yellowness on top of the ashtray, residue from years of cigarette smoke that had been absorbed by the surface of the dashboard. A few concentrated passes with the steamer later and most of the nicotine goo was gone.
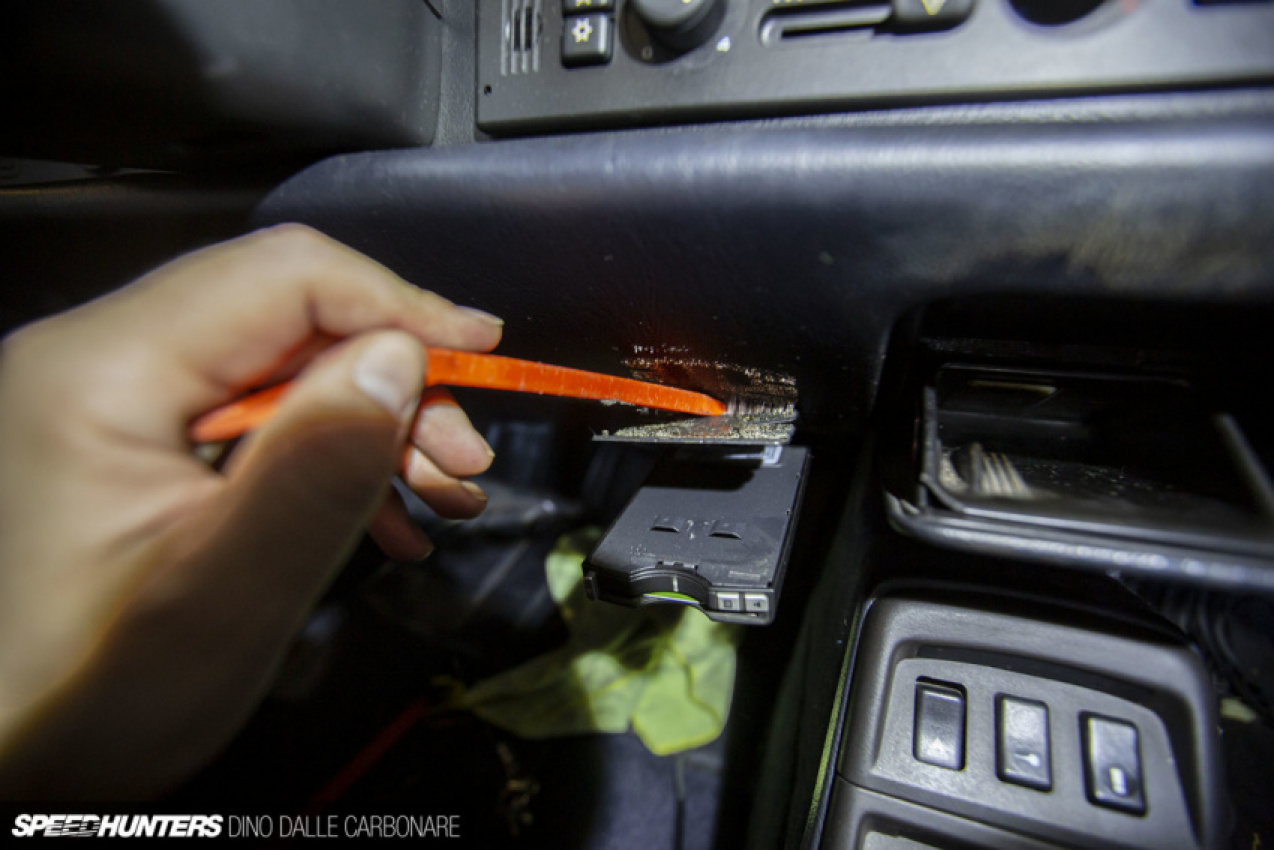
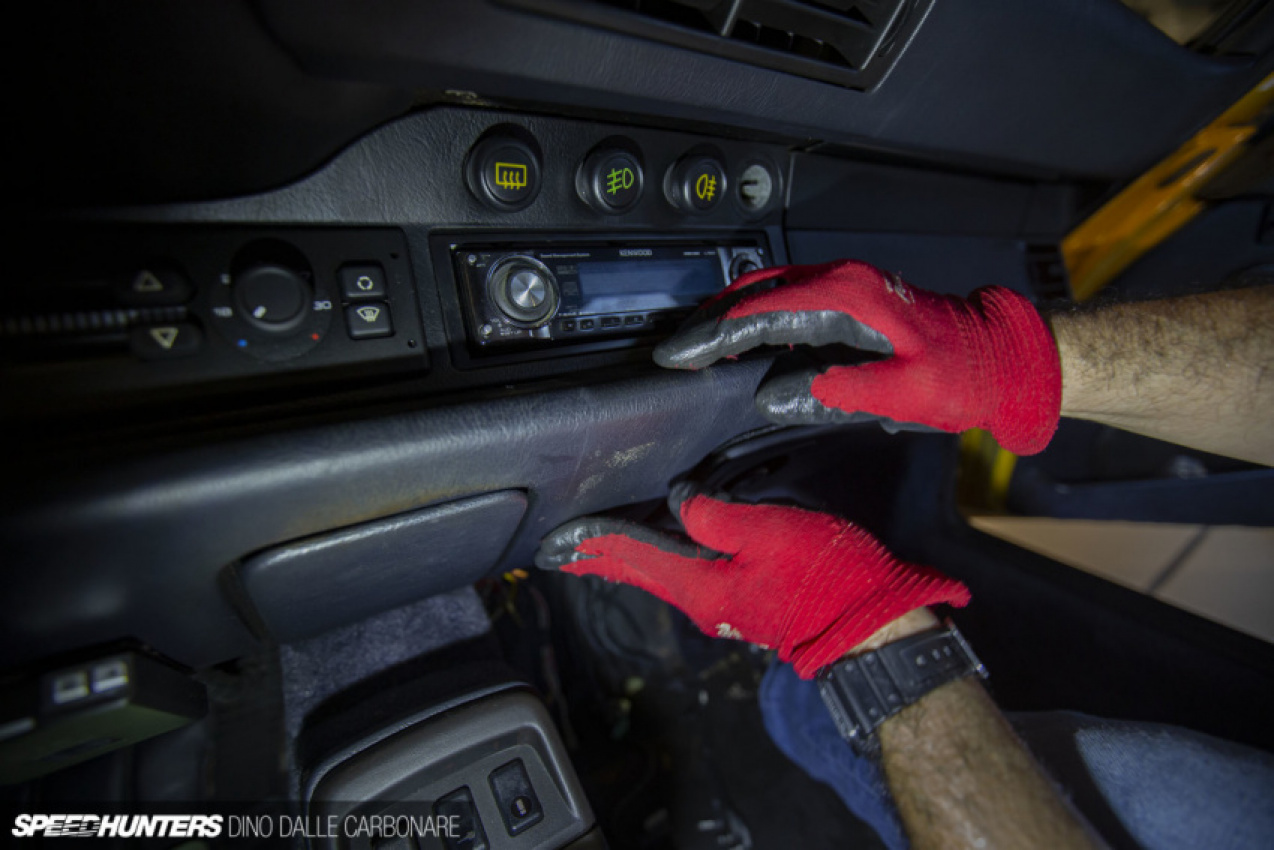
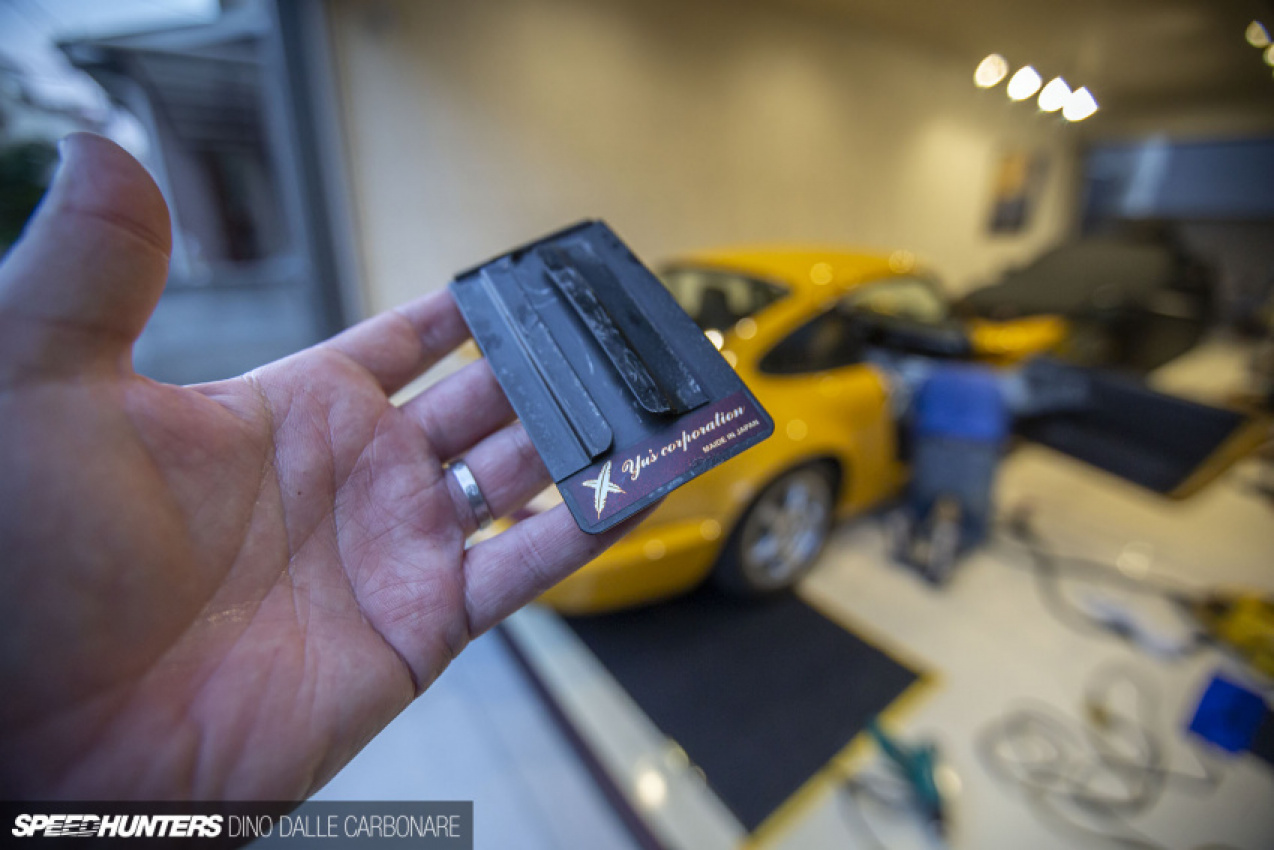
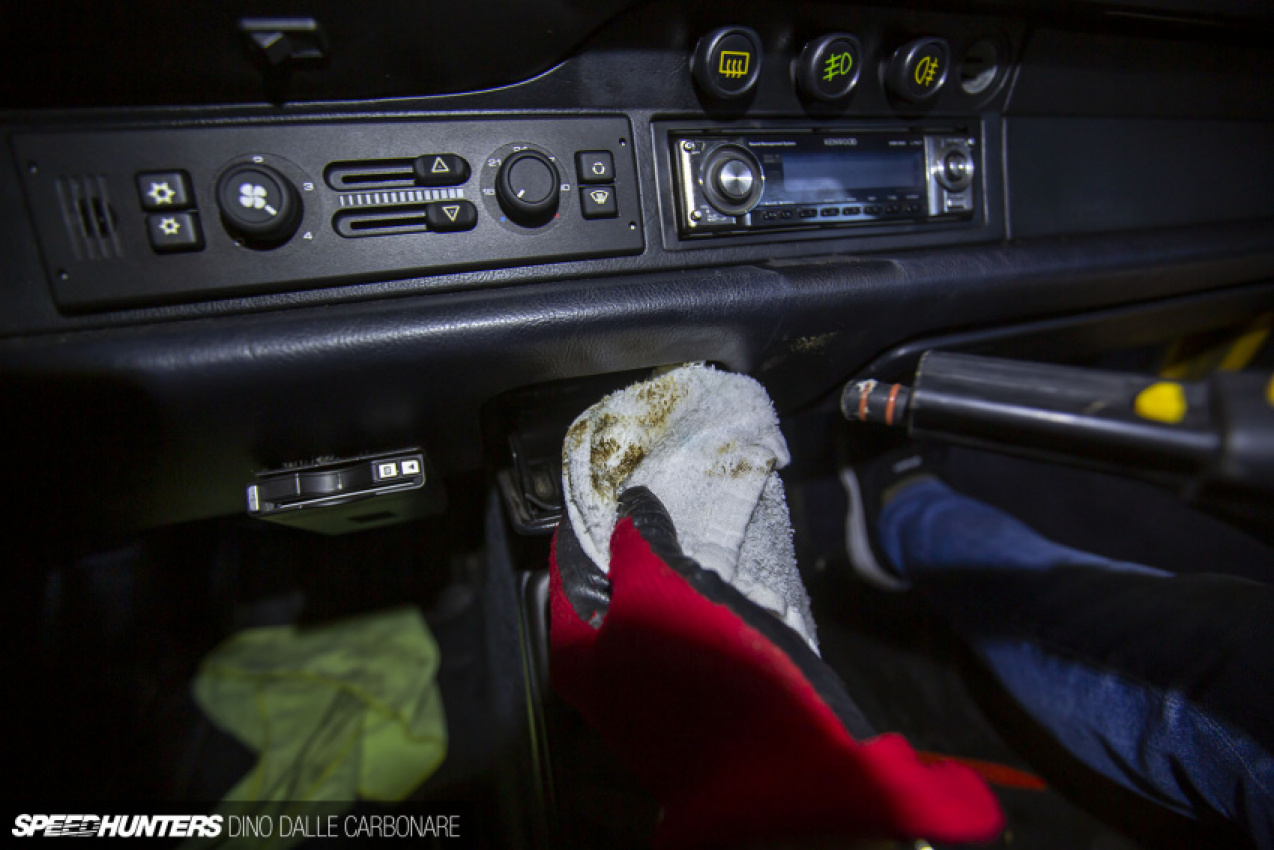
While this was happening, I took the opportunity to remove the ETC (electronic toll collection) card reader from the dash. If there’s something I can’t stand, it’s gadgets stuck onto trim.
The idea here was to hide the ETC unit in the glovebox and feed the two wires that plug into it through the underside of the dash. In other words, refit it where it should have been fitted in the first place.
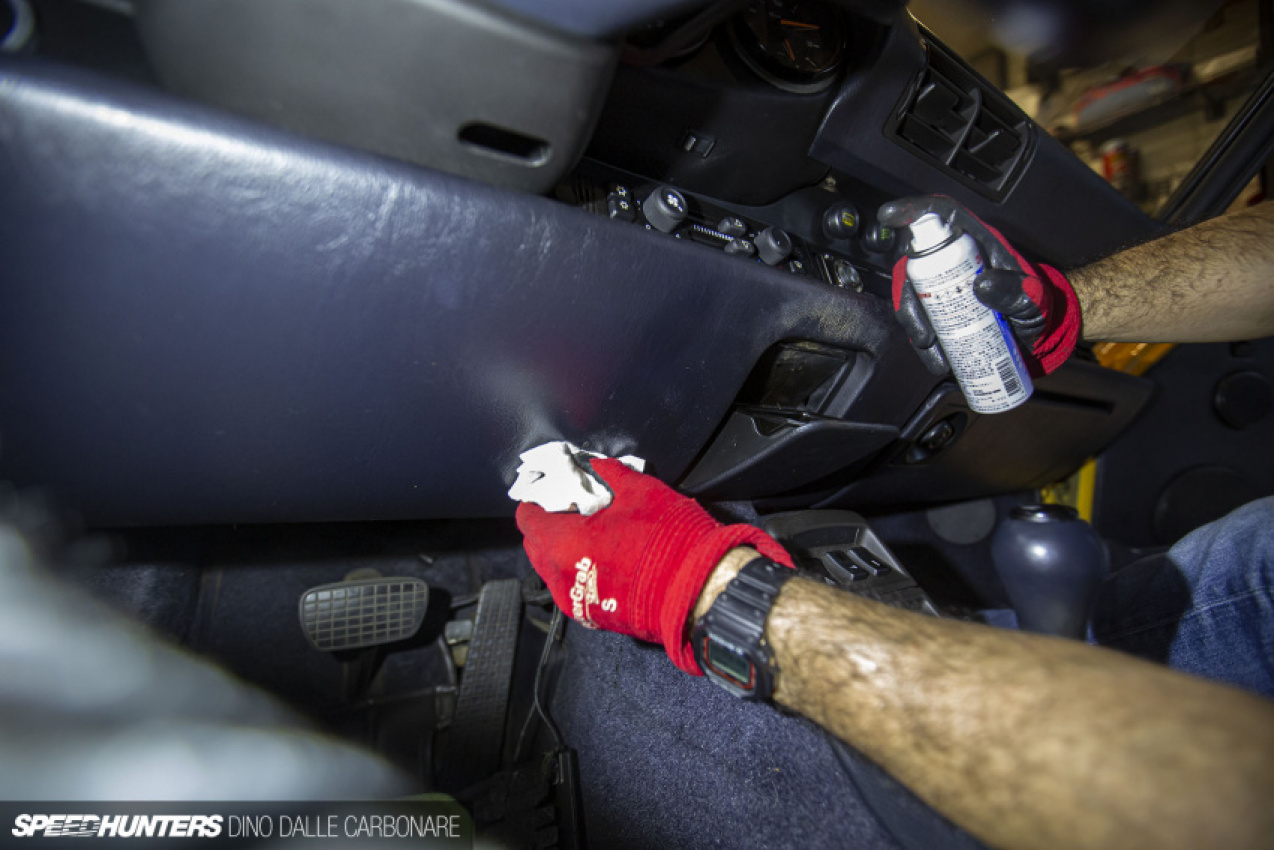
A bit more cleaning and the dash was looking far better.
Spaghetti Time
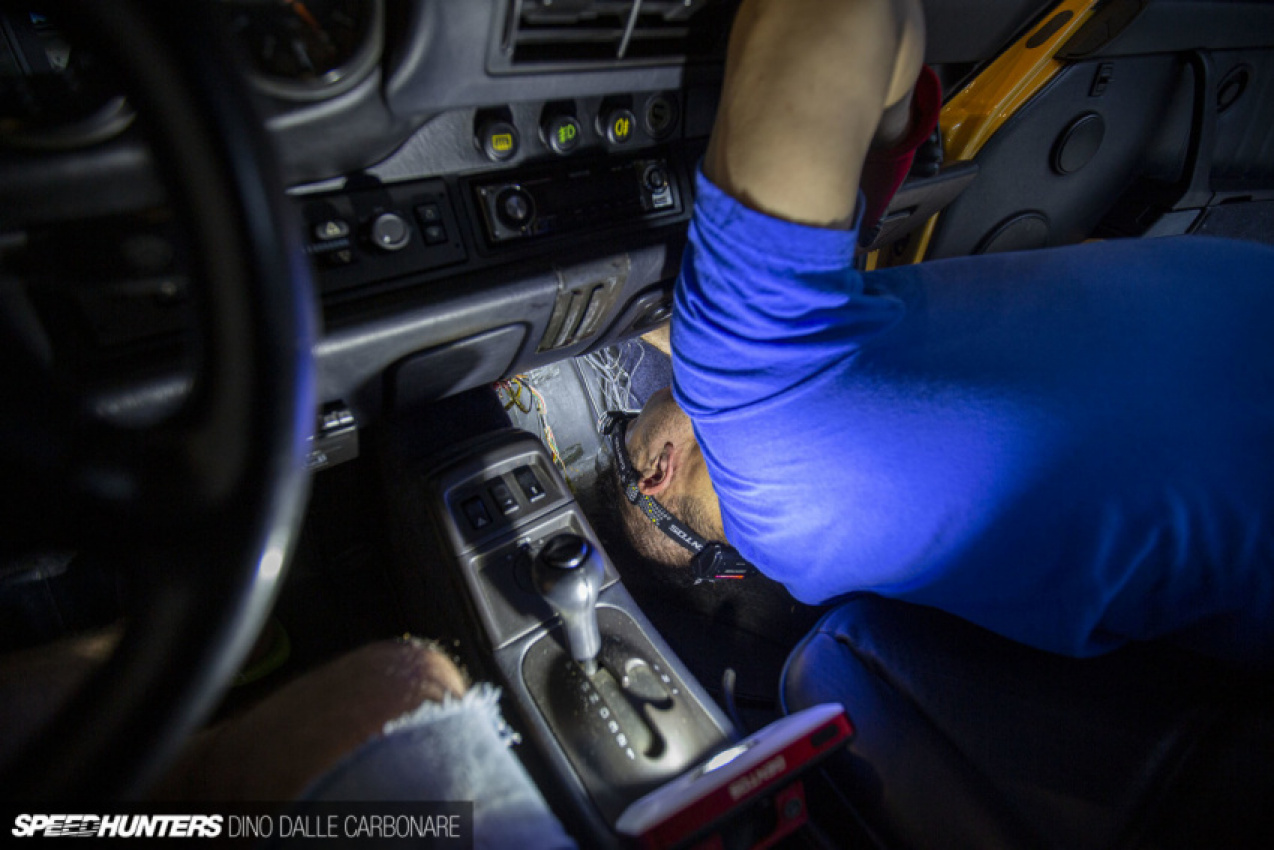
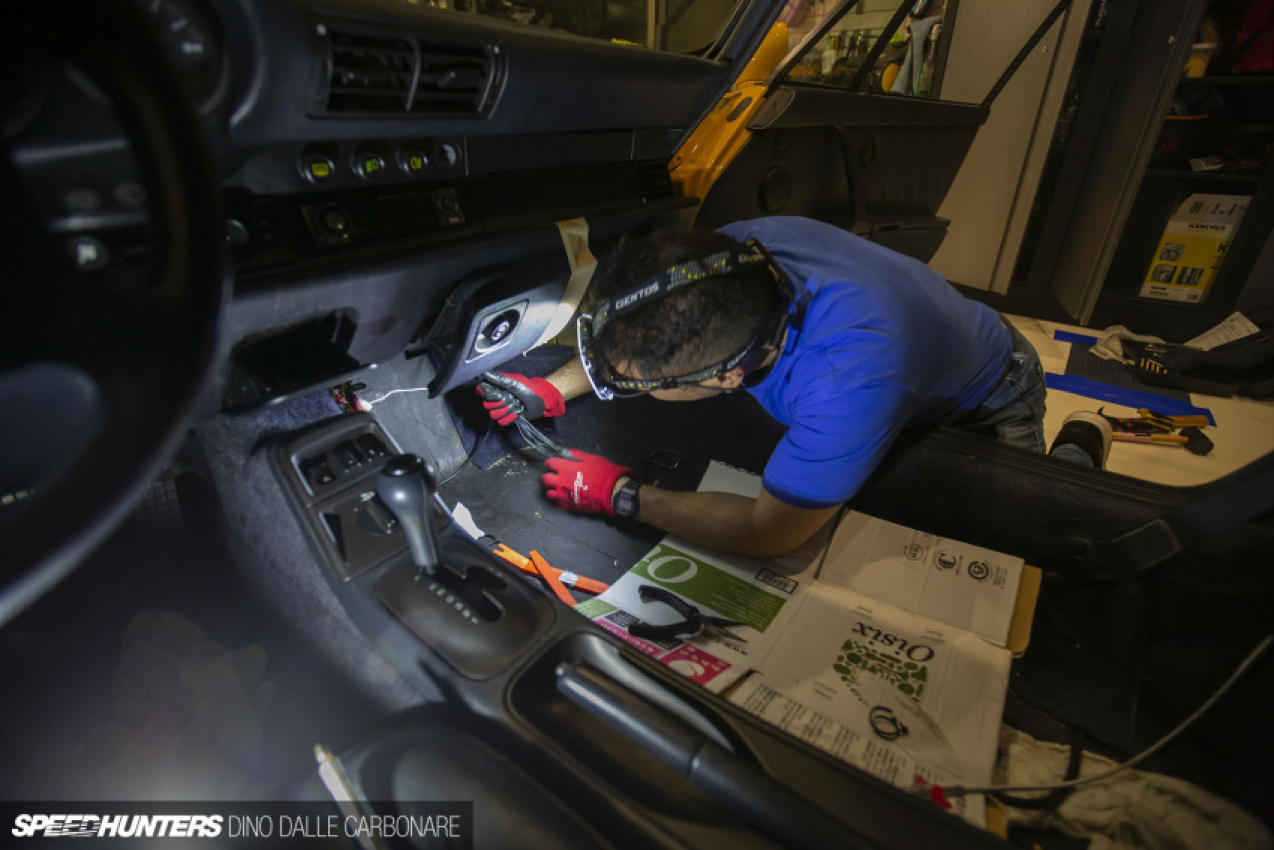
With the cleaning work done, it was over to the wiring – and some carpeting issues I’ll talk about in a moment.
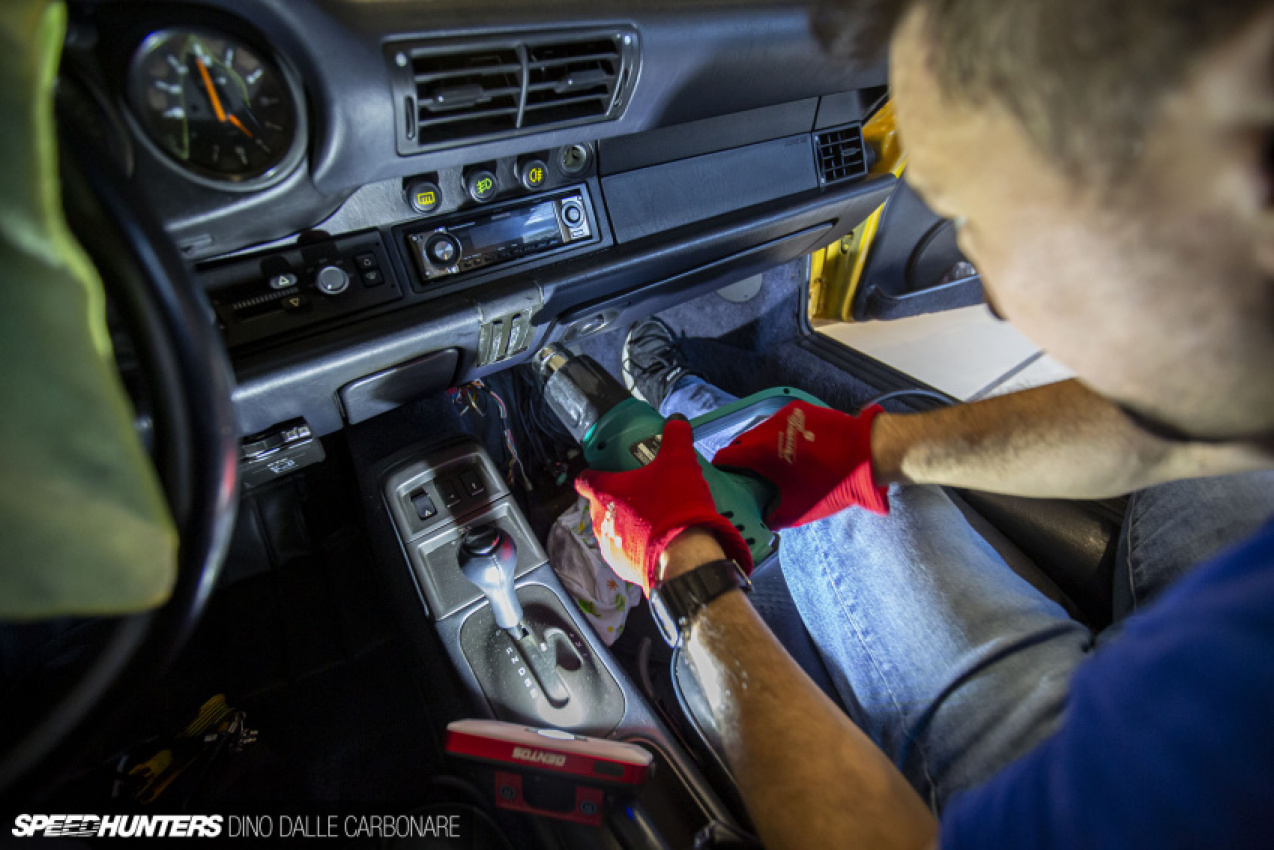
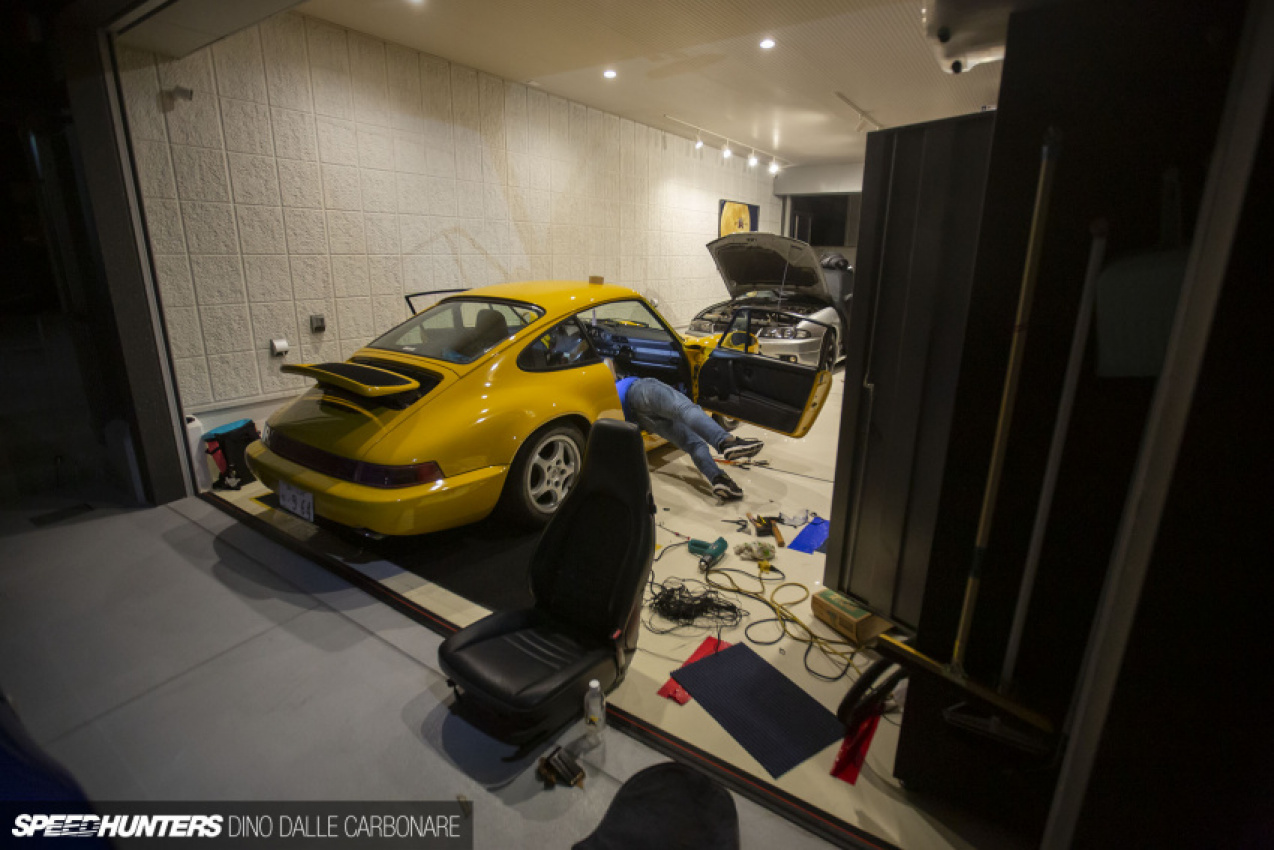
While Aki’s contortionist skills are far better than mine, we thought removing the passenger seat would give us more working space. Easy enough, right? Well… no. Project 964 made sure that this relatively simple task was filled with much suffering, broken tools, bruised knuckles and one of the most epic multi-lingual swearing sessions ever heard.
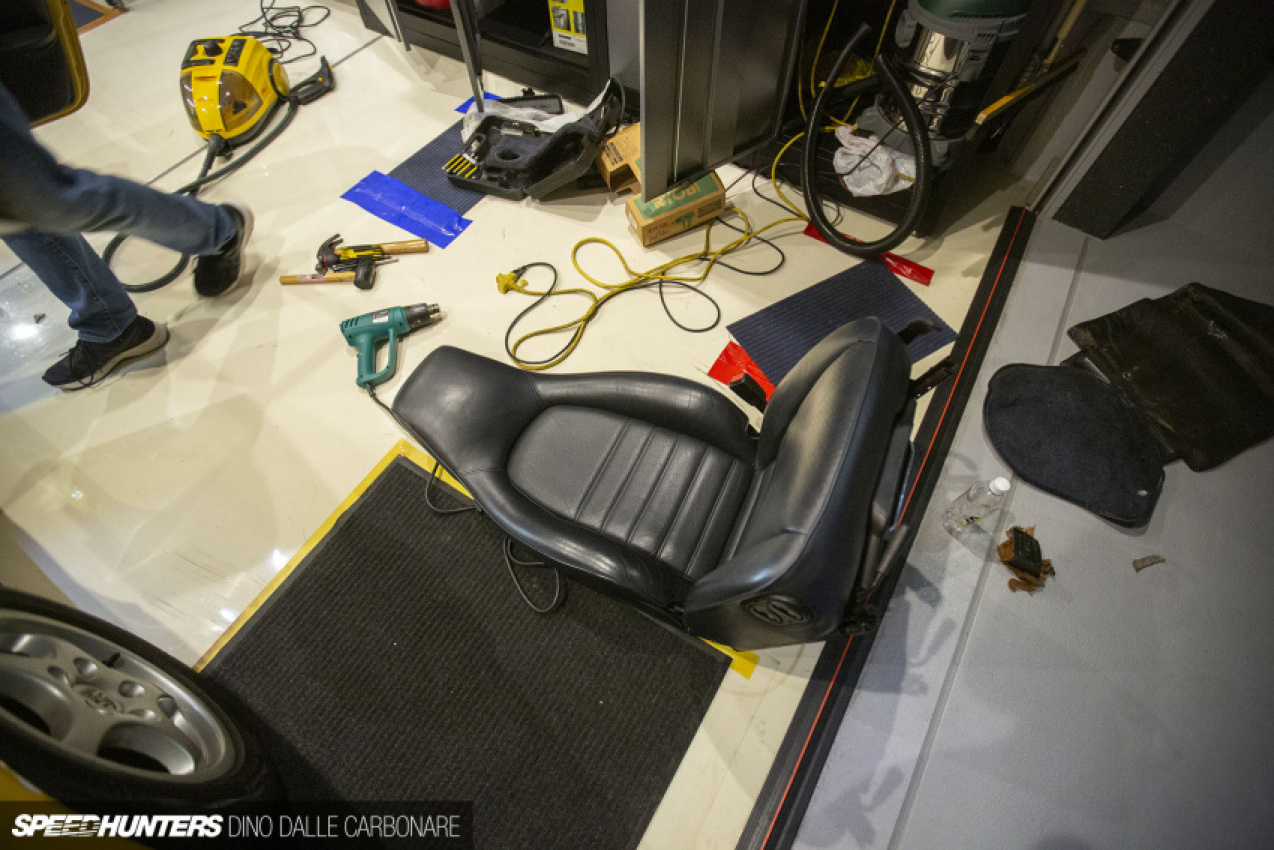
Out of the six bolts that hold a 964 seat to its mounting points, more than half were semi-fused in place thanks to general age, corrosion and good old binding. Some WD-40 and a few rounded allen keys later, they loosened up and the seat was pulled out.
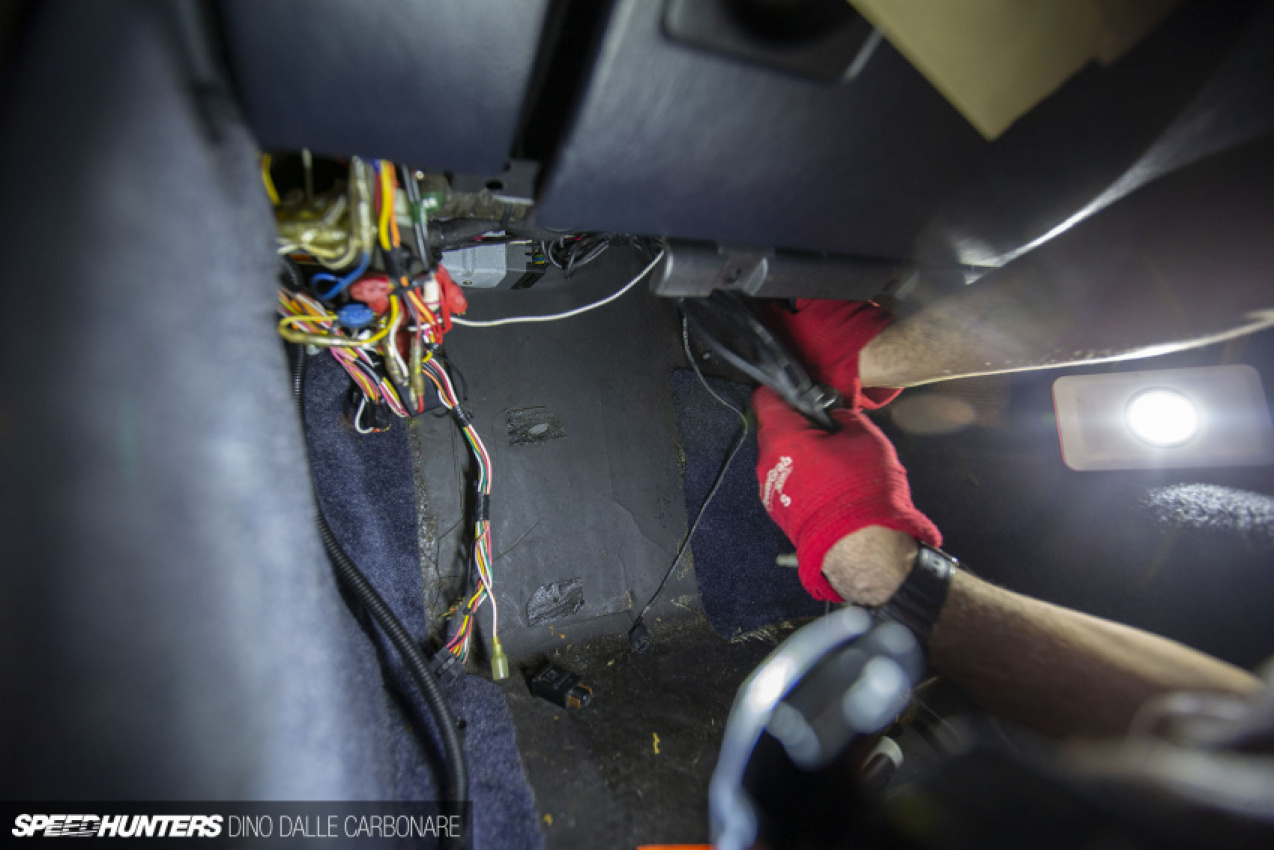
This allowed some more wiggle room to access the wiring that for the most part needed to be eliminated. Aki loosened up the mounting points and hinges that hold up the glovebox lid so we could pull it out and drill a small hole to feed the wires that connected to the back of the ETC card reader.
This shot was taken after a significant amount of time trying to reach and cut zipties holding masses of wiring, again all done during the navi/TV install. It was only after bending a piece of metal into a kind of hook that I was able to fish the biggest bundle inside the dash that was hindering freeing up everything else. As I did this, Aki was underneath trying to make sure I wasn’t snagging any important wiring.
We got there in the end and eliminated 80% of the wiring crap that wasn’t needed. What a massive relief!
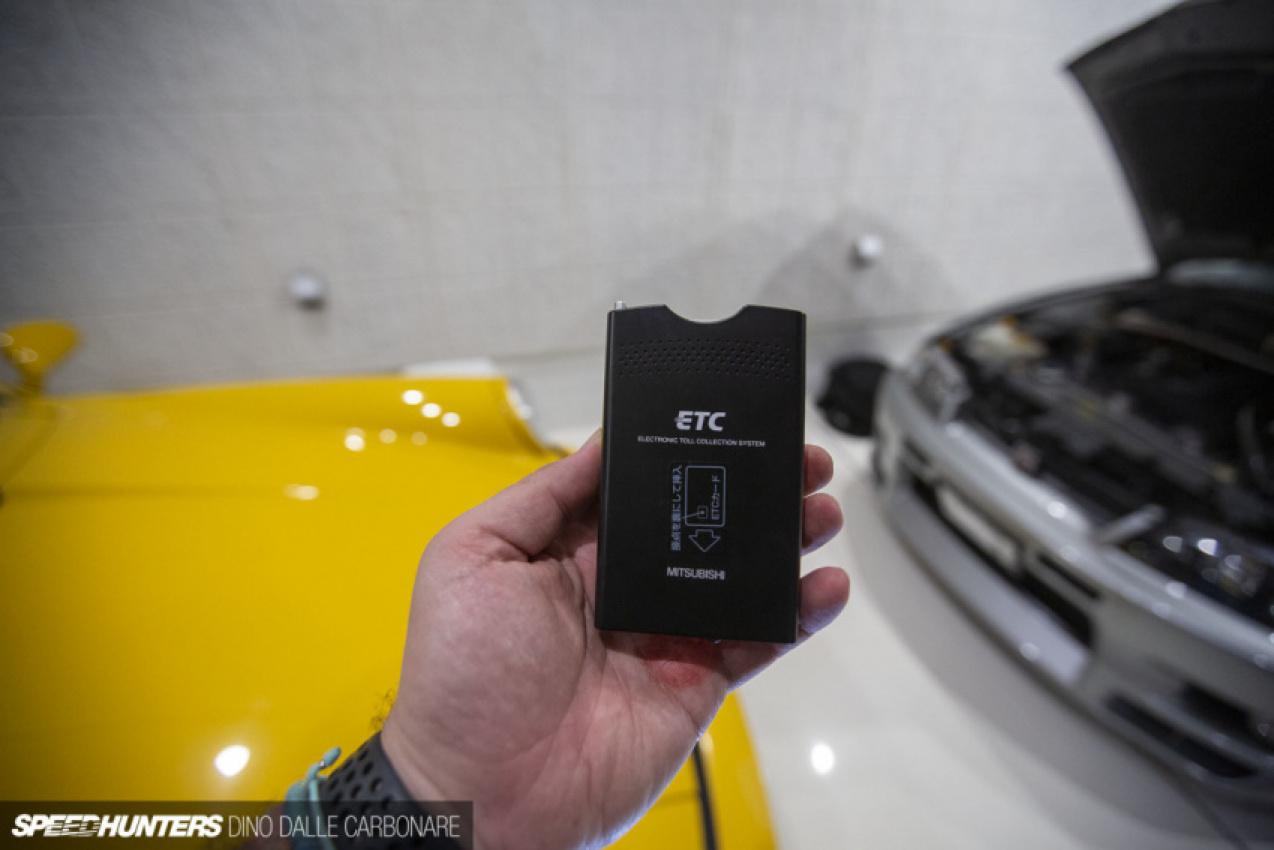
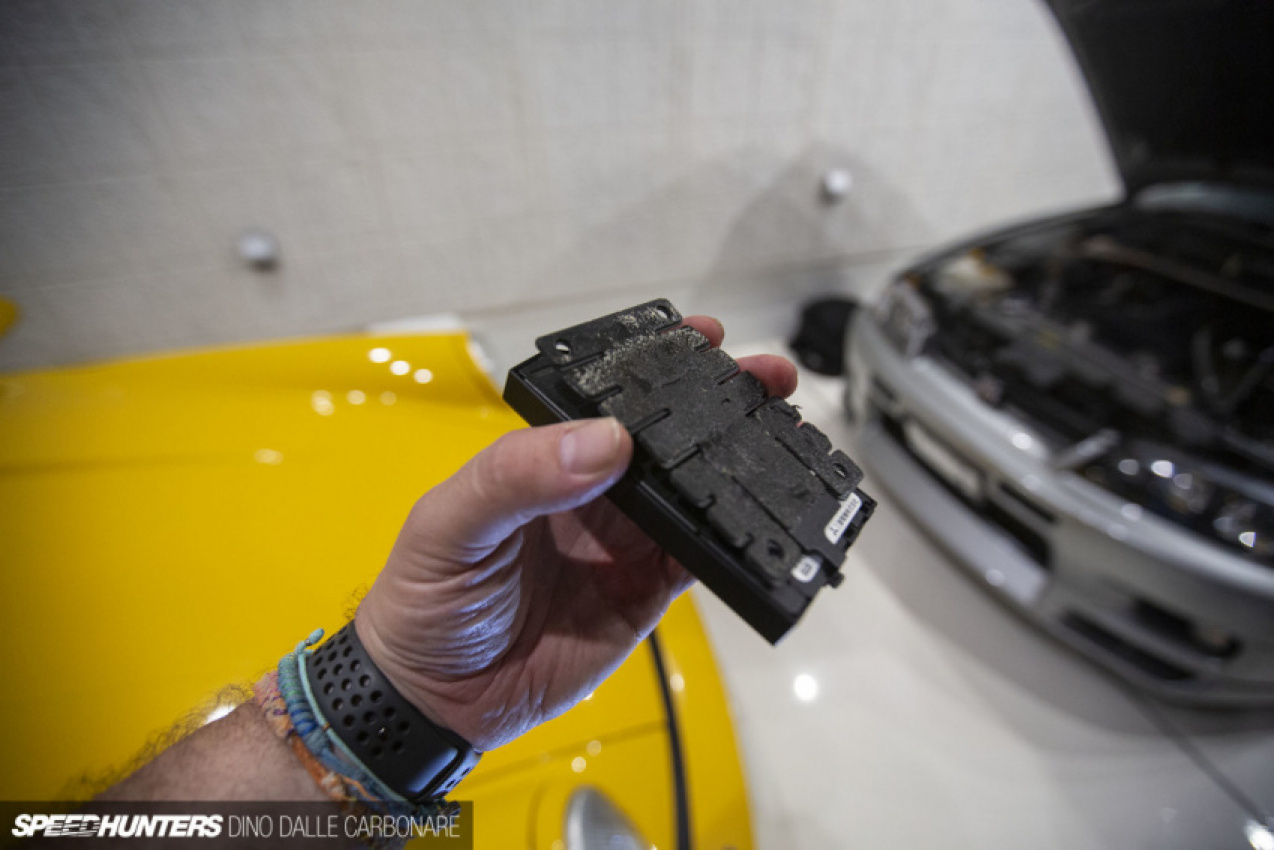
We then connected up the ETC and just placed it inside the glovebox for now. This is something I will figure out later on, as I don’t want to ruin the flocked surfaces with more sticky adhesive. The metal bracket that was screwed onto the ETC module has been thrown in the trash.
On To The Bad…
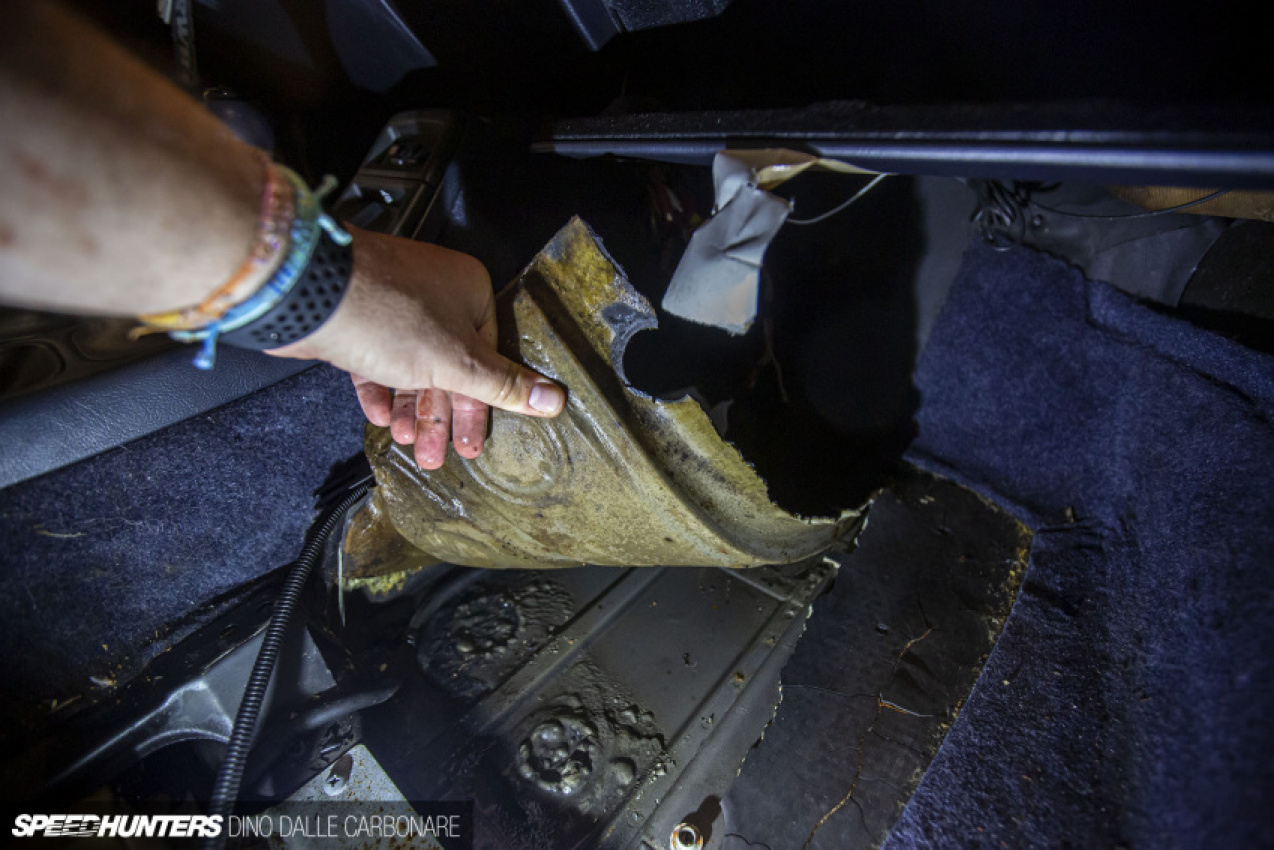
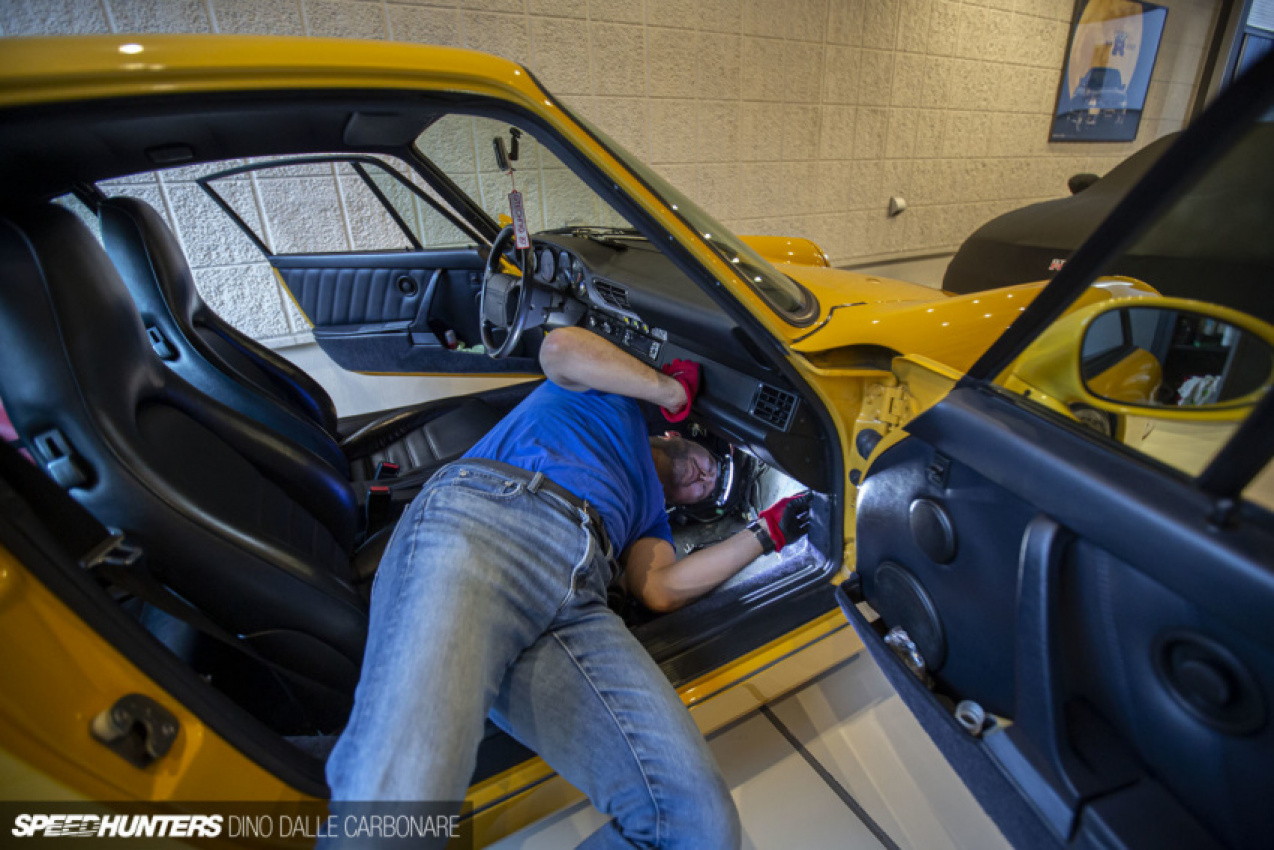
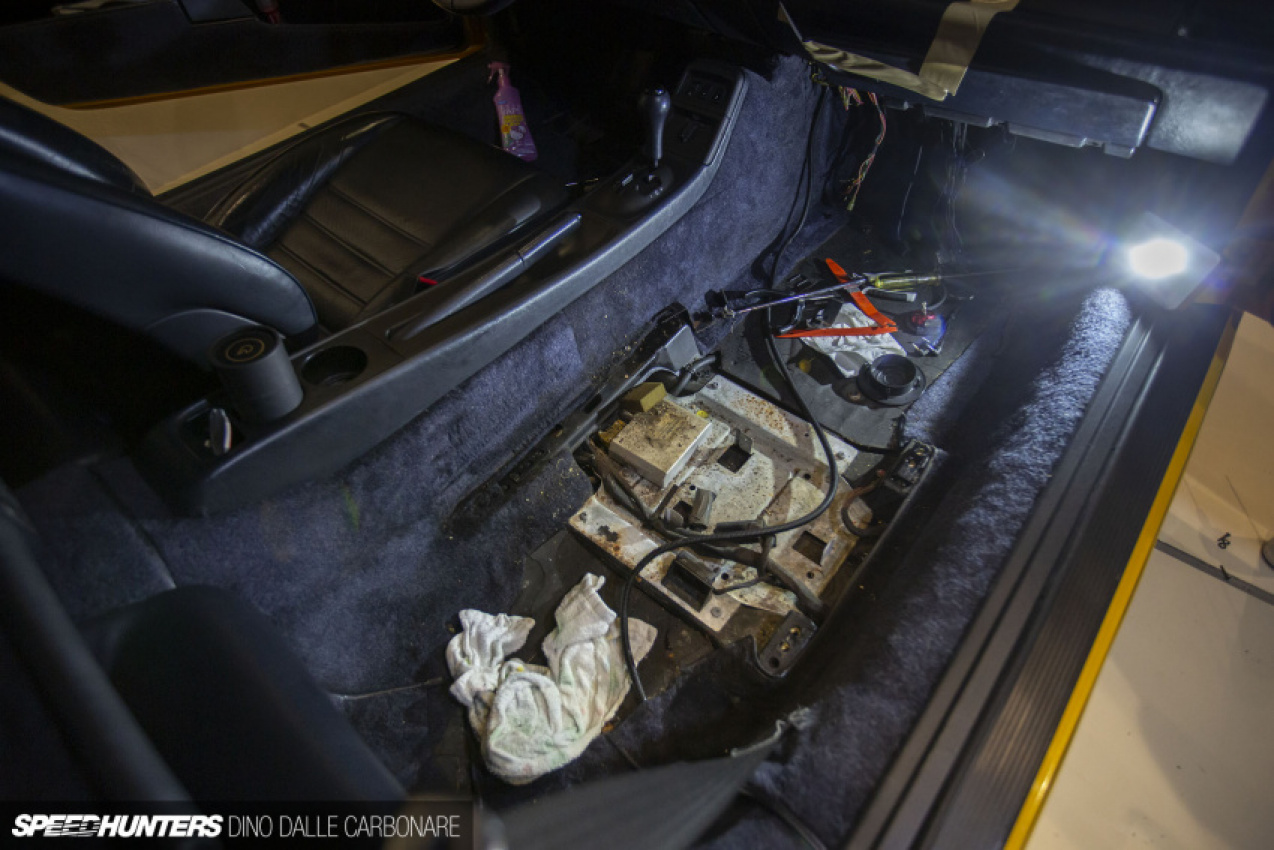
There was another reason we removed the passenger seat, and it isn’t pretty. What you are seeing here is the foam covering that’s glued onto the 964’s floor from factory.
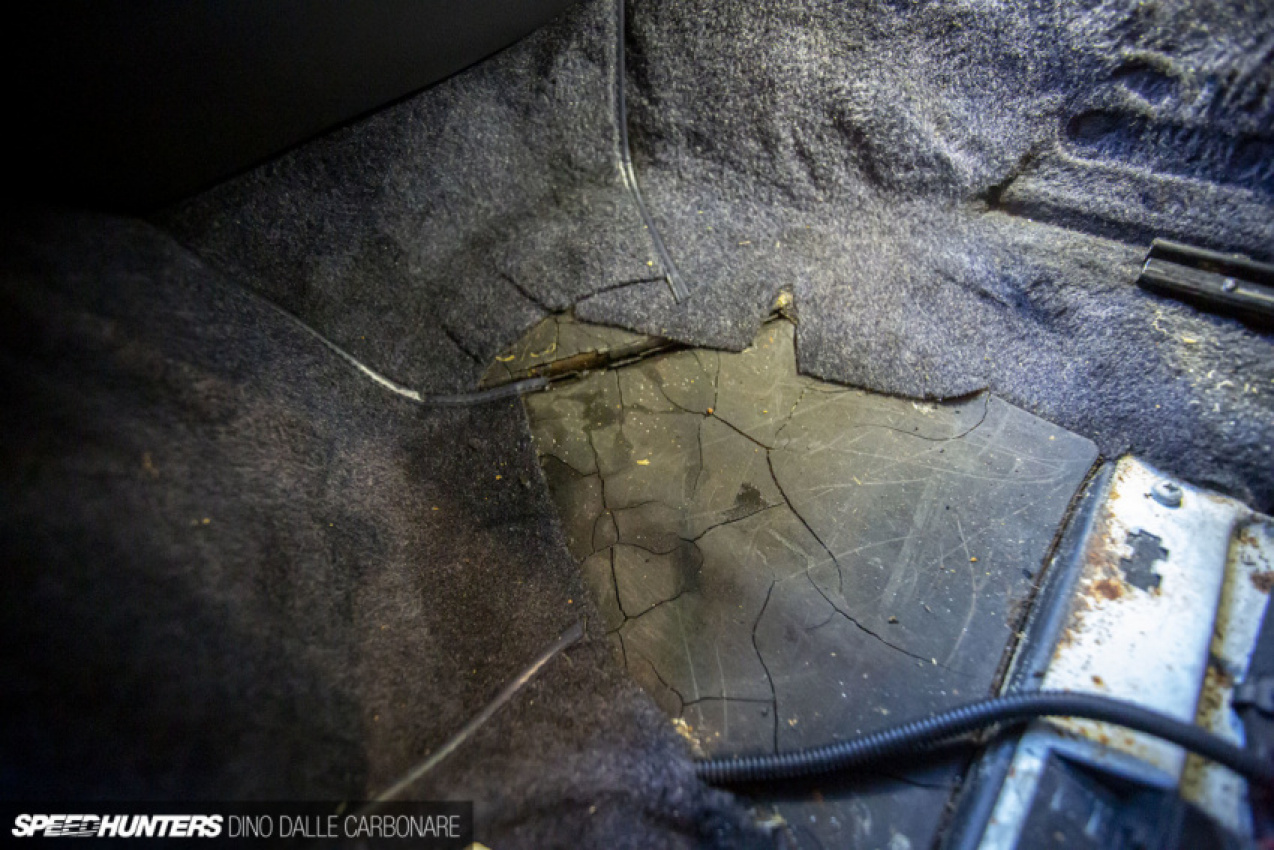
Due to leaking door seals the car had been slowly taking in water and the foam had completely saturated, something I didn’t notice initially as it’s all sealed off with hard rubber. That rubber had cracked from age though, and when you pressed it water seeped out. There was no other option but to remove it, or face a bigger problem down the line.
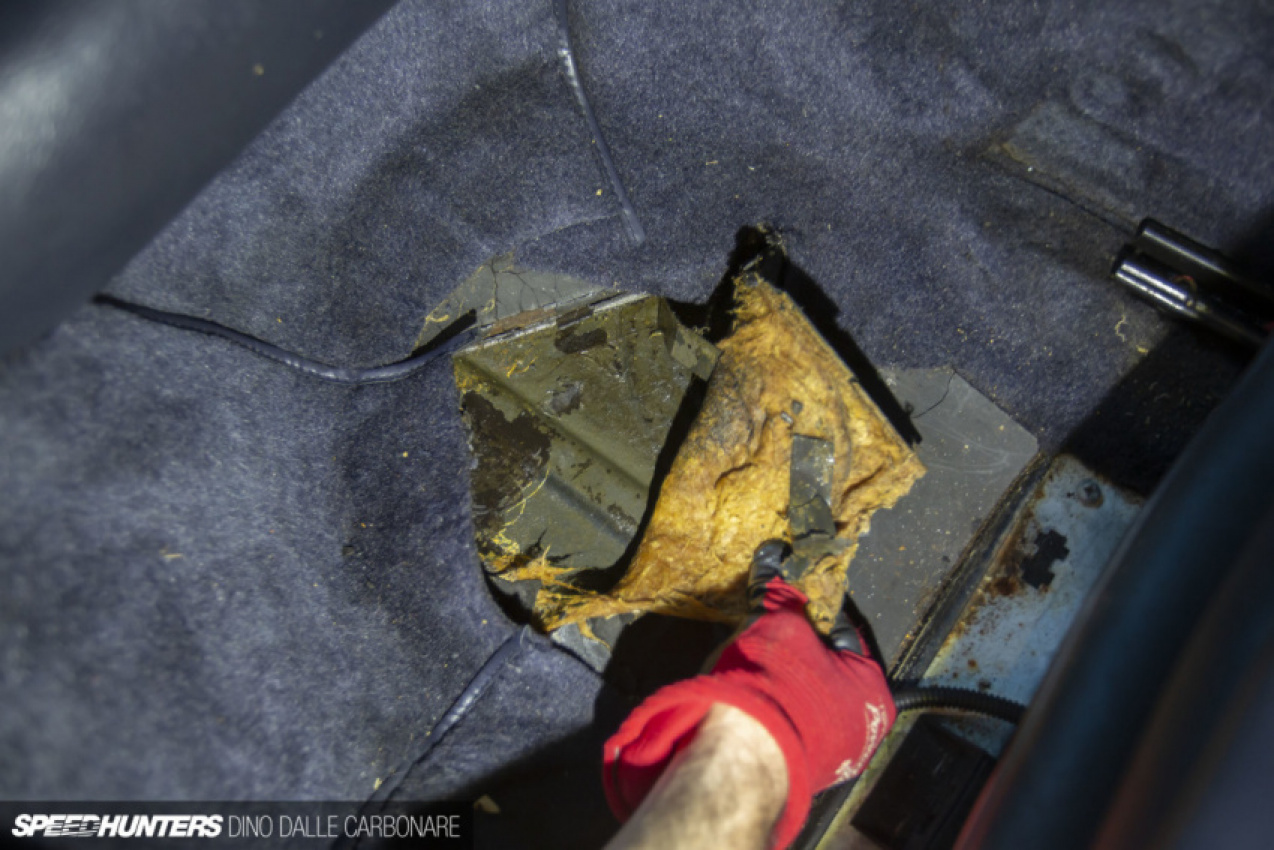
It was a messy job that required the heat gun to melt the incredibly sticky glue that holds the foam and carpeting down, and then some aggressive cutting.
I pulled the passenger side away at Aki’s place, and then attacked the driver’s side at home a few days later. What a mess…
As it sits now, the seals have been fixed up until new ones arrive and the interior has stayed dry. I’ve got mats to cover the exposed floor.
Shortly after this I ended up parking the car, disconnecting the battery and not looking at it for a few months. I’ve since made peace with the fact that Project 964 will continue to play with my emotions, so I’m trying to take a more pragmatic approach and going back to doing it one step at a time. Right now, I’m trying to think of ways the floor situation can be dealt with. I have a few options – fit metal floor covers from Rennline, which a lot of owners go for; purchase an OEM foam floor set and fit it all back; or take the opportunity to completely redo the floor carpets, and maybe even do a color change. That will have to wait for now though, as there are other aspects of the car that need my attention first.
Whatever I end up doing, fear not, I will share the happy moments as well as the sad ones with you guys. Hopefully, there’s less of the latter as the project continues.
Dino Dalle CarbonareInstagram: dino_dalle_carbonare
[email protected]
Keyword: Project 964: From Bad To Good & Back Again